Table of Contents
- 1 Introduction
- 2 Understanding DeepSeek AI and Google
- 3 DeepSeek AI vs Google: Feature-by-Feature Comparison
- 4 Examples: DeepSeek AI vs Google in Action
- 5 FAQ Section
- 6 External References
- 7 Conclusion
Introduction
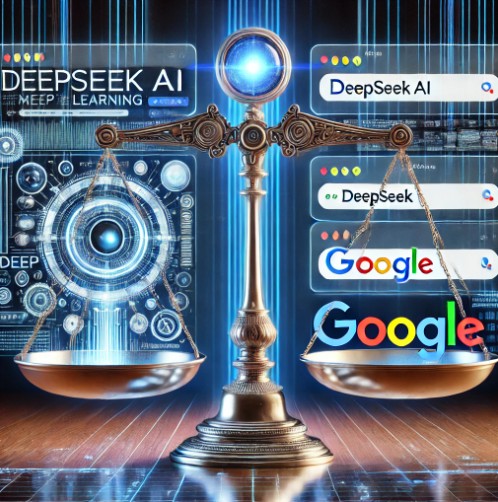
Artificial Intelligence (AI) is revolutionizing the way we interact with information. Google, a giant in the search industry, has dominated the space for decades. However, emerging AI-driven alternatives like DeepSeek AI are challenging the status quo. But is DeepSeek AI better than Google?
This article dives into a comprehensive analysis of both platforms, comparing their capabilities, accuracy, efficiency, and relevance in modern AI-powered search and information retrieval.
Understanding DeepSeek AI and Google
What is DeepSeek AI?
DeepSeek AI is an advanced artificial intelligence system designed for natural language processing (NLP), data retrieval, and AI-driven decision-making. It utilizes deep learning models to process vast amounts of data, enabling it to generate precise, contextual, and conversational responses.
What is Google?
Google, on the other hand, is the world’s largest search engine, leveraging algorithms like PageRank, BERT, and MUM to index and rank web pages based on relevance, authority, and user intent. Google’s AI-driven features include Google Assistant, Bard, and AI-powered search refinements.
DeepSeek AI vs Google: Feature-by-Feature Comparison
1. Search Accuracy and Relevance
DeepSeek AI
- Uses AI-driven models to analyze context, semantics, and user intent.
- Provides direct answers rather than a list of search results.
- Excels in complex queries requiring interpretation and summarization.
- Uses web crawling, indexing, and ranking to provide results.
- Prioritizes authoritative sources but sometimes includes outdated or less relevant content.
- Offers Featured Snippets for quick answers but is still list-based.
✅ Winner: DeepSeek AI for contextual accuracy, Google for breadth of results.
2. AI-Powered Content Generation
DeepSeek AI
- Specializes in long-form content generation, summaries, and conversational interactions.
- Can generate coherent and well-structured responses tailored to queries.
- Suitable for research, coding, and data analysis.
- Uses AI for summarization (Google Search Generative Experience, or SGE).
- Does not provide full-text generation within search results.
- Leverages AI primarily for ranking rather than direct content creation.
✅ Winner: DeepSeek AI for AI-powered content generation.
3. User Experience and Interface
DeepSeek AI
- Provides a chatbot-like interface for interactive conversations.
- Focuses on deep learning-based personalized responses.
- Lacks a traditional search engine layout.
- Uses a search bar with predictive suggestions.
- Provides web page links, images, videos, and shopping results.
- Integrates AI into products like Google Lens, Maps, and Assistant.
✅ Winner: Google for a familiar and versatile user experience.
4. Speed and Efficiency
DeepSeek AI
- Processes complex queries quickly.
- Uses AI-driven conversational flow for in-depth discussions.
- May have longer response times for large datasets.
- Delivers instant search results.
- Optimized for quick retrieval from indexed sources.
- Prioritizes speed over deep contextual analysis.
✅ Winner: Google for fast results; DeepSeek AI for detailed responses.
5. Data Privacy and Security
DeepSeek AI
- Less data-driven than Google.
- Focuses on direct interactions rather than tracking user behavior.
- Collects extensive user data for personalized ads and services.
- Implements privacy controls, but data collection remains a concern.
✅ Winner: DeepSeek AI for privacy-conscious users.
Examples: DeepSeek AI vs Google in Action
Example 1: Researching Scientific Papers
- DeepSeek AI: Summarizes research papers, extracts key findings, and suggests related studies.
- Google: Lists web pages with research papers, requiring manual filtering.
Example 2: Learning a New Programming Language
- DeepSeek AI: Provides interactive coding help and explanations.
- Google: Links to tutorials and forums like Stack Overflow.
Example 3: Travel Planning
- DeepSeek AI: Suggests personalized itineraries based on preferences.
- Google: Provides flight details, hotel suggestions, and user-generated reviews.
FAQ Section
1. Is DeepSeek AI more accurate than Google?
DeepSeek AI excels in contextual and conversational accuracy, while Google is superior for broad and fast information retrieval.
2. Can DeepSeek AI replace Google?
Not entirely. DeepSeek AI is powerful for deep learning-based tasks, but Google remains essential for general web search and discovery.
3. Is DeepSeek AI safer than Google?
DeepSeek AI collects less user data, making it a better choice for privacy-conscious users.
4. Does DeepSeek AI support real-time search updates?
Google frequently updates search results with real-time indexing, whereas DeepSeek AI relies on pre-trained models and databases.
5. Which AI is better for businesses?
Google offers SEO, advertising, and analytics, while DeepSeek AI is ideal for automation, data analysis, and AI-driven insights.

External References
- Google AI – Google’s AI Research and Products
- DeepSeek AI Official Site – DeepSeek AI’s Capabilities and Use Cases
- Comparison of AI Search Models – In-depth Research on AI Search Systems
Conclusion
Both DeepSeek AI and Google bring powerful AI-driven capabilities to the table. DeepSeek AI excels in deep learning, natural language processing, and contextual responses, making it a strong contender for research and automation. Google, however, remains the dominant force in search, offering unmatched speed, accuracy, and real-time indexing.
Ultimately, the choice between DeepSeek AI and Google depends on your specific needs. If you seek quick, broad searches, Google is unbeatable. If you need AI-driven insights and content generation, DeepSeek AI might be the better option.
Which one do you prefer? Let us know in the comments! Thank you for reading the DevopsRoles page!