Table of Contents
#Introduction
In this tutorial, I will use Docker to install an Nginx web server. How to set up an Nginx web server in a Docker container. Now, let go Docker install Nginx container.
Docker as a platform container. I will install Docker on Debian/Ubuntu and install the Nginx container from Docker Hub.
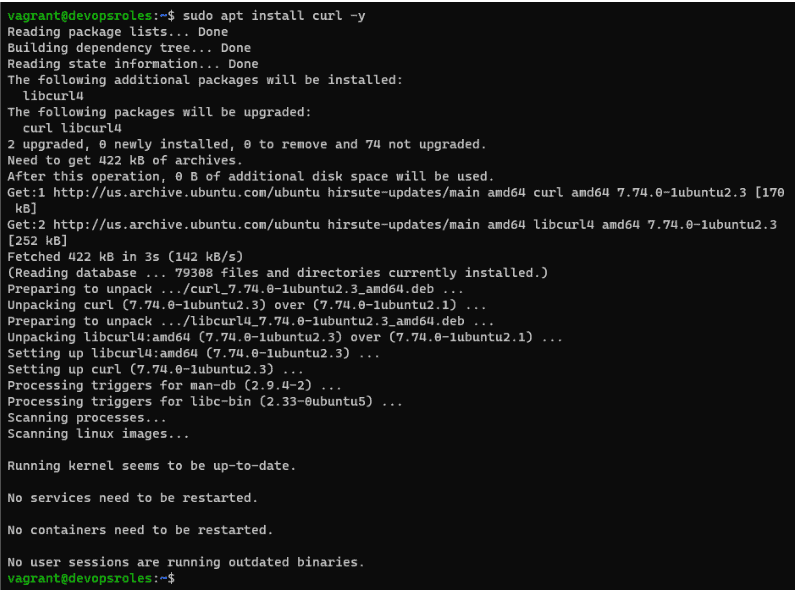
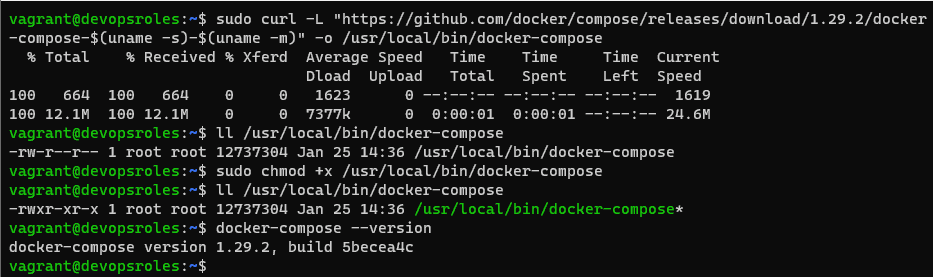
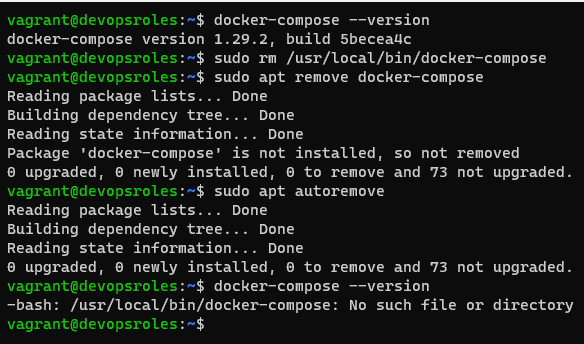
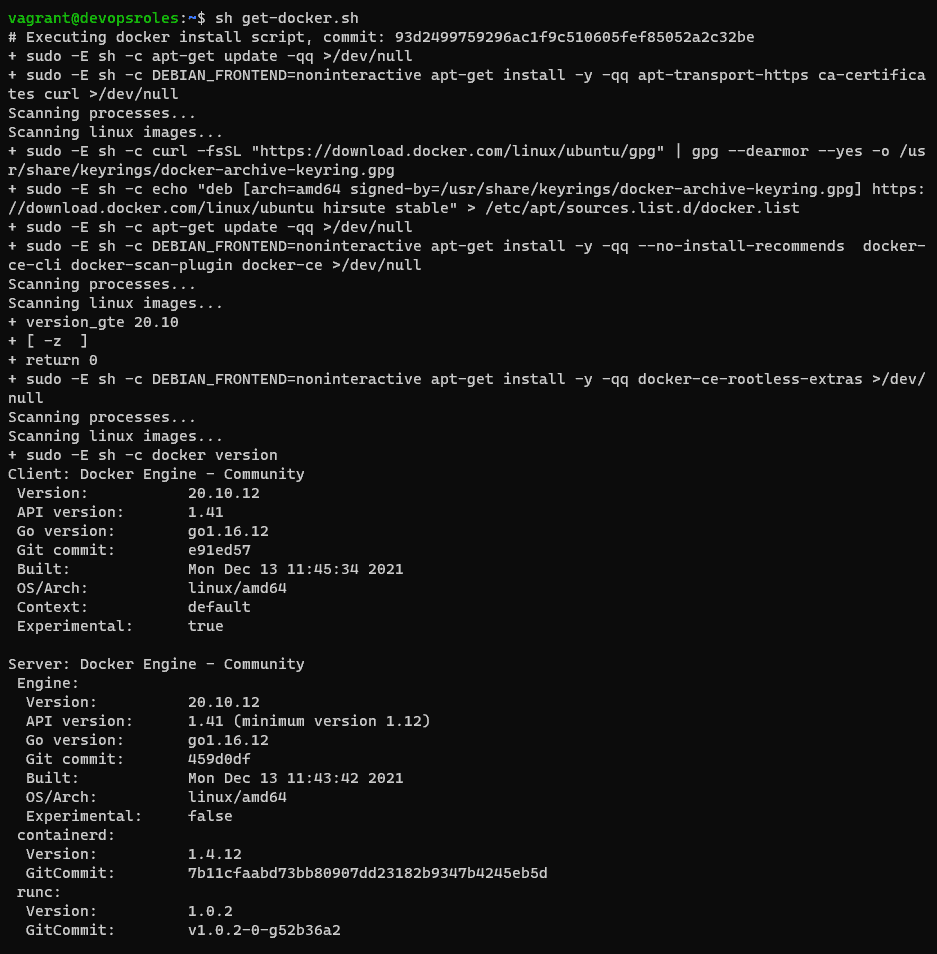
Install Docker on Ubuntu here
Docker install Nginx container
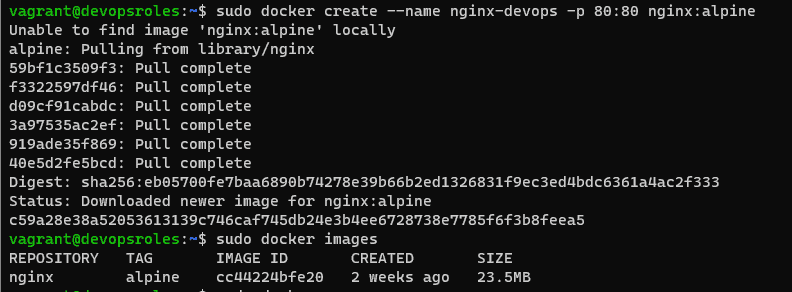
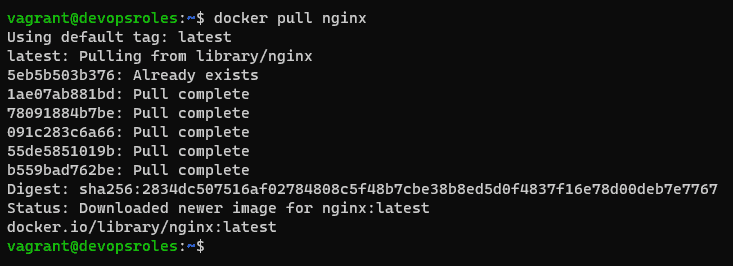
Run Nginx Container Using Docker. I will pull an Nginx image from the docker hub.
$ docker pull nginx
List the Docker images as command below
$ docker imagesCreate Docker Volume for Nginx
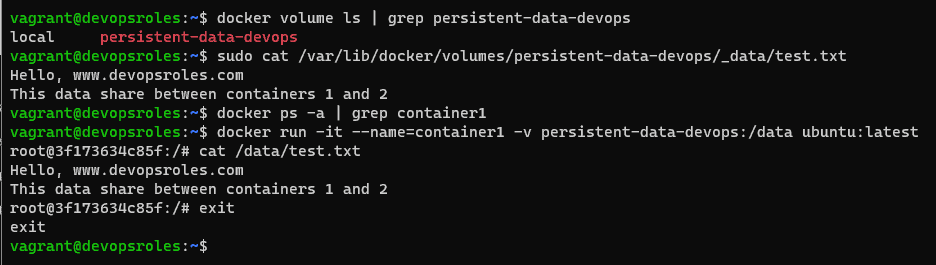
$ docker volume create nginx-data-persistent

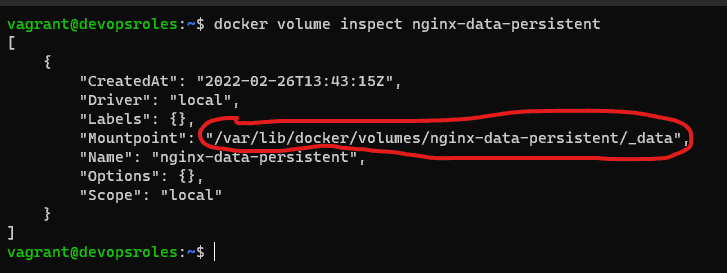
Get the docker volume information as command below
$ docker volume inspect nginx-data-persistent
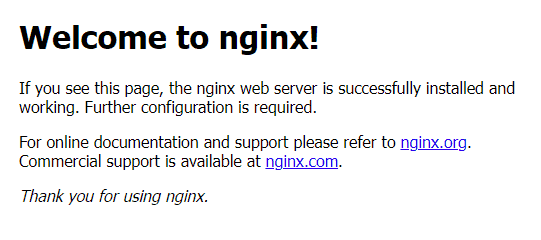
Building a Web Page to Serve on Nginx
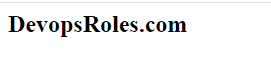
Create an HTML file
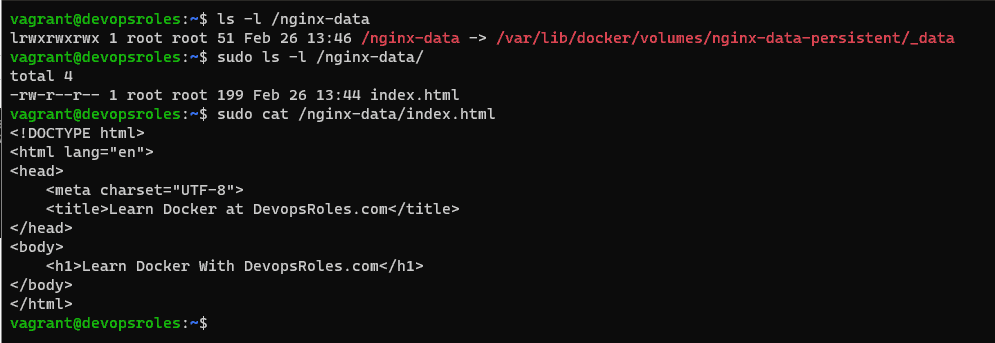
$ sudo vi /var/lib/docker/volumes/nginx-data-persistent/_data/index.htmlThe content is as below:
<!DOCTYPE html>
<html lang="en">
<head>
<meta charset="UTF-8">
<title>Learn Docker at DevopsRoles.com</title>
</head>
<body>
<h1>Learn Docker With DevopsRoles.com</h1>
</body>
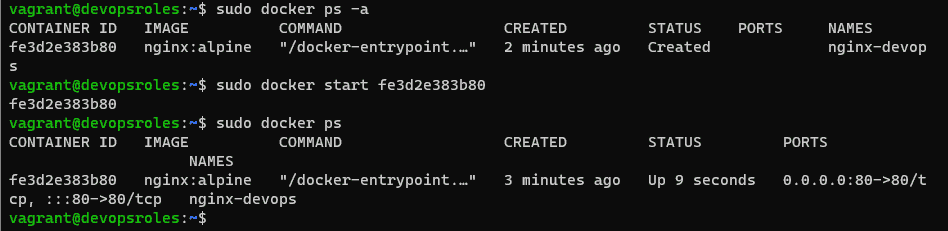
</html>Start the Nginx container with persistent data storage. Data storage location “/var/lib/docker/volumes/nginx-data-persistent/_data” on Host Ubuntu and the path in the container is “/usr/share/nginx/html” Run command as below:
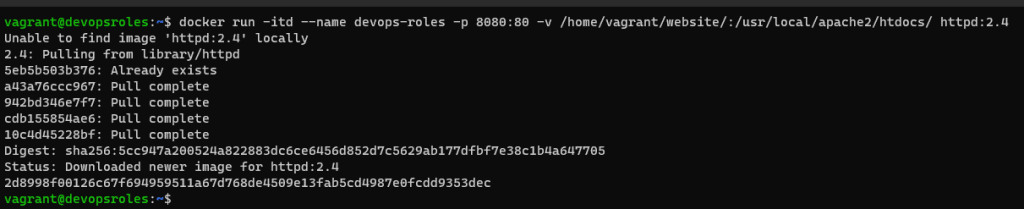
$ docker run -d --name nginx-server -p 8080:80 -v nginx-data-persistent:/usr/share/nginx/html nginx

Explain:
- d: run the container in detached mode
- name: name of the container to be created
- p: port to be mapped with host, Example: host port is 8080 and guest port is 80
- v: name of docker volume
you can create a symlink of the docker volume directory
$ sudo ln -s /var/lib/docker/volumes/nginx-data-persistent/_data /nginx-data
Option
Access into Nginx container with the command below
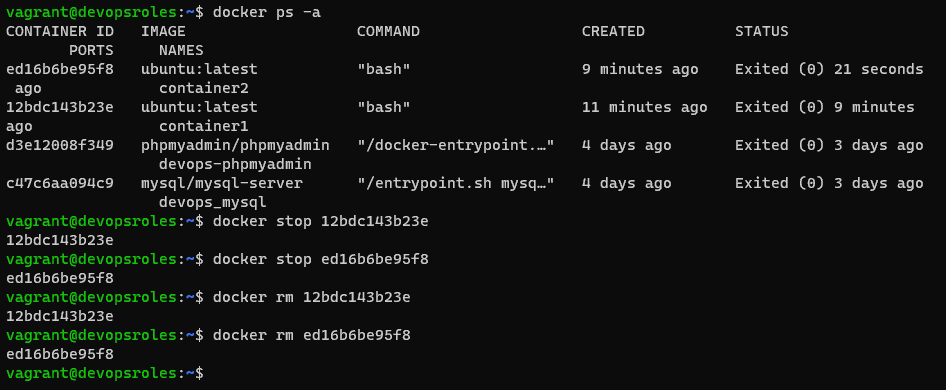
$ docker exec -it nginx-server /bin/bashNow, you can stop docker container apache
docker stop nginx-serverand remove it:
docker rm nginx-serverYou can clean up and delete the image that was used in the container.
docker image remove nginxYoutube Docker install Nginx container

Conclusion
You have successfully installed and run an Nginx container using Docker. You can now customize the Nginx configuration, serve your own website, or explore additional Nginx features and settings. I hope will this your helpful. Thank you for reading the DevopsRoles page!