Table of Contents
Introduction
In this tutorial, Kubernetes Implementing ConfigMaps allows you to separate your application configurations from the container images. Kubernetes has revolutionized how applications are deployed and managed in a cloud-native environment. One of its powerful features is ConfigMaps, which decouples configuration artifacts from image content, allowing for more dynamic and flexible application management.
What are ConfigMaps?
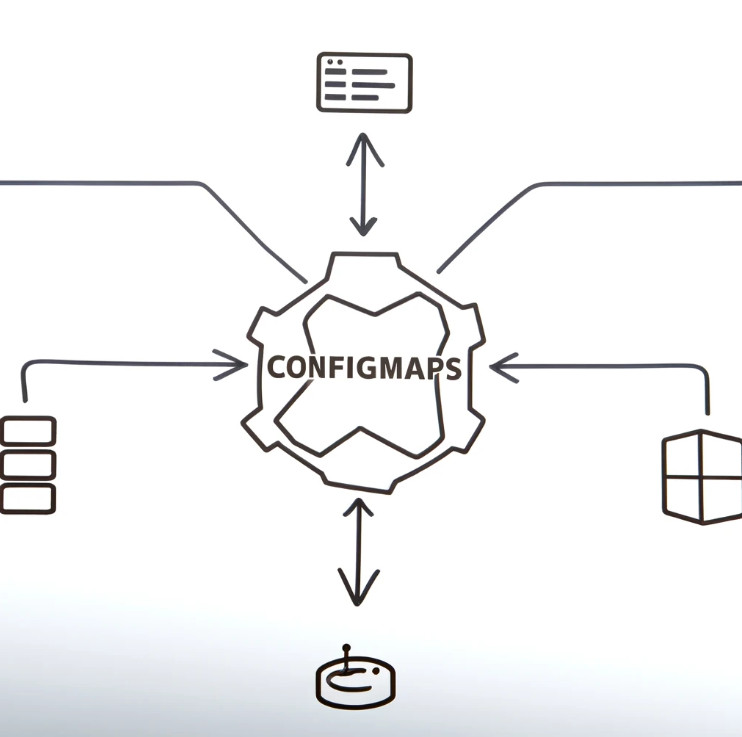
ConfigMaps in Kubernetes are used to store configuration data in key-value pairs. These configurations can then be injected into the containers running within pods, enabling you to manage your application’s configuration separately from the code.
Why Use ConfigMaps?
Using ConfigMaps provides several benefits:
- Separation of Concerns: Decouple configuration data from application code.
- Flexibility: Easily update configurations without redeploying the application.
- Reusability: Share configurations across multiple applications and environments.
Creating a ConfigMap
To create a ConfigMap, you can use a configuration file or directly via the command line. Here’s an example of creating a ConfigMap using a YAML file:
apiVersion: v1
kind: ConfigMap
metadata:
  name: example-config
data:
  database_url: "mysql://user:password@hostname:port/dbname"
  feature_flag: "true"
Apply this ConfigMap using the command:
kubectl apply -f configmap.yamlInjecting ConfigMaps into Pods
Once you have created a ConfigMap, you can inject it into a pod. This can be done by referencing the ConfigMap in the pod’s specification:
apiVersion: v1
kind: Pod
metadata:
  name: example-pod
spec:
  containers:
  - name: example-container
    image: nginx
    env:
    - name: DATABASE_URL
      valueFrom:
        configMapKeyRef:
          name: example-config
          key: database_url
Updating ConfigMaps
ConfigMaps can be updated without restarting your application. To update a ConfigMap, use the kubectl edit command:
kubectl edit configmap example-configMake the necessary changes and save the file. The updated configuration will be available to the pods that use it.
Best Practices
- Version Control: Manage ConfigMaps using version control systems to track changes.
- Limit Scope: Use ConfigMaps for small, non-sensitive data. For sensitive data, consider using Secrets.
- Consistency: Ensure consistent naming conventions and organization for ease of management.

Conclusion Kubernetes Implementing ConfigMaps
ConfigMaps are an essential feature in Kubernetes for managing application configuration efficiently. By separating configuration from code, they enhance flexibility, maintainability, and scalability. Mastering ConfigMaps is crucial for any Kubernetes practitioner aiming to streamline application deployment and management. Thank you for reading the DevopsRoles page!