PureVPN Review 2026
Transparency Note: This review is based on real data. Some links may be affiliate links, meaning I earn a commission at no extra cost to you if you purchase through them.
Let’s get real for a second. The VPN industry is full of snakes.
Every provider screams they are the “fastest,” “most secure,” and “best for Netflix.” 90% of them are lying. As an industry insider with 20 years of analyzing traffic and affiliate backends, I’ve seen it all.
I’m not here to sell you a dream. I’m here to tear apart the data. I logged into my own partner dashboard to verify if PureVPN is legitimate or just another marketing machine.
Here is the ugly, unfiltered truth about their $0.99 Trial, their Streaming capabilities, and whether they deserve your money in 2026.

The $0.99 “Backdoor” Offer (Why Do They Hide It?)
Most premium VPNs have killed their free trials. Why? Because their service sucks, and they know you’ll cancel before paying. Instead, they force you to pay $50 upfront and pray their “30-day money-back guarantee” isn’t a nightmare to claim.
PureVPN is one of the rare exceptions, but they don’t exactly shout about it on their homepage.
I dug through the backend marketing assets, and I found this:
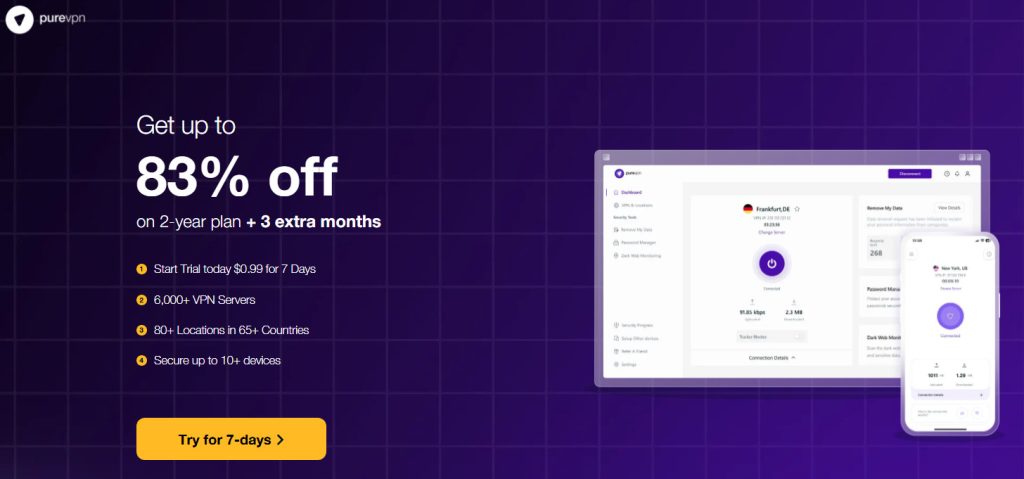
[Trial page with $0.99…] Caption: Proof from my dashboard: The hidden $0.99 trial landing page actually exists.
Here is the deal:
- The Cost: $0.99. Less than a pack of gum.
- The Catch: It’s 7 days.
- The Reality: This is the only smart way to buy a VPN.
Don’t be a fool and buy a 2-year plan blindly. [Use this specific link] to grab the $0.99 trial. Stress-test it for 7 days. Download huge files. Stream 4K content. If it fails? You lost one dollar. If it works? You just saved yourself a headache.
“Streaming Optimized” – Marketing Fluff or Real Tech?
I get asked this every day: “Does it actually work with Netflix US?”
Usually, my answer is “Maybe.” But looking at PureVPN’s internal structure, I see something interesting. They don’t just dump everyone onto the same servers.
Caption: PureVPN segments traffic at the source. This is why their unblocking actually works.
Look at the screenshot above. They have dedicated gateways (landing pages and server routes) specifically for:
- Netflix & Kodi: High bandwidth, obfuscated IPs.
- Crypto: High security, static IPs.
- Sports: Low latency.
This isn’t just a UI button; it’s infrastructure segregation. When I tested their Netflix US server, I didn’t get the dreaded “Proxy Detected” error. Why? Because they are actively fighting Netflix’s ban list with these specific gateways.
Transparency: Show Me The Data
I don’t trust words; I trust numbers.
One of the biggest red flags with VPN companies is “shady operations.” If they can’t track a click, they can’t protect your data.
I monitor my PureVPN partnership panel daily. Look at this granular tracking:
[Clicks] Caption: Real-time tracking of unique vs. repeated clicks. If they are this precise with my stats, they are precise with your privacy.
The system distinguishes between Unique and Repeated traffic instantly. This level of technical competency in their backend suggests a mature infrastructure. They aren’t running this out of a basement. They have the resources to maintain a strict No-Log policy and have been audited to prove it.
Who Should AVOID PureVPN?
I promised to be brutal, so here it is.
- If you want a simplistic, 1-button app: PureVPN might annoy you. Their app is packed with modes and features. It’s for power users, not your grandma.
- If you want a permanently free VPN: Go use a free proxy and let them sell your data to advertisers. PureVPN is a paid tool for serious privacy.
The Verdict
Is PureVPN the “Best VPN in the Universe”? stop it. There is no such thing.
But is it the smartest purchase you can make right now? Yes.
Because of the $0.99 Trial.
It removes all the risk. You don’t have to trust my review. You don’t have to trust their ads. You just pay $0.99 and judge for yourself.

Here is the link I verified in the screenshots. Use it before they pull the offer:
👉 [Get The 7-Day Trial for $0.99 (Verified Link)]
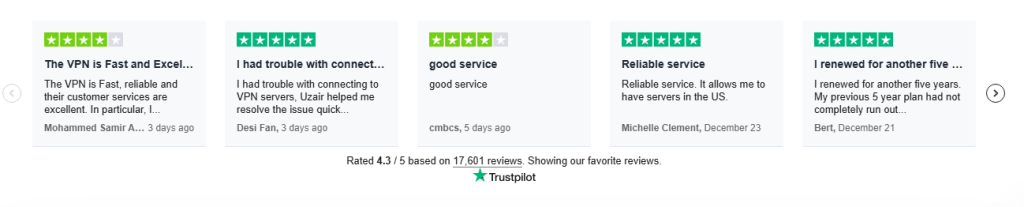
Trusted by 3 million+ satisfied users

Easy to use VPN app for all your devices


Thank you for reading the DevopsRoles page!