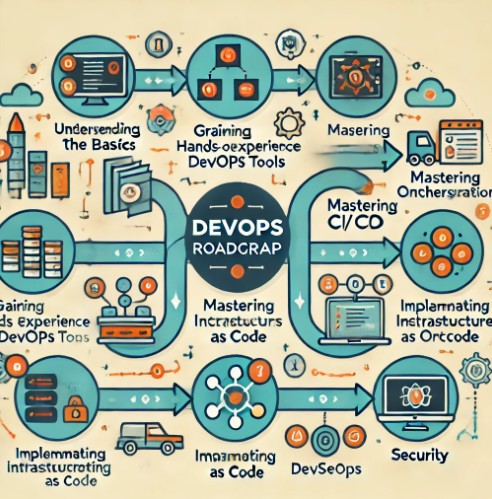
Introduction
DevOps has revolutionized software development and IT operations, fostering seamless collaboration, continuous integration, and automation. As we move into 2025, emerging technologies and evolving industry demands are reshaping DevOps practices. This article explores the key trends shaping the future of DevOps and how organizations can leverage them to enhance efficiency, security, and scalability.
Key DevOps Trends in 2025
1. AI-Driven Automation and AIOps
The Role of AI in DevOps
Artificial Intelligence (AI) and Machine Learning (ML) are redefining DevOps workflows. With AIOps (Artificial Intelligence for IT Operations), teams can:
- Automate anomaly detection and root cause analysis.
- Enhance predictive maintenance and incident response.
- Optimize CI/CD pipelines with intelligent recommendations.
How to Implement AI in DevOps
- Utilize AI-powered log analysis tools like Splunk and ELK Stack.
- Implement predictive analytics to foresee potential failures.
- Integrate AI with CI/CD for automated code reviews and testing.
2. GitOps: The Future of Infrastructure Management
Understanding GitOps
GitOps is an operational framework that applies DevOps best practices using Git repositories as the single source of truth.
Benefits of GitOps
- Version Control: Maintain a history of infrastructure changes.
- Faster Deployments: Automate infrastructure updates with Git workflows.
- Enhanced Security: Reduce human intervention and manual errors.
Tools for GitOps Implementation
- FluxCD
- ArgoCD
- Jenkins X
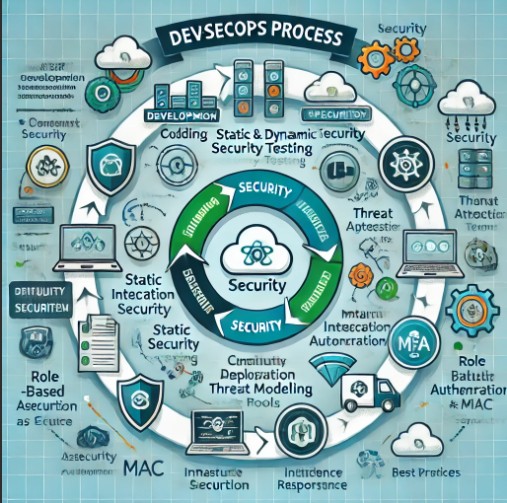
3. DevSecOps: Security-First Approach
Why DevSecOps Matters in 2025
With increasing cyber threats, security must be integrated into DevOps from the start. DevSecOps ensures:
- Continuous Security Testing: Automated vulnerability scans within CI/CD pipelines.
- Shift-Left Security: Address security risks early in development.
- Zero Trust Architectures: Implement strict access controls and authentication mechanisms.
Best Practices for DevSecOps
- Use Infrastructure as Code (IaC) security policies.
- Employ automated security tools like Snyk and Checkmarx.
- Conduct regular penetration testing.
4. Multi-Cloud and Hybrid Cloud Adoption
The Rise of Multi-Cloud Strategies
Organizations are increasingly leveraging multiple cloud providers (AWS, Azure, GCP) to prevent vendor lock-in and optimize performance.
Key Benefits
- Scalability: Dynamically allocate resources across multiple clouds.
- Cost Optimization: Select the most cost-effective cloud services.
- Resilience: Enhance redundancy and fault tolerance.
How to Implement Multi-Cloud DevOps
- Utilize Kubernetes for container orchestration.
- Adopt cloud-agnostic DevOps tools like Terraform and Pulumi.
- Automate cloud deployment with CI/CD pipelines.
5. Edge Computing and IoT in DevOps
Why Edge Computing Matters
With the proliferation of IoT devices, edge computing allows real-time data processing closer to the source, reducing latency and bandwidth usage.
DevOps in Edge Computing
- Deploying microservices to edge locations.
- Automating updates for IoT devices.
- Using lightweight containerization tools like K3s.
6. Serverless Computing in DevOps
The Shift to Serverless Architectures
Serverless computing enables developers to build applications without managing infrastructure. Popular serverless platforms include AWS Lambda, Azure Functions, and Google Cloud Functions.
DevOps Benefits of Serverless
- Reduced Operational Overhead: No need to manage servers.
- Cost Efficiency: Pay only for actual execution time.
- Scalability: Automatic scaling based on demand.
7. Observability and Monitoring Evolution
Why Observability is Essential
Modern applications generate vast amounts of data, requiring advanced observability solutions for real-time monitoring and troubleshooting.
Tools for Observability
- Prometheus & Grafana
- New Relic
- Datadog
Best Practices
- Implement centralized logging with ELK Stack.
- Use distributed tracing to diagnose performance issues.
- Automate alerts with AI-driven monitoring systems.
Examples of DevOps Trends in Action
Example 1: AI-Driven Incident Response
A leading e-commerce company integrated AI-powered monitoring tools to automatically detect anomalies and predict system failures, reducing downtime by 40%.
Example 2: GitOps for Infrastructure Management
A financial services firm adopted GitOps, allowing automated rollbacks and controlled infrastructure updates, enhancing security and compliance.
Example 3: Serverless for Scalable Applications
A startup utilized AWS Lambda for microservices, reducing cloud costs by 60% while ensuring high availability.
FAQ Section
1. What is the future of DevOps in 2025?
The future of DevOps will be shaped by AI-driven automation, GitOps, security enhancements, and the growing adoption of multi-cloud and edge computing.
2. How does AI impact DevOps?
AI enhances DevOps by automating repetitive tasks, improving predictive maintenance, and optimizing CI/CD workflows.
3. What is GitOps, and why is it important?
GitOps is a DevOps methodology that uses Git repositories as the source of truth for infrastructure management, improving security and deployment efficiency.
4. How does DevSecOps improve security?
DevSecOps integrates security into the DevOps lifecycle, automating security testing and enforcing compliance through Infrastructure as Code.
5. What are the key DevOps tools for 2025?
Some leading DevOps tools include Kubernetes, Terraform, ArgoCD, Prometheus, Jenkins, and AI-powered monitoring solutions.

External Links
Conclusion
As DevOps continues to evolve in 2025, AI-driven automation, security integration, GitOps, and multi-cloud adoption will define the industry’s future. Organizations must embrace these trends to stay competitive, enhance operational efficiency, and deliver high-quality software at scale. By leveraging cutting-edge technologies and best practices, DevOps teams can build resilient, secure, and scalable applications for the digital future. Thank you for reading the DevopsRoles page!