Introduction
In this tutorial, I have written a script groovy using Jenkins pipeline call shell to create a folder and copy. How to Execute shell script from Jenkins groovy script in Pipeline. Now, let’s go to the Jenkins pipeline groovy example.
Jenkins Pipeline creates multiple automation jobs with the help of use cases and runs them as a Jenkins pipeline.
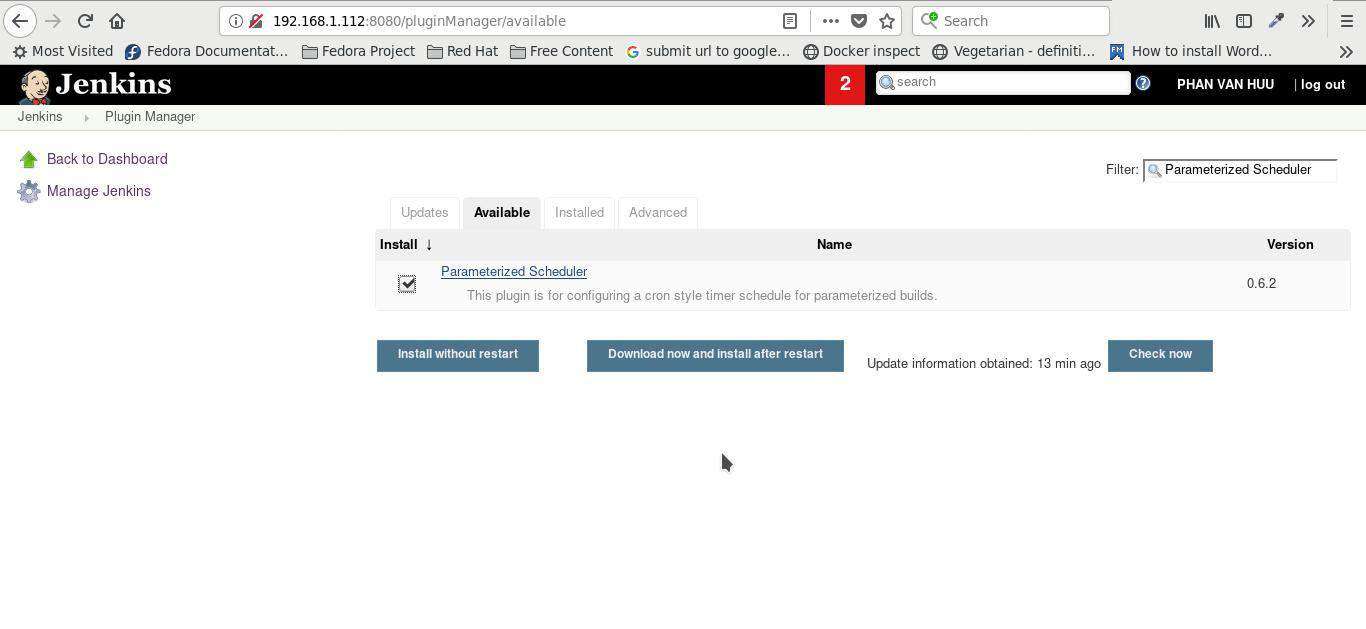
You can installed build pipeline plugin on Jenkins server.
Jenkins pipeline groovy example
I will create 3 folder: app1,app-api,app2 and copy war file is app1.war,app-api.war,app2.war
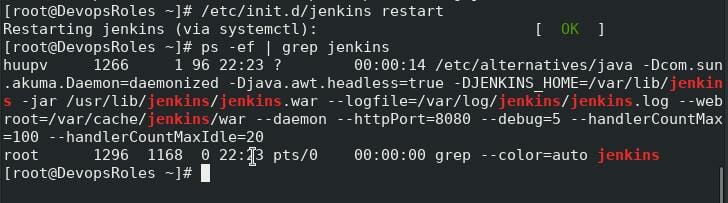
JENKINS_HOME: /var/lib/jenkins
WORKSPACE: /var/lib/jenkins/{JOB_NAME}
Execute shell script from Jenkins Groovy script in Pipeline.
node('master') {
stage('Create directory and copy to folder release') {
   artifacts = "app1,app-api,app2"
   targets = artifacts.split(",")
   for (String artifact : targets){
         Warfile = artifact + ".war"
         sh """
              mkdir -p ${JENKINS_HOME}/delivery/${artifact}
              cp ${WORKSPACE}/${artifact}/target/${Warfile} ${JENKINS_HOME}/delivery/${artifact}/
         """
 }
 }
}


Conclusion
Throughout this article, “How to Execute a Shell Script from Jenkins Groovy Script in Pipeline,” we’ve explored detailed steps and strategies for integrating shell scripts into Jenkins pipelines using Groovy. I hope you found the information provided useful for enhancing your DevOps processes. Thank you for reading at DevOpsRoles.com, and stay tuned for more insights and tutorials to streamline your development and operational tasks.