Introduction
In the dynamic realm of containerization, Dockage Docker has emerged as a game-changer, simplifying deployment and scalability. However, efficient management of Docker containers poses its own set of challenges. This blog explores a cutting-edge solution: Dockage – a novel approach to streamline Docker container management.

Understanding Docker and the Need for Management:
Docker containers have redefined how applications are packaged and deployed. They provide consistency across various development and deployment environments. However, as the number of containers grows, so does the complexity of managing them. This is where the importance of robust container management becomes evident.
Introducing Dockage Docker:
It is a comprehensive solution designed to enhance the management of Docker containers. Unlike traditional approaches, Dockage goes beyond basic container orchestration, offering a suite of features that address common pain points in containerized environments.
Key Features of Dockage:
- User-Friendly Interface:
Dockage boasts an intuitive interface, making it accessible to both novice and experienced users. The dashboard provides a centralized view of all containers, enabling easy monitoring and control. - Automated Scaling:
One standout feature is Dockage’s ability to automate container scaling based on demand. This ensures optimal resource utilization without manual intervention. - Intelligent Resource Allocation:
Dockage employs intelligent algorithms to allocate resources efficiently, preventing bottlenecks and enhancing overall system performance. - Seamless Integration:
Compatibility is crucial, and Dockage understands that. It seamlessly integrates with popular CI/CD tools, version control systems, and container registries, facilitating a smooth development pipeline. - Advanced Logging and Monitoring:
Gain insights into container behavior with Dockage’s advanced logging and monitoring capabilities. Identify and troubleshoot issues promptly to maintain a resilient container ecosystem.
How Dockage Stands Out:
Dockage distinguishes itself by offering a holistic approach to Docker container management. Unlike conventional solutions that focus solely on orchestration, Dockage addresses the entire lifecycle of containers, from deployment to scaling and monitoring.
Why Choose Dockage Over Alternatives:
While various container orchestration tools exist, Dockage’s unique feature set and emphasis on user experience set it apart. Its adaptability to diverse use cases, coupled with robust security measures, make Dockage a compelling choice for containerized environments.
Install Dockage
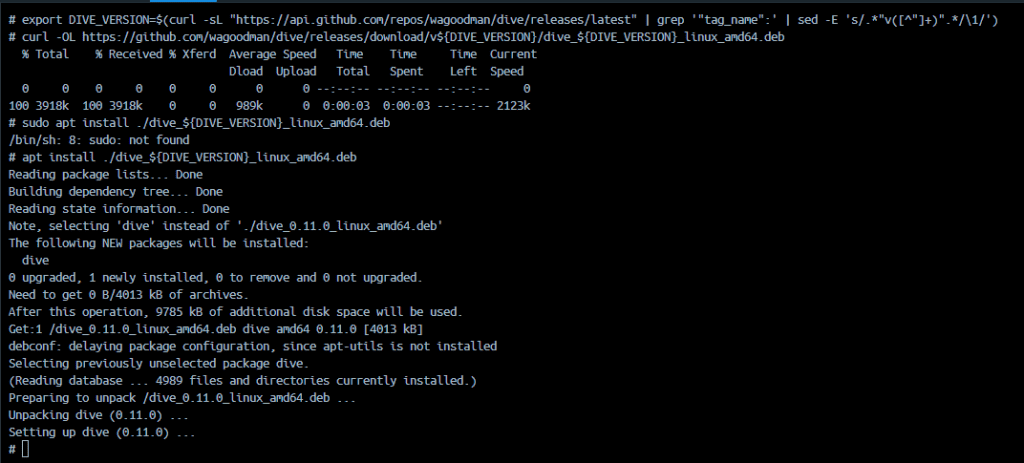
Step 1: Install Docker:
Ensure Docker is installed on your system. If not, you can follow the official Docker installation guide for your operating system: Docker Installation Guide
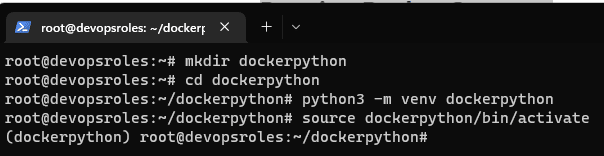
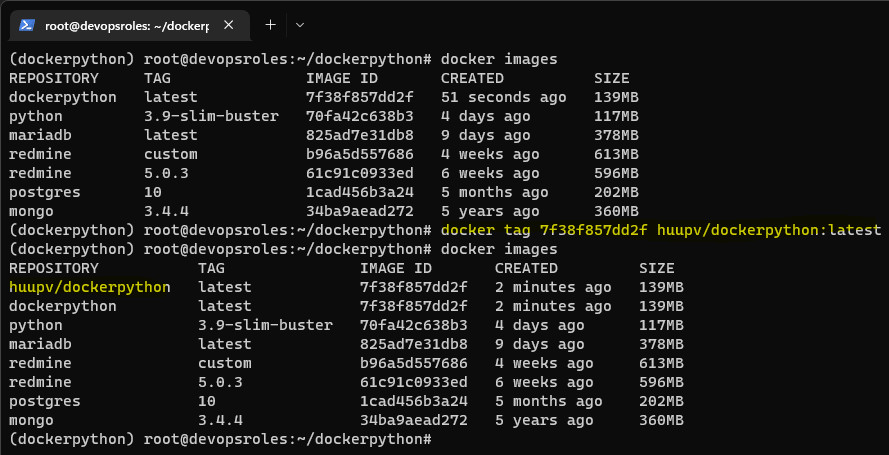
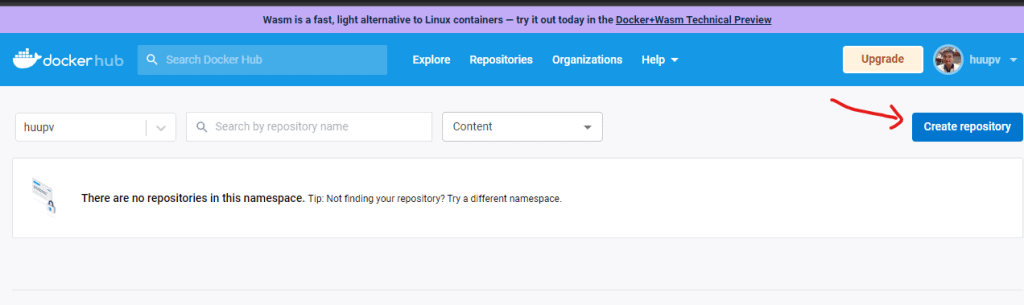
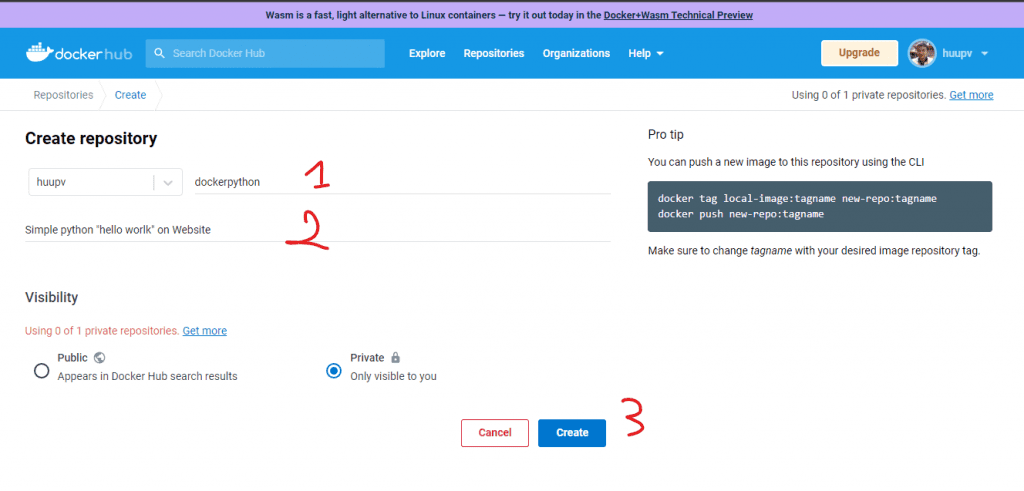
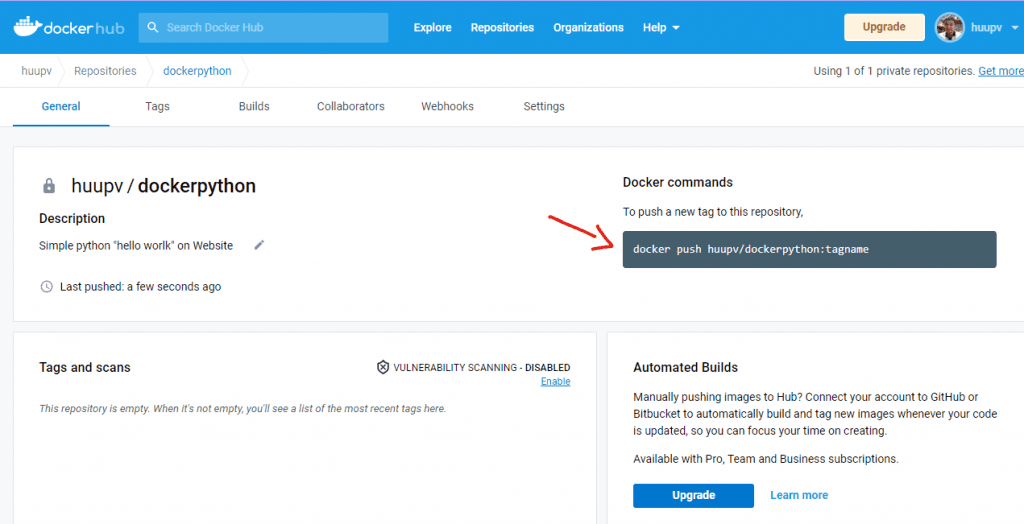
Step 2: Pull Dockage Image:
Open a terminal and use the following command to pull the Dockage image from Docker Hub:
docker pull dockage-image:latestReplace dockage-image with the actual Dockage image name from Docker Hub.
Step 3: Run Dockage Container:
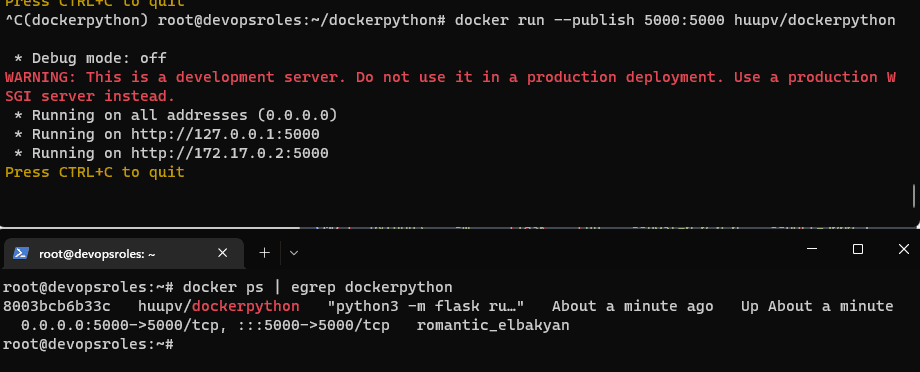
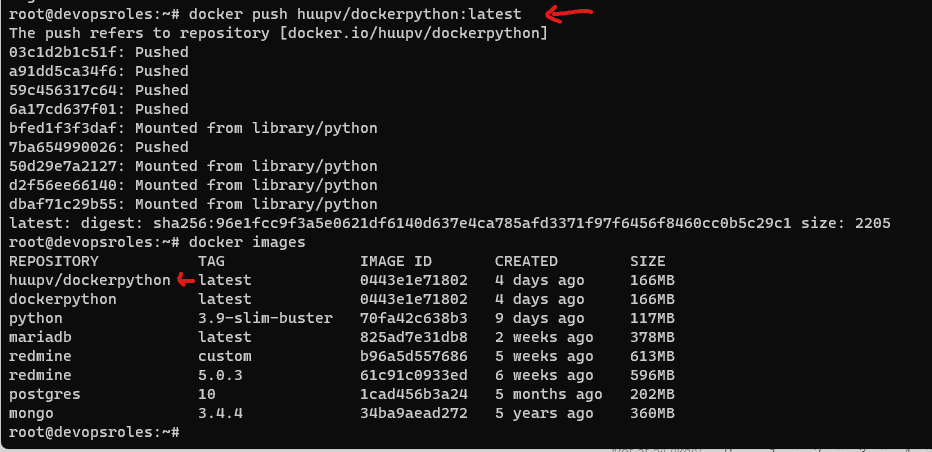
Run the following command to start a Dockage container:
docker run -d -p 8080:8080 --name dockage-container dockage-image:latestAdjust the port as needed. This command runs Dockage in a detached mode, and you can customize it based on your specific requirements.
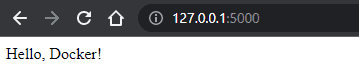
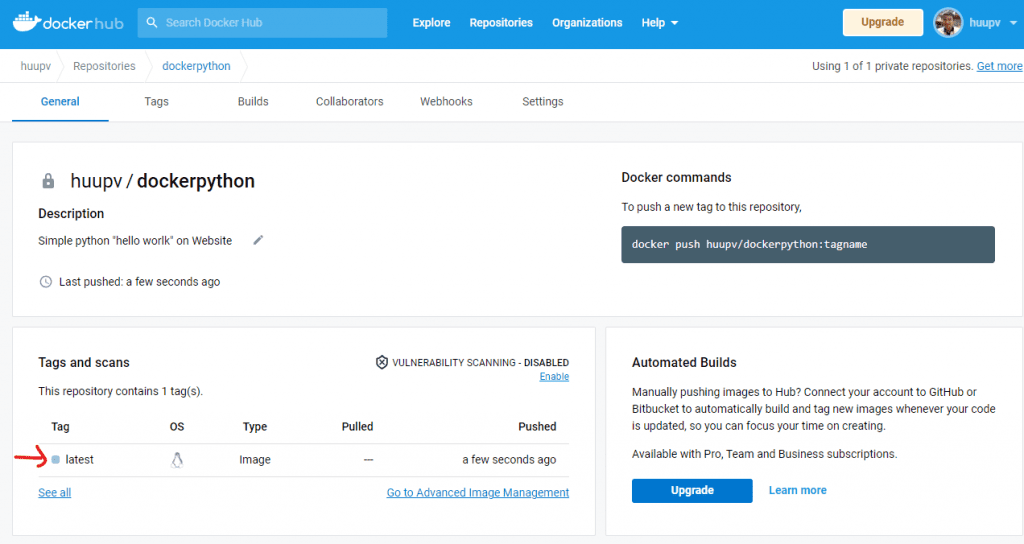
Step 4: Access the User Interface:
Open your web browser and navigate to http://localhost:8080 or http://your-server-ip:8080 to access the Dockage user interface.
Step 5: Explore Dockage Features:
User-Friendly Interface: Dockage provides an intuitive dashboard for easy container monitoring and control.
Automated Scaling: Benefit from Dockage’s automatic container scaling based on demand.
Intelligent Resource Allocation: Dockage efficiently allocates resources, optimizing system performance.
Seamless Integration: Integrate Dockage with CI/CD tools, version control systems, and container registries for a streamlined development pipeline.
Advanced Logging and Monitoring: Gain insights into container behavior with Dockage’s advanced logging and monitoring features.
Step 6: Customize and Scale:
Explore Dockage’s configuration options to tailor it to your specific needs. Take advantage of automated scaling to adapt to varying workloads seamlessly.
Conclusion:
In conclusion, Dockage Docker emerges as a new paradigm in Docker container management. Its innovative features, coupled with an emphasis on user experience, make it a valuable asset for DevOps teams seeking efficiency and scalability in containerized applications. As the containerization landscape continues to evolve, Dockage stands at the forefront, providing a comprehensive solution for managing the complexities of Docker containers. I hope will this your helpful. Thank you for reading the DevopsRoles page!