Introduction
Docker has transformed application development, deployment, and distribution. However, as more developers adopt Docker, managing image sizes has become increasingly vital. Large Docker images can slow down CI/CD pipelines, waste storage space, and increase costs.
This article will guide you through optimizing Docker images by presenting simple yet effective techniques to reduce image size. We’ll begin with basic strategies and move to more advanced ones, all supported by practical examples.
1. Understanding Docker Image Layers
Docker images are made up of layers, each representing a step in the build process. Every Dockerfile instruction (like RUN, COPY, or ADD) creates a new layer. Grasping this concept is key to reducing image size.
1.1 The Layered Structure
Layers build on top of each other, storing only the changes made in each step. While this can be efficient, it can also lead to bloated images if not managed well. Redundant layers increase the overall image size unnecessarily.
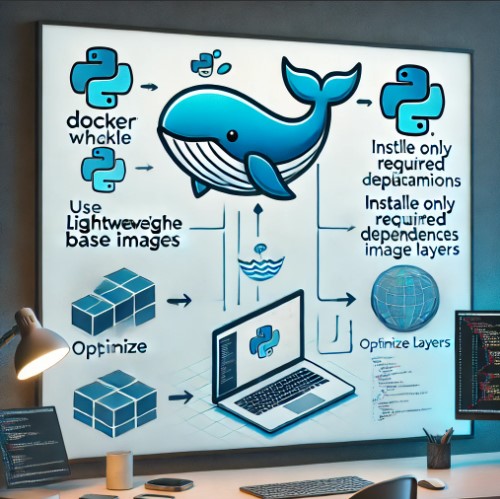
2. Choosing Lightweight Base Images
A simple way to reduce image size is to pick a lightweight base image. Here are some options:
2.1 Alpine Linux
Alpine Linux is a popular choice due to its small size (around 5MB). It’s a lightweight and secure Linux distribution, often replacing larger base images like Ubuntu or Debian.
Example Dockerfile:
FROM alpine:latest
RUN apk --no-cache add curl
2.2 Distroless Images
Distroless images take minimalism further by excluding package managers, shells, and unnecessary files. They include only your application and its runtime dependencies.
Example Dockerfile:
FROM gcr.io/distroless/static-debian11
COPY myapp /myapp
CMD ["/myapp"]
2.3 Alpine vs. Distroless
Alpine suits most cases, while Distroless is ideal for production environments requiring high security and a minimal footprint.
3. Optimizing RUN Commands in Dockerfile
RUN commands are crucial for building Docker images, but their structure can significantly impact image size.
3.1 Chaining RUN Commands
Each RUN the command creates a new layer. By chaining them with &&, you reduce the number of layers and, consequently, the image size.
Inefficient Example:
RUN apt-get update
RUN apt-get install -y curl
Optimized Example:
RUN apt-get update && apt-get install -y curl && rm -rf /var/lib/apt/lists/*3.2 Cleaning Up After Installations
Always clean up unnecessary files after installing packages to avoid increasing the image size.
4. Using Multi-Stage Builds
Multi-stage builds allow you to use multiple FROM statements in a Dockerfile, which is a powerful technique for reducing final image size.
4.1 How Multi-Stage Builds Work
In a multi-stage build, you use one stage to build your application and another to create the final image containing only the necessary files, discarding the rest.
Example Dockerfile:
# Build stage
FROM golang:1.17 AS builder
WORKDIR /app
COPY . .
RUN go build -o myapp

# Production stage
FROM alpine:latest
WORKDIR /app
COPY --from=builder /app/myapp .
CMD ["./myapp"]
4.2 Advantages of Multi-Stage Builds
This method is especially beneficial for applications with large dependencies, allowing you to ship only what’s needed, significantly reducing the image size.
5. Leveraging Docker Slim
Docker Slim is a tool that automatically shrinks your Docker images by removing unnecessary components, resulting in a smaller, more secure image.
5.1 Using Docker Slim
Docker Slim is easy to use and can reduce image size by as much as 30 times.
Example Command:
docker-slim build --target your-image-name5.2 Benefits of Docker Slim
- Reduced Image Size: Removes unneeded files.
- Enhanced Security: Minimizes the attack surface by eliminating excess components.
6. Advanced Techniques
6.1 Squashing Layers
Docker’s --squash flag merges all layers into one, reducing the final image size. However, this feature is experimental and should be used cautiously.
6.2 Using .dockerignore
The .dockerignore file works like a .gitignore, specifying files and directories to exclude from the build context, preventing unnecessary files from bloating the image.
Example .dockerignore file:
node_modules
*.log
Dockerfile
FAQs
Why is my Docker image so large?
Large Docker images can result from multiple layers, unnecessary files, and using a too-large base image. Reducing image size involves optimizing these elements.
What’s the best base image for small Docker images?
Alpine Linux is a top choice due to its minimal size. Distroless images are recommended for even smaller, production-ready images.
How do multi-stage builds help reduce image size?
Multi-stage builds allow you to separate the build environment from the final runtime environment, including only essential files in the final image.
Is Docker Slim safe to use?
Yes, Docker Slim is designed to reduce image size while maintaining functionality. Testing slimmed images in a staging environment before production deployment is always a good practice.
Conclusion
Optimizing Docker images is key to efficient, scalable containerized applications. By adopting strategies like using lightweight base images, optimizing Dockerfile commands, utilizing multi-stage builds, and leveraging tools like Docker Slim, you can significantly shrink your Docker images. This not only speeds up build times and cuts storage costs but also enhances security and deployment efficiency. Start applying these techniques today to streamline your Docker images and boost your CI/CD pipeline performance. Thank you for reading the DevopsRoles page!