Master Docker with DevOpsRoles.com. Discover comprehensive guides and tutorials to efficiently use Docker for containerization and streamline your DevOps processes.
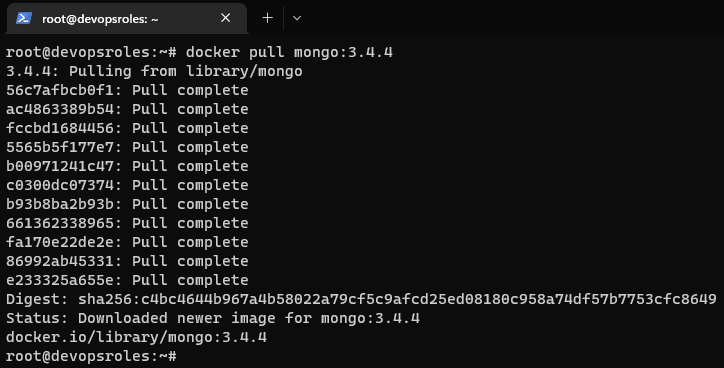
In this tutorial, How to Deploy MongoDB as a Docker container. MongoDB is a source-available cross-platform document-oriented database program. Classified as a NoSQL database program, MongoDB uses JSON-like documents with optional schemas.
In today’s world of modern application development, containerization has become a popular approach for deploying and managing applications.
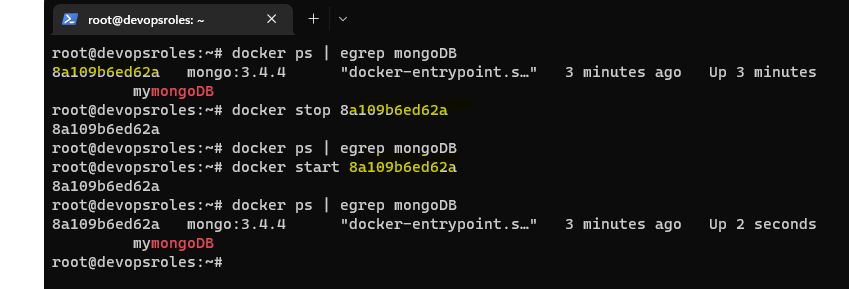
You need to verify the deployment as command below:
docker ps -a
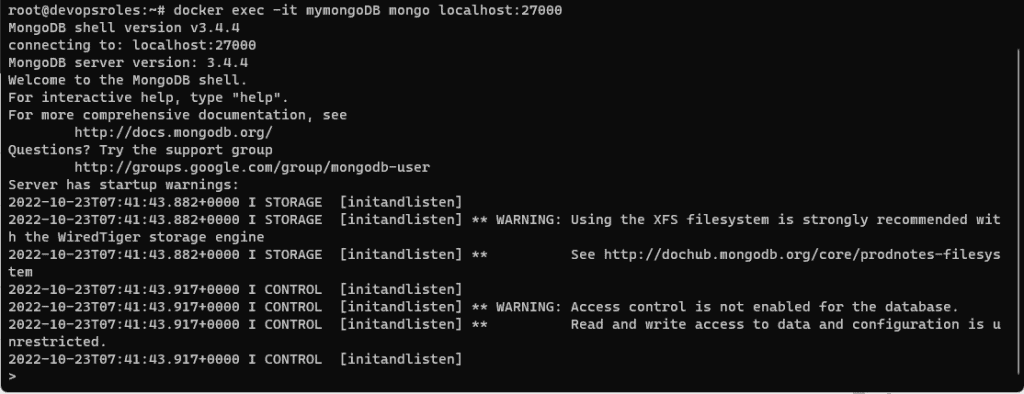
The container is running, How to access it?
docker exec -it mymongoDB mongo localhost:27000
If you need to stop the MongoDB container.
docker stop ID
If you need to start the MongoDB container.
docker start ID
Conclusion
You have successfully deployed MongoDB as a Docker container. This approach offers flexibility, scalability, and portability for your MongoDB deployments. With containerization, you can easily manage your database infrastructure and ensure consistency across different environments. I hope this will be helpful. Thank you for reading the DevopsRoles page!
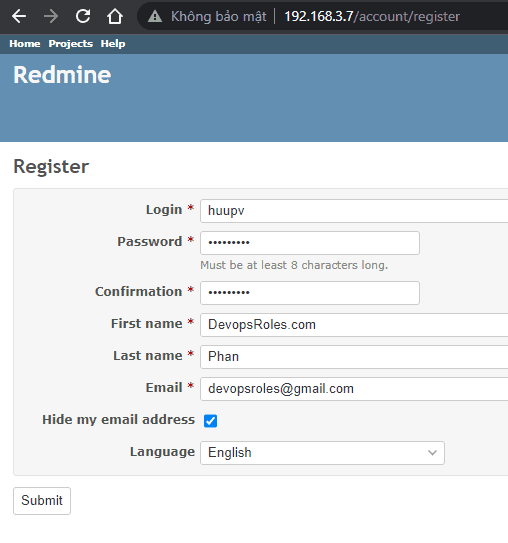
In this tutorial, How to Deploy Redmine Project Management using Docker Compose. Redmine is an Open Source project management you can install on your LAN or Cloud host.
In this tutorial, How to Set A Memory Limit For Docker Containers. Docker container defaults to running without any resource constraints.
In production, each container will set a memory limit to prevent runaway resource consumption.
How to Set A Memory Limit For Docker Containers
You set hard and soft memory limits on individual containers.
Hard memory limits
Hard limit on virtual memory, any worker exceeding the limit will be immediately killed without waiting for the end of the current request processing.
Soft memory limits
Maximum allowed virtual memory per worker.
How to setting hard memory limits
Set by docker run command with “-m” or “–memory” flag. For example, set value 2g
$ docker run --memory=2g devopsroles-app:latest
How to setting soft memory limits
Soft memory limits are set with the “–memory-reservation” flag. For example, set the value to 512m of reserved memory. It will always stop if usage exceeds 512MB.
$ docker run --memory=512m --memory-reservation=256m devopsroles:latest
setting Swap Memory
The “--memory-swap" flag controls the amount of swap space available in conjunction with the “–memory” flag. For example, Container has access to 1000MB of memory of which 512MB is physical RAM. The remaining 488MB is swap space stored on disk.
$ docker run --memory=512m --memory-swap=1000m devopsroles:latest
How to disable Out-Of-Memory process skills.
The result in the container stopping with the error code is 137. Use “–oom-kill-disable” with your docker run command to disable this behavior.
Conclusion
You have Set A Memory Limit For Docker Containers. I hope this will your helpful. Thank you for reading the DevopsRoles page!
Portainer frequently releases updates. You can not simply login to your Portainer container upgrade button, in this tutorial, How to Deploy the Latest Portainer Release.
Backup Portainer container.
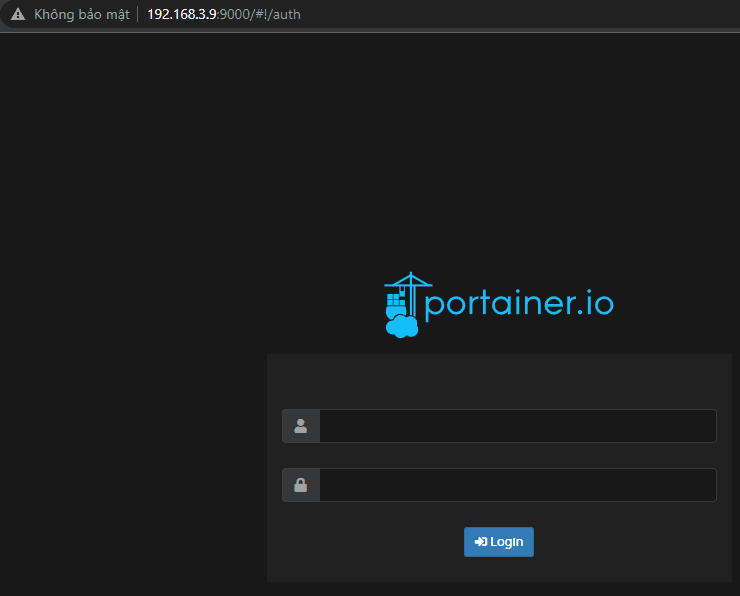
I’ll back up the current Portainer deployment. Login with admin user and click Settings in the left navigation as in the picture below:
I will download the backup file to local storage and save a .tar.gz
Stop/Remove the Current Portainer Container
Login to the Container ID of Portainer and run the command below:
docker ps -a|grep portainer
docker stop ID
docker rm ID
Where ID is the ID of the Portainer container.
For example, The output terminal is as below:
Deploy the Latest Portainer Release
See install Portainer docker here. I used portainer_data for persistent storage.
First, You need to pull down the Portainer latest.
Open a web browser and access to link: http://SERVER:9000
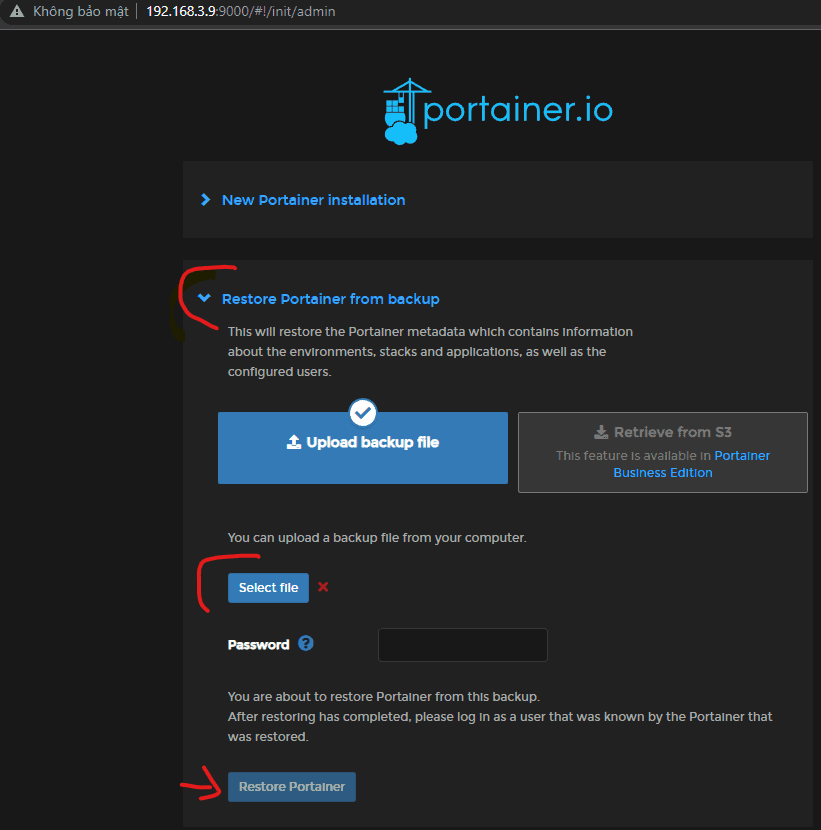
Restore a Backup for the Portainer container.
You need to deploy a fresh instance of Portainer with an empty data volume and choose the Restore Portainer from the backup option during setup. Click Select file and navigate to the .tar.gz file you downloaded earlier. After selecting the file, click Restore Portainer.
Conclusion
You have to deploy Portainer Docker. Please note that these steps provide a basic overview of deploying Portainer.
For a production environment, it’s essential to consider security measures and other best practices. It’s always recommended to consult Portainer’s official documentation for more detailed instructions specific to the latest release and any additional configuration options.
I hope will this your helpful. Thank you for reading the DevopsRoles page!
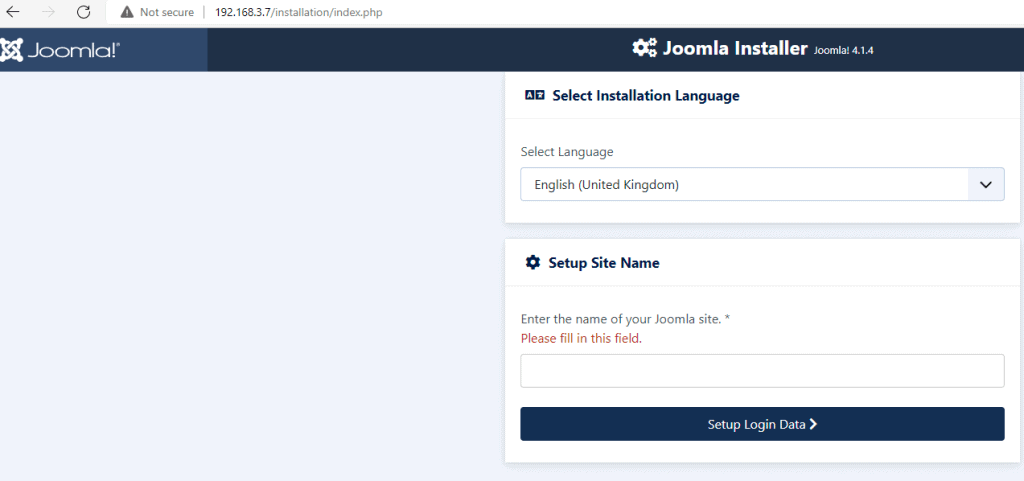
Docker has become an essential tool in the DevOps world, simplifying the deployment and management of applications. Using Docker to deploy Joomla – one of the most popular Content Management Systems (CMS) – offers significant advantages. In this article, we will guide you through each step to Docker deploy Joomla, helping you leverage the full potential of Docker for your Joomla project.
Open the web browser to http://SERVER:PORT, where SERVER is either the IP address or domain of the hosting server, and PORT is the external port.
Follow the Joomla setup wizard to configure your Joomla instance.
Via Youtube
Conclusion
Deploying Joomla with Docker not only simplifies the installation and configuration process but also enhances the management and scalability of your application. With the detailed steps provided in this guide, you can confidently deploy and manage Joomla on the Docker platform. Using Docker saves time and improves the performance and reliability of your system. Start today to experience the benefits Docker brings to your Joomla project. I hope will this your helpful. Thank you for reading the DevopsRoles page!
In this tutorial, How to create docker secret and deploy a service. Docker secrets encrypt things like passwords and certificates within a service and container.
We’ll use the command printf and pipe the output to the docker command to create a secret called test_secret. As command below:
printf "My secret secret" | docker secret create test_secret -
To check the result with the command below
docker secret ls
The output as below:
vagrant@controller:~$ docker secret ls
ID                          NAME          DRIVER    CREATED          UPDATED
txrthzah1vnl4kyrh282j39ft   test_secret             24 seconds ago   24 seconds ago
create a service that uses the secret
To deploy that service, using the test_secret secret, the command looks something like this:
docker service create --name redis --secret test_secret redis:alpine
Verify the service is running as the command below
docker service ps redis
The output is as below:
vagrant@controller:~$ docker service ps redis
ID             NAME      IMAGE          NODE         DESIRED STATE   CURRENT STATE            ERROR     PORTS
y6249s3xftxa   redis.1   redis:alpine   controller   Running         Running 33 seconds ago
Verify the service has access to the secret as below
Elastic APM helps you monitor overall application health and performance. It is part of the Elastic Stack, which includes Elasticsearch, Logstash, and Kibana.
Elastic APM allows you to track and analyze the performance metrics of your applications, identify bottlenecks, and troubleshoot issues.
You have Elastic APM Tool for Application Performance Monitoring.
Elastic APM is a comprehensive tool for monitoring the performance of your applications, providing deep insights into transaction traces, metrics, errors, and code-level details. It helps you identify performance issues, optimize application performance, and deliver a better user experience.
I hope will this your helpful. Thank you for reading the DevopsRoles page!
Here’s a Docker Swarm cheat sheet to help you with common commands and operations:
Docker Swarm is a powerful tool for container management and application orchestration. For those working in the DevOps field, mastering Docker Swarm commands and techniques is essential for effective system deployment and management.
This article provides a detailed cheat sheet, compiling important commands and useful tips, to help you quickly master Docker Swarm and optimize your workflow.
docker service ps --filter desired-state=running <service id|name>
print console log of a service
docker service logs --follow <service id|name>
Promote a worker node to the manager
docker node promote node_name
The output terminal Promote a worker node to the manager as below
vagrant@controller:~$ docker node ls
ID                            HOSTNAME     STATUS    AVAILABILITY   MANAGER STATUS   ENGINE VERSION
9b2211c8l1bmhu3h2ij3kthxv *   controller   Ready     Active         Leader           20.10.14
0j0pslqf4g6xkki8ajydvc123     node1        Ready     Active                          20.10.14
f4cxubqg0wqdxsaj8pe4qsqlg     node2        Ready     Active                          20.10.14

vagrant@controller:~$ docker node promote f4cxubqg0wqdxsaj8pe4qsqlg
Node f4cxubqg0wqdxsaj8pe4qsqlg promoted to a manager in the swarm.

vagrant@controller:~$ docker node ls
ID                            HOSTNAME     STATUS    AVAILABILITY   MANAGER STATUS   ENGINE VERSION
9b2211c8l1bmhu3h2ij3kthxv *   controller   Ready     Active         Leader           20.10.14
0j0pslqf4g6xkki8ajydvc123     node1        Ready     Active                          20.10.14
f4cxubqg0wqdxsaj8pe4qsqlg     node2        Ready     Active         Reachable        20.10.14
You now have the Docker Swarm cheat sheet, which includes some of the most essential commands used in Docker Swarm.
For a more comprehensive list of options and additional commands, please refer to the official Docker documentation:
For a more detailed list of options and additional commands, you can refer to the official Docker documentation. I hope you find this helpful. Thank you for visiting the DevopsRoles page!