In 2025, navigating the cloud landscape is no longer an optional skill for a developer—it’s a core competency. Amazon Web Services (AWS) continues to dominate the market, with the 2024 Stack Overflow Developer Survey reporting that over 52% of professional developers use AWS. But with a portfolio of over 200 products, “learning AWS” can feel like an impossible task. The key isn’t to know every service, but to deeply understand the *right* ones. This guide focuses on the top 10 essential AWS Services that provide the most value to developers, enabling you to build, deploy, and scale modern applications efficiently.
Whether you’re building serverless microservices, container-based applications, or sophisticated AI-driven platforms, mastering this curated list will be a significant differentiator in your career. We’ll move beyond the simple definitions to explore *why* each service is critical for a developer’s workflow and how they interconnect to form the backbone of a robust, cloud-native stack.
Table of Contents
- 1 Why Mastering AWS Services is Non-Negotiable for Developers in 2025
- 2 The Top 10 AWS Services for Developers
- 2.1 1. AWS Lambda
- 2.2 2. Amazon S3 (Simple Storage Service)
- 2.3 3. Amazon DynamoDB
- 2.4 4. Amazon ECS (Elastic Container Service) & AWS Fargate
- 2.5 5. Amazon EKS (Elastic Kubernetes Service)
- 2.6 6. AWS IAM (Identity and Access Management)
- 2.7 7. Amazon API Gateway
- 2.8 8. Amazon RDS (Relational Database Service)
- 2.9 9. AWS CodePipeline / CodeCommit / CodeBuild
- 2.10 10. Amazon SQS (Simple Queue Service)
- 3 Beyond the Top 10: Honorable Mentions
- 4 Frequently Asked Questions
- 5 Conclusion
Why Mastering AWS Services is Non-Negotiable for Developers in 2025
The “DevOps” movement has fully matured, and the lines between writing code and managing the infrastructure it runs on have blurred. Modern developers are increasingly responsible for the entire application lifecycle—a concept known as “you build it, you run it.” Understanding core AWS services is the key to fulfilling this responsibility effectively.
Here’s why this knowledge is crucial:
- Architectural Fluency: You can’t write efficient, cloud-native code if you don’t understand the components you’re writing for. Knowing when to use a Lambda function versus a Fargate container, or DynamoDB versus RDS, is an architectural decision that begins at the code level.
- Performance & Cost Optimization: A developer who understands AWS services can write code that leverages them optimally. This means building applications that are not only fast and scalable (e.g., using SQS to decouple services) but also cost-effective (e.g., choosing the right S3 storage tier or Lambda provisioned concurrency).
- Reduced Dependencies: When you can provision your own database with RDS or define your own security rules in IAM, you reduce friction and dependency on a separate operations team. This leads to faster development cycles and more autonomous, agile teams.
- Career Advancement: Proficiency in AWS is one of the most in-demand skills in tech. It opens doors to senior roles, DevOps and SRE positions, and higher-paying contracts. The AWS Certified Developer – Associate certification is a testament to this, validating that you can develop, deploy, and debug applications on the platform.
In short, the
platform is no longer just “where the app is deployed.” It is an integral part of the application itself. The services listed below are your new standard library.
The Top 10 AWS Services for Developers
This list is curated for a developer’s perspective, prioritizing compute, storage, data, and the “glue” services that connect everything. We’ll focus on services that you will interact with directly from your code or your CI/CD pipeline.
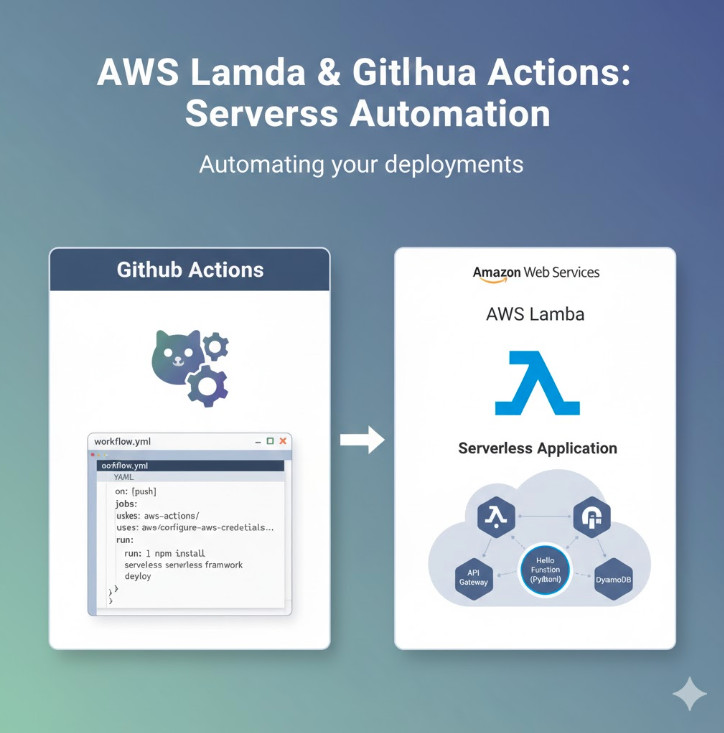
1. AWS Lambda
What it is: A serverless, event-driven compute service. Lambda lets you run code without provisioning or managing servers. You simply upload your code as a “function,” and AWS handles all the scaling, patching, and high availability.
Why it matters for Developers: Lambda is the heart of serverless architecture. As a developer, your focus shifts entirely to writing business logic. You don’t care about the underlying OS, runtime, or scaling. Your function can be triggered by dozens of other AWS services, such as an HTTP request from API Gateway, a file upload to S3, or a message in an SQS queue. This event-driven model is powerful for building decoupled microservices. You only pay for the compute time you consume, down to the millisecond, making it incredibly cost-effective for spiky or low-traffic workloads.
Practical Example (Python): A simple Lambda function that triggers when a new image is uploaded to an S3 bucket.
import json
import boto3

s3 = boto3.client('s3')

def lambda_handler(event, context):
    # 1. Get the bucket and key from the event
    bucket = event['Records'][0]['s3']['bucket']['name']
    key = event['Records'][0]['s3']['object']['key']

    print(f"New file {key} was uploaded to {bucket}.")

    # Example: Add a tag to the new object
    s3.put_object_tagging(
        Bucket=bucket,
        Key=key,
        Tagging={
            'TagSet': [
                {
                    'Key': 'processed',
                    'Value': 'false'
                },
            ]
        }
    )

    return {
        'statusCode': 200,
        'body': json.dumps('Tag added successfully!')
    }
2. Amazon S3 (Simple Storage Service)
What it is: A highly durable, scalable, and secure object storage service. Think of it as a limitless hard drive in the cloud, but with an API.
Why it matters for Developers: S3 is far more than just “storage.” It’s a foundational service that nearly every application touches. For developers, S3 is the go-to solution for:
- Storing User Uploads: Images, videos, documents, etc.
- Static Website Hosting: You can host an entire single-page application (SPA) like a React or Vue app directly from an S3 bucket.
- Data Lakes: The primary repository for raw data used in analytics and machine learning.
- Logs and Backups: A durable, low-cost target for application logs and database backups.
Your code will interact with S3 daily, using AWS SDKs to upload (PutObject) and retrieve (GetObject) files securely.
Practical Example (AWS CLI): Copying your application’s built static assets to an S3 bucket configured for website hosting.
# Build your React app
npm run build

# Sync the build directory to your S3 bucket
# The --delete flag removes old files
aws s3 sync build/ s3://my-static-website-bucket --delete
3. Amazon DynamoDB
What it is: A fully managed, serverless NoSQL key-value and document database. It’s designed for single-digit millisecond performance at any scale.
Why it matters for Developers: DynamoDB is the default database for serverless applications. Because it’s fully managed, you never worry about patching, scaling, or replication. Its key-value nature makes it incredibly fast for “hot” data access, such as user profiles, session states, shopping carts, and gaming leaderboards. For a developer, the primary challenge (and power) is in data modeling. Instead of complex joins, you design your tables around your application’s specific access patterns, which forces you to think about *how* your app will be used upfront. It pairs perfectly with Lambda, as a Lambda function can read or write to DynamoDB with extremely low latency.
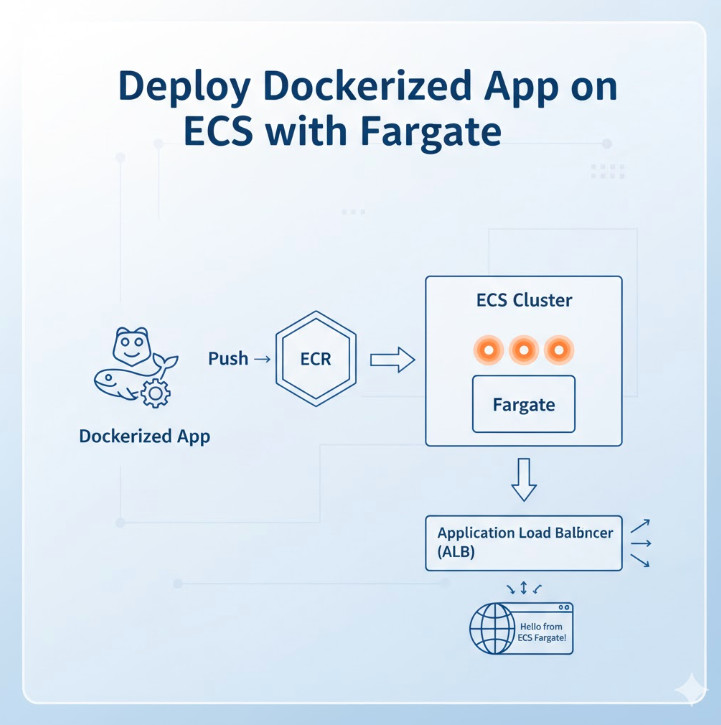
4. Amazon ECS (Elastic Container Service) & AWS Fargate
What it is: ECS is a highly scalable, high-performance container orchestration service. It manages your Docker containers. Fargate is a “serverless” compute engine for containers that removes the need to manage the underlying EC2 instances (virtual servers).
Why it matters for Developers: Containers are the standard for packaging and deploying applications. ECS with Fargate gives developers the power of containers without the operational overhead of managing servers. You define your application in a Dockerfile, create a “Task Definition” (a JSON blueprint), and tell Fargate to run it. Fargate finds the compute, deploys your container, and handles scaling automatically. This is the ideal path for migrating a traditional monolithic application (e.g., a Node.js Express server or a Java Spring Boot app) to the cloud, or for running long-lived microservices that don’t fit the short-lived, event-driven model of Lambda.
Practical Example (ECS Task Definition Snippet): A simple definition for a web server container.
{
  "family": "my-web-app",
  "containerDefinitions": [
    {
      "name": "my-app-container",
      "image": "123456789012.dkr.ecr.us-east-1.amazonaws.com/my-app:latest",
      "portMappings": [
        {
          "containerPort": 8080,
          "hostPort": 8080,
          "protocol": "tcp"
        }
      ],
      "cpu": 512,
      "memory": 1024,
      "essential": true
    }
  ],
  "requiresCompatibilities": ["FARGATE"],
  "networkMode": "awsvpc",
  "cpu": "512",
  "memory": "1024"
}
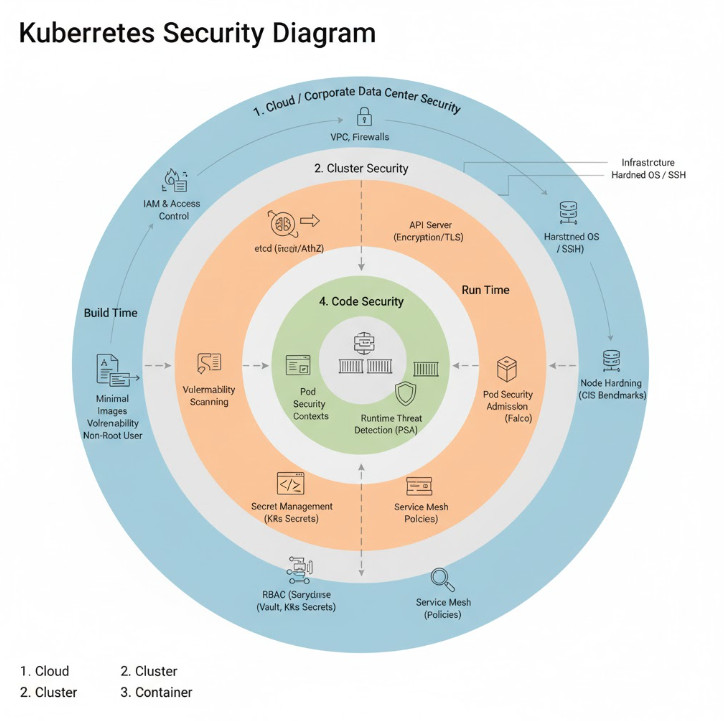
5. Amazon EKS (Elastic Kubernetes Service)
What it is: A fully managed Kubernetes service. Kubernetes (K8s) is the open-source industry standard for container orchestration, and EKS provides a managed, secure, and highly available K8s control plane.
Why it matters for Developers: If your company or team has standardized on Kubernetes, EKS is how you run it on AWS. While ECS is a simpler, AWS-native option, EKS provides the full, unadulterated Kubernetes API. This is crucial for portability (avoiding vendor lock-in) and for leveraging the massive open-source K8s ecosystem (tools like Helm, Prometheus, and Istio). As a developer, you’ll interact with the cluster using kubectl just as you would any other K8s cluster, but without the nightmare of managing the control plane (etcd, API server, etc.) yourself.
6. AWS IAM (Identity and Access Management)
What it is: The security backbone of AWS. IAM manages “who can do what.” It controls access to all AWS services and resources using users, groups, roles, and policies.
Why it matters for Developers: This is arguably the most critical service for a developer to understand. You *will* write insecure code if you don’t grasp IAM. The golden rule is “least privilege.” Your Lambda function doesn’t need admin access; it needs an IAM Role that gives it *only* the dynamodb:PutItem permission for a *specific* table. As a developer, you will constantly be defining these roles and policies to securely connect your services. Using IAM roles (instead of hard-coding secret keys in your app) is the non-negotiable best practice for application security on AWS.
Practical Example (IAM Policy): A policy for a Lambda function that only allows it to write to a specific DynamoDB table.
{
  "Version": "2012-10-17",
  "Statement": [
    {
      "Effect": "Allow",
      "Action": [
        "dynamodb:PutItem",
        "dynamodb:UpdateItem"
      ],
      "Resource": "arn:aws:dynamodb:us-east-1:123456789012:table/my-user-table"
    },
    {
      "Effect": "Allow",
      "Action": [
        "logs:CreateLogGroup",
        "logs:CreateLogStream",
        "logs:PutLogEvents"
      ],
      "Resource": "arn:aws:logs:*:*:*"
    }
  ]
}
7. Amazon API Gateway
What it is: A fully managed service for creating, publishing, maintaining, and securing APIs at any scale. It acts as the “front door” for your application’s backend logic.
Why it matters for Developers: API Gateway is the bridge between the outside world (e.g., a mobile app or a web front end) and your backend compute (e.g., Lambda, ECS, or even an EC2 instance). As a developer, you use it to define your RESTful or WebSocket APIs. It handles all the undifferentiated heavy lifting: request/response transformation, throttling to prevent abuse, caching, authentication (e.g., with AWS Cognito or IAM), and monitoring. You can create a full, production-ready, serverless API by simply mapping API Gateway endpoints to Lambda functions.
8. Amazon RDS (Relational Database Service)
What it is: A managed service for relational databases. It supports popular engines like PostgreSQL, MySQL, MariaDB, SQL Server, and Oracle.
Why it matters for Developers: While DynamoDB is great for many use cases, sometimes you just need a SQL database. You might be migrating a legacy application, or your data has complex relationships and requires transactional integrity (ACID compliance). RDS gives you a SQL database without forcing you to become a Database Administrator (DBA). It automates provisioning, patching, backups, and high-availability (multi-AZ) failover. As a developer, you get a simple connection string, and you can use your favorite SQL dialect and ORM (e.g., SQLAlchemy, TypeORM, Prisma) just as you would with any other database.
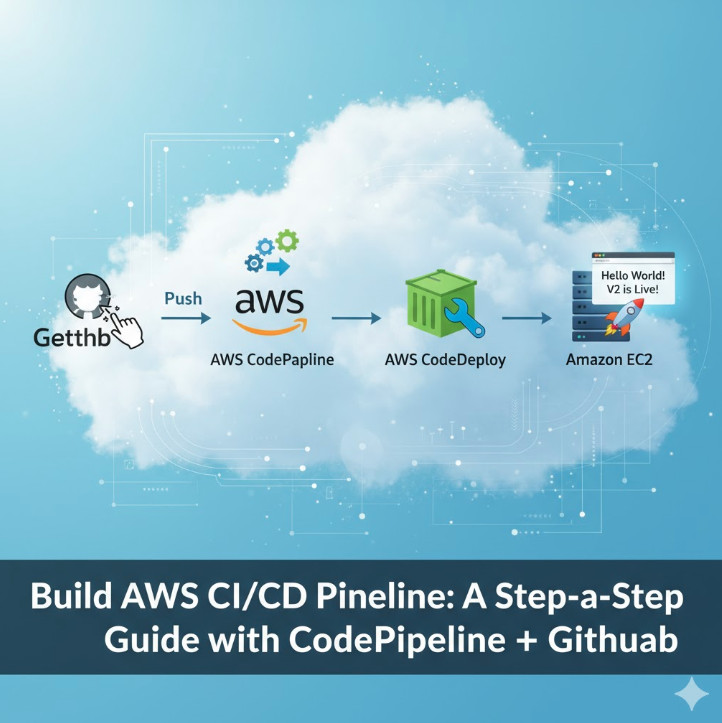
9. AWS CodePipeline / CodeCommit / CodeBuild
What it is: This is a suite of fully managed CI/CD (Continuous Integration / Continuous Deployment) services.
- CodeCommit: A private, managed Git repository.
- CodeBuild: A managed build service that compiles your code, runs tests, and produces artifacts (like a Docker image).
- CodePipeline: The “orchestrator” that defines your release process (e.g., “On push to
main, run CodeBuild, then deploy to ECS”).
Why it matters for Developers: “You build it, you run it” also means “you deploy it.” As a developer, you are responsible for automating your path to production. While many companies use third-party tools like Jenkins or GitLab CI, the AWS CodeSuite provides a deeply integrated, serverless way to build and deploy your applications *natively* on AWS. You can configure a pipeline that automatically builds and deploys your Lambda function, Fargate container, or even your S3 static site on every single commit, allowing for true continuous delivery.
10. Amazon SQS (Simple Queue Service)
What it is: A fully managed message queuing service. It’s one of the oldest and most reliable AWS services.
Why it matters for Developers: SQS is the essential “glue” for building decoupled, resilient, and asynchronous microservices. Instead of one service calling another directly via an API (a synchronous call that can fail), the first service (the “producer”) sends a “job” as a message to an SQS queue. A second service (the “consumer”) then polls the queue, pulls off a message, and processes it at its own pace.
This pattern is incredibly powerful. If the consumer service crashes, the message stays safely in the queue and can be re-processed later (this is called “fault tolerance”). If the producer service sends 10,000 messages at once, the queue absorbs the spike, and the consumer can work through them steadily (this is called “smoothing” or “load leveling”). As a developer, SQS is your primary tool for moving from a fragile monolith to a robust, event-driven architecture.
Beyond the Top 10: Honorable Mentions
Once you have a handle on the services above, these are the next logical ones to explore to round out your AWS for developers toolkit:
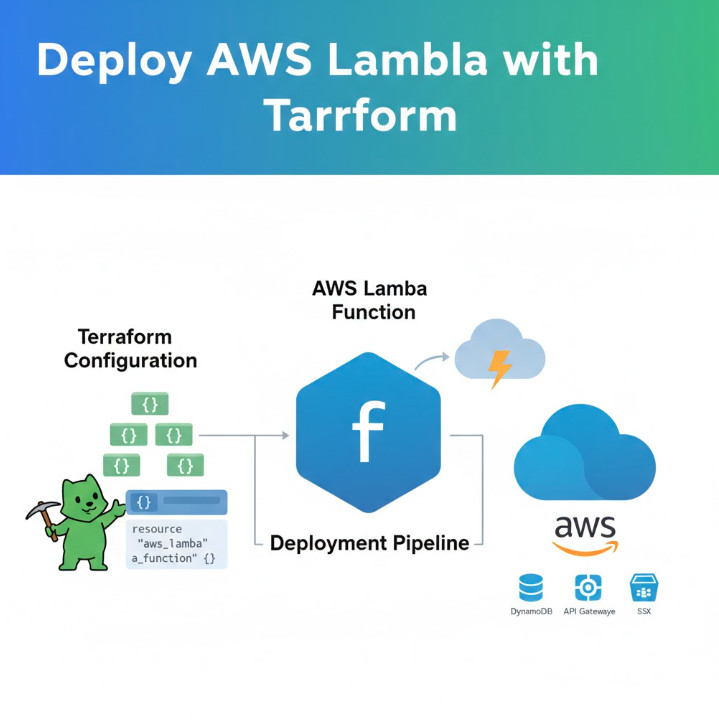
- AWS CDK (Cloud Development Kit): Stop clicking in the console. The CDK lets you define your entire infrastructure (VPCs, databases, Lambda functions, everything) in a real programming language like TypeScript, Python, or Go. This is the modern face of Infrastructure as Code (IaC).
- Details
- Amazon CloudWatch: You can’t run what you can’t see. CloudWatch is the native monitoring and observability service. It collects logs (
CloudWatch Logs), metrics (CloudWatch Metrics), and allows you to set alarms based on them (e.g., “Alert me if my Lambda function has more than 5 errors in 1 minute”). - Amazon Cognito: A fully managed user identity and authentication service. If your app needs a “Sign Up / Sign In” page, Cognito handles the user pool, password resets, and social federation (e.g., “Login with Google”) for you.
Frequently Asked Questions
What’s the best way to start learning these AWS services?
The single best way is to build something. Take advantage of the AWS Free Tier, which gives you a generous amount of many of these services (Lambda, DynamoDB, S3, etc.) for 12 months. Pick a project—like a serverless URL shortener or a photo-sharing app—and build it. Use API Gateway + Lambda + DynamoDB. Host the frontend on S3. You’ll learn more from one weekend of building than from weeks of passive reading.
Do I need to know all 10 of these?
No, but you should know *of* them. Your daily focus will depend on your stack. If you’re a pure serverless developer, your world will be Lambda, DynamoDB, API Gateway, SQS, and IAM. If you’re on a team managing large-scale microservices, you’ll live inside EKS, RDS, and CloudWatch. The most universal services that *every* developer should know are S3 and IAM, as they are truly foundational.
How is AWS different from Azure or GCP for a developer?
All three major cloud providers (AWS, Microsoft Azure, and Google Cloud Platform) offer the same core “primitives.” They all have a serverless function service (Lambda, Azure Functions, Google Cloud Functions), a container service (ECS/EKS, Azure Kubernetes Service, Google Kubernetes Engine), and managed databases. The concepts are 100% transferable. AWS is the most mature, has the largest market share, and offers the widest breadth of services. The main difference a developer will feel is in the naming conventions, the specific SDKs/APIs, and the IAM system, which is unique to each cloud.


Conclusion
The cloud is no longer just infrastructure; it’s the new application server, the new database, and the new deployment pipeline, all rolled into one API-driven platform. For developers in 2025, fluency in these core AWS Services is not just a “nice to have” skill—it is a fundamental part of the job. By focusing on this top 10 list, you move beyond just writing code and become an architect of scalable, resilient, and powerful cloud-native applications. Start with S3 and IAM, pick a compute layer like Lambda or Fargate, add a database like DynamoDB or RDS, and you’ll have the foundation you need to build almost anything. Thank you for reading the DevopsRoles page!