In this tutorial, I have written a script groovy using Jenkins pipeline call shell to create a folder and copy. How to Execute shell script from Jenkins groovy script in Pipeline. Now, let’s go to the Jenkins pipeline groovy example.
Jenkins Pipeline creates multiple automation jobs with the help of use cases and runs them as a Jenkins pipeline.
You can installed build pipeline plugin on Jenkins server.
Jenkins pipeline groovy example
I will create 3 folder: app1,app-api,app2 and copy war file is app1.war,app-api.war,app2.war
Execute shell script from Jenkins Groovy script in Pipeline.
node('master') {
stage('Create directory and copy to folder release') {
   artifacts = "app1,app-api,app2"
   targets = artifacts.split(",")
   for (String artifact : targets){
         Warfile = artifact + ".war"
         sh """
              mkdir -p ${JENKINS_HOME}/delivery/${artifact}
              cp ${WORKSPACE}/${artifact}/target/${Warfile} ${JENKINS_HOME}/delivery/${artifact}/
         """
 }
 }
}
Conclusion
Throughout this article, “How to Execute a Shell Script from Jenkins Groovy Script in Pipeline,” we’ve explored detailed steps and strategies for integrating shell scripts into Jenkins pipelines using Groovy. I hope you found the information provided useful for enhancing your DevOps processes. Thank you for reading at DevOpsRoles.com, and stay tuned for more insights and tutorials to streamline your development and operational tasks.
In this tutorial, How to confirm Oracle automatic startup on Linux. How to make Oracle start automatically in Linux.
Ensuring that your Oracle database starts automatically when your Linux system boots up can save time and reduce manual intervention, enhancing the reliability of your database operations.
This guide will walk you through the process of configuring automatic startup for Oracle on a Linux system. By following these steps, you can ensure that your Oracle database is always ready to handle your data needs, even after a system reboot.
By default, Oracle software installation does not deploy automatic startup and shutdown init scripts on the platform.
How to confirm Oracle automatic startup on Linux.
The dbstart utility reads the oratab file. Confirm it in the example below
[HuuPV@DevopsRoles ~]$ sudo su - oracle
[oracle@DevopsRoles ~]$ cat /etc/oratabDEVOPSROLES_SID:/opt/oracle/product/11.2.0/dbhome_1:YDEVOPSROLES_SID02:/opt/oracle/product/10.2.03/dbhome_2:N
We see there are two instances on this server. Oracle 10.2.03 is marked “N” and will not restart when the Linux OS reboots. Oracle 11.2.0 is marked “Y” and will restart when the Linux OS reboots.
Auto Start Oracle on Linux
1. In the /etc/oratab file with the autostart column to “Y”
2. Create the file named “oracle” in /etc/init.d folder.
[root@DevopsRoles ~]# cd /etc/init.d
[root@DevopsRoles init.d]# vi oracle

#!/bin/sh
ORACLE_HOME=/opt/oracle/product/11.2.0/dbhome_1
ORACLE_OWNER=oracle
case "$1" in
'start') # Start the Oracle databases and listeners
su - $ORACLE_OWNER -c "$ORACLE_HOME/bin/dbstart $ORACLE_HOME"
;;
'stop') # Stop the Oracle databases and listeners
su - $ORACLE_OWNER -c "$ORACLE_HOME/bin/dbshut $ORACLE_HOME"
;;
esac
Configuring Oracle for automatic startup on Linux significantly improves the efficiency and reliability of your database management. By following the steps outlined in this guide, you have learned how to set up your Oracle database to start automatically with your Linux system, ensuring minimal downtime and maximum productivity. Regular maintenance and monitoring will further ensure the smooth operation of your database. Keep exploring and optimizing your setup to make the most out of your Oracle database. Thank you for reading DevOpsRoles.com page
In this tutorial, How to use NMAP Security Scanner on Linux. How to scan port, service name, and ping v.v to target.
The nmap command is a powerful network scanning tool used for discovering hosts and services on a computer network. It provides a wide range of options and functionalities.
Here are some common use cases of the nmap command:
Install Nmap
CentOS
$ sudo yum install nmap.
Debian
$ sudo apt-get install nmap.
Ubuntu
$ sudo apt-get install nmap.
Syntax use nmap command
nmap[Scan Type][Options]{Target}
Target
For example, Domain: www.huuphan.com, www.devopsroles.com. IP Address: 192.168.1.4, 10.0.0-255.1-254
Scan Type
-sL:    List Scan -- simply list targets to scan
-sn:    Ping Scan -- disable port scan
-sP:    Ping Scan -- go no further than determining if host is online
-sS/sT/sA/sW/sM:    TCP SYN/Connect()/ACK/ Window/Maimon scans
-sV:    Probe open ports to determine service/version info
-sU:    UDP Scan
-sO:    IP protocol scan -- ICMP,EIGRP,
-b:    FTP bounce scan
-n/-R:    Never do DNS resolution/Always resolve[default: sometimes]
Options
-p: Only scan specified ports
-O: Enable OS detection
-P0: Treat all hosts as online -- skip host discovery
-e: Use specified interface
nmap command examples
Scan port
# all ports
$ nmap -v -PO www.huuphan.com

# speified port only
$ nmap -v -PO -p 22 192.168.1.0/24

# post scan & service name
$ nmap -v -sV 192.168.1.110
ping scan
$ nmap -v -sn 192.168.1.0/24
Check the OS of the specified IP
$ nmap -A 192.168.1.110
The nmap option –traceroute to trace the route from the scanning machine to the target host
$ nmap -Pn --traceroute -p 443 www.huuphan.com
Scan multiple hosts:
Specify multiple target IP addresses or hostnames separated by spaces.
Conclusion
Nmap command is a simple command in Linux. These are just a few examples of using the nmap command. It’s important to note that scanning hosts or networks without proper authorization may be illegal or against the terms of service.
Make sure you have the necessary permissions and comply with applicable laws and regulations before using nmap. It is a tips and tricks for troubleshooting Linux. Thank you for reading the DevopsRoles page!
In this tutorial, we will explore how to use the nl command in Linux to number lines of files. The nl command is a powerful tool for adding line numbers to the contents of a file or standard input. This can be incredibly useful for referencing specific lines more easily or for organizing and presenting content more clearly. Let’s delve into practical examples to demonstrate how the nl command can be effectively utilized in various scenarios.
What does the nl command mean?
The nl command stands for “number lines,” and it is used in Linux to add line numbers to the contents of files or standard input. This functionality is particularly useful for referencing specific lines more easily in scripts or documents.
nl command syntax
nl [OPTION]… [FILE]…
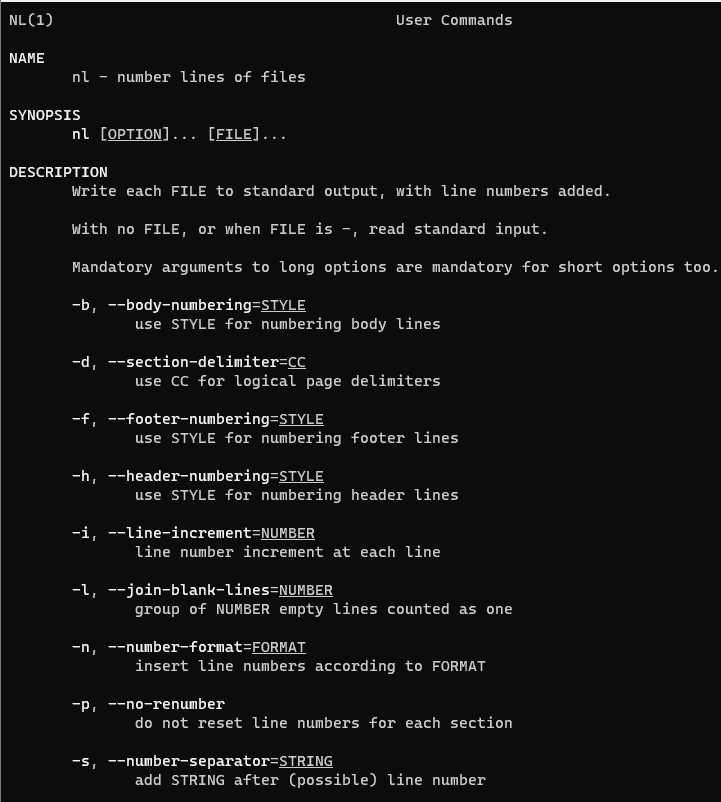
Some common options for the “nl” command include:
-b <type>: Specifies the numbering style. The <type> can be a (all lines), t (non-empty lines), or n (no lines).
-i <increment>: Sets the line number increment. The <increment> can be any positive integer.
-v <number>: Sets the starting line number. The <number> can be any positive integer.
-w <width>: Specifies the field width for line numbers.
On the man page, the describes it
nl – number lines of files.
man nl – More details information about nl command.
nl command in Linux with an example
I have created a file nl_command.txt as below
[vagrant@DevopsRoles ~]$ cat nl_command.txt
 HuuPV, My website DevopsRoles.com and HuuPhan.com.SN:199x.
 Devops Roles.
 Devops Roles.
 Devops Roles.
 Devops Roles.
 Hello world :)
By default, the nl command doesn’t number empty lines
[vagrant@DevopsRoles ~]$ nl nl_command.txt
      1  HuuPV, My website DevopsRoles.com and HuuPhan.com.SN:199x.
      2  Devops Roles.
      3  Devops Roles.
      4  Devops Roles.
      5  Devops Roles.
      6  Hello world :)
How to number empty lines.
[vagrant@DevopsRoles ~]$ nl -b a nl_command.txt
      1  HuuPV, My website DevopsRoles.com and HuuPhan.com.SN:199x.
      2  Devops Roles.
      3  Devops Roles.
      4  Devops Roles.
      5  Devops Roles.
      6
      7  Hello world :)
How to numbering formats
[vagrant@DevopsRoles ~]$ nl -n ln nl_command.txt
 1       HuuPV, My website DevopsRoles.com and HuuPhan.com.SN:199x.
 2       Devops Roles.
 3       Devops Roles.
 4       Devops Roles.
 5       Devops Roles.
 6       Hello world :)
 [vagrant@DevopsRoles ~]$ nl -n rz nl_command.txt
 000001  HuuPV, My website DevopsRoles.com and HuuPhan.com.SN:199x.
 000002  Devops Roles.
 000003  Devops Roles.
 000004  Devops Roles.
 000005  Devops Roles.
 000006  Hello world :)
Customized numbering separator
[vagrant@DevopsRoles ~]$ nl nl_command.txt
      1  HuuPV, My website DevopsRoles.com and HuuPhan.com.SN:199x.
      2  Devops Roles.
      3  Devops Roles.
      4  Devops Roles.
      5  Devops Roles.
      6  Hello world :)
 [vagrant@DevopsRoles ~]$ nl -s : nl_command.txt
      1:HuuPV, My website DevopsRoles.com and HuuPhan.com.SN:199x.
      2:Devops Roles.
      3:Devops Roles.
      4:Devops Roles.
      5:Devops Roles.
      6:Hello world :)
Conclusion
nl command is a simple command in Linux. It uses the number of lines of files. You can refer to the manual page for the “nl” command by typing man nl in the terminal for more information and additional options available on your specific Linux distribution. Thank you for reading the DevopsRoles page!
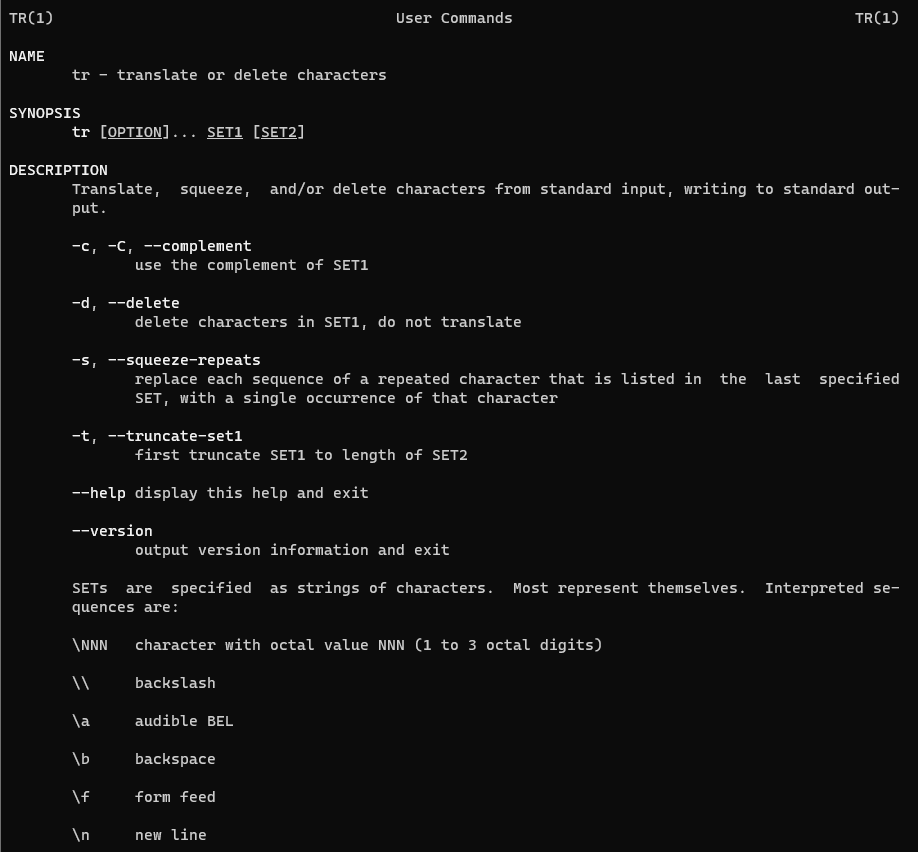
In this tutorial, we will explore the tr command in Linux, a versatile utility in Linux for translating or deleting characters in text. The tr command is primarily used for character-level transformations, making it an essential tool for modifying the contents of text files or input streams. By specifying certain rules, tr allows you to replace or remove specific characters efficiently. Let’s dive into practical examples to see the using tr command in Linux.
What is the purpose of the tr command?
The tr command, short for “translate,” is a powerful utility in Linux used to translate or delete characters in text data. It performs specific transformations on the contents of a file or data from a standard input, based on rules defined by the user.
tr command syntax
tr [OPTION]... [INPUT [OUTPUT]]
According to the man page, it is described as follows.
tr – translate or delete characters.
man tr – More details information about tr command.
tr command in Linux with an example
I have created a file tr_command.txt as below
[vagrant@DevopsRoles ~]$ cat tr_command.txt
 HuuPV, My website DevopsRoles.com and HuuPhan.com.SN:199x.
 Devops Roles.
 Devops Roles.
 Devops Roles.
 Devops Roles.
 Hello world :)
How to convert small letters into capital letters.
[vagrant@DevopsRoles ~]$ cat tr_command.txt | tr [:lower:] [:upper:]
 HUUPV, MY WEBSITE DEVOPSROLES.COM AND HUUPHAN.COM.SN:199X.
 DEVOPS ROLES.
 DEVOPS ROLES.
 DEVOPS ROLES.
 DEVOPS ROLES.
 HELLO WORLD :)
The following command is used to convert each space of the text by a newline (\n)
[vagrant@DevopsRoles ~]$ cat tr_command.txt | tr [:space:] '\n'
 HuuPV,
 My
 website
 DevopsRoles.com
 and
 HuuPhan.com.SN:199x.
 Devops
 Roles.
 Devops
 Roles.
 Devops
 Roles.
 Devops
 Roles.
 Hello
 world
 :)
uses –s option for searching and replacing any string from a text
[vagrant@DevopsRoles ~]$ cat tr_command.txt |  tr -s ' ' '\t'
 HuuPV,  My      website DevopsRoles.com and     HuuPhan.com.SN:199x.
 Devops  Roles.
 Devops  Roles.
 Devops  Roles.
 Devops  Roles.
 Hello   world   :)
Delete numbers
[vagrant@DevopsRoles ~]$ cat tr_command.txt | tr -d "[:digit:]"
 HuuPV, My website DevopsRoles.com and HuuPhan.com.SN:x.
 Devops Roles.
 Devops Roles.
 Devops Roles.
 Devops Roles.
 Hello world :)
The tr command is a straightforward yet powerful tool in Linux, used to translate or delete characters in text. For more detailed information and to explore additional options that may vary by Linux distribution, you can consult the manual page for the tr command by typing man tr in the terminal. Thank you for visiting the DevopsRoles page!
In this guide, I demonstrate how to use the uniq command in Linux to handle repeated lines. We’ll explore practical examples of the uniq command in action.
What does the “uniq” command mean?
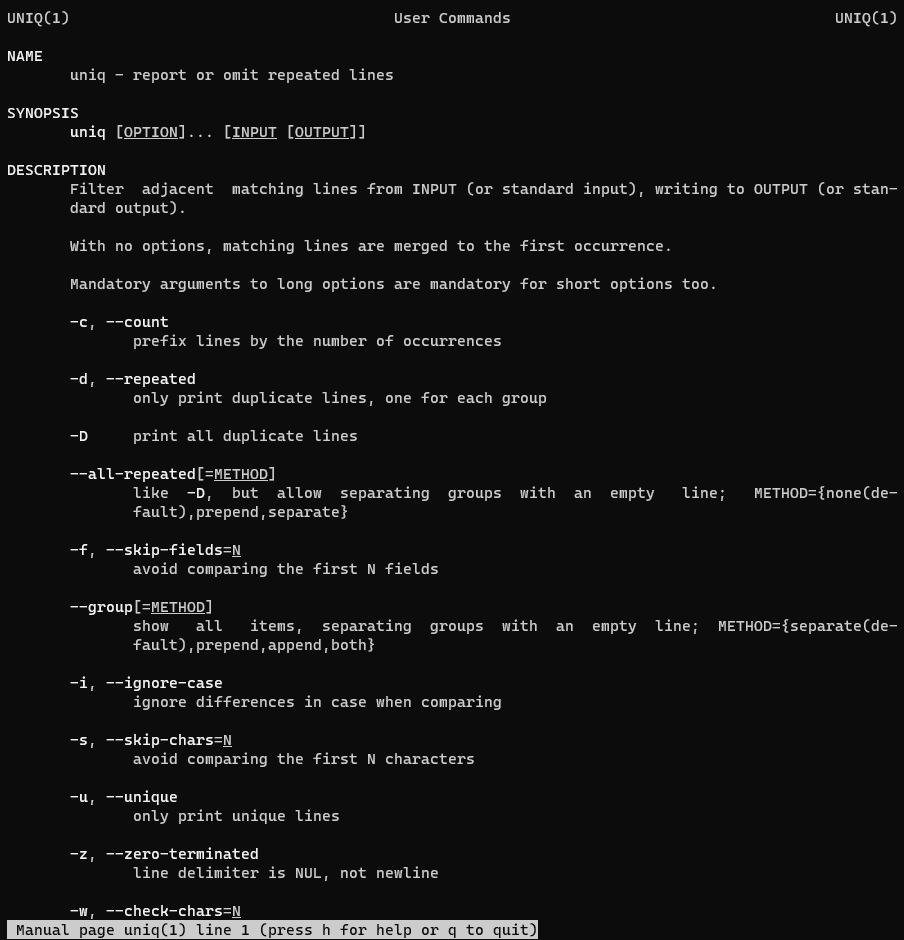
“uniq” – This command is used to report or omit repeated lines.
uniq command the syntax
uniq [OPTION]... [INPUT [OUTPUT]]
In the man page, the describes it
uniq – report or omit repeated lines.
man uniq – More details information about uniq command.
How to Use Uniq Command in Linux
I have created a file uniq_command.txt as below
[vagrant@DevopsRoles ~]$ cat uniq_command.txt
 HuuPV, My website DevopsRoles.com and HuuPhan.com.SN:199x.
 Devops Roles.
 Devops Roles.
 Devops Roles.
 Devops Roles.
 Hello world :)
Remove duplicate lines with the uniq command.
[vagrant@DevopsRoles ~]$ uniq uniq_command.txt
 HuuPV, My website DevopsRoles.com and HuuPhan.com.SN:199x.
 Devops Roles.
 Hello world :)
The number of times a line was repeated
[vagrant@DevopsRoles ~]$ uniq -c uniq_command.txt
       1 HuuPV, My website DevopsRoles.com and HuuPhan.com.SN:199x.
       4 Devops Roles.
       1
       1 Hello world :)
How to not print the duplicate lines. Only the unique lines.
[vagrant@DevopsRoles ~]$ uniq -u uniq_command.txt
 HuuPV, My website DevopsRoles.com and HuuPhan.com.SN:199x.
 Hello world :)
Conclusion
The uniq command is a straightforward tool in Linux, essential for managing and eliminating duplicate lines in files. It offers a simple yet effective way to clean data by reporting or omitting repeated entries. Thank you for visiting the DevopsRoles page and exploring this utility with us!
In this tutorial, I am using the cut command in Linux to remove sections from each line of files.
The cut the command is used to extract specific sections (columns) from lines of input text or files in Linux and Unix systems. It is particularly useful for working with delimited data.
What does cut command mean?
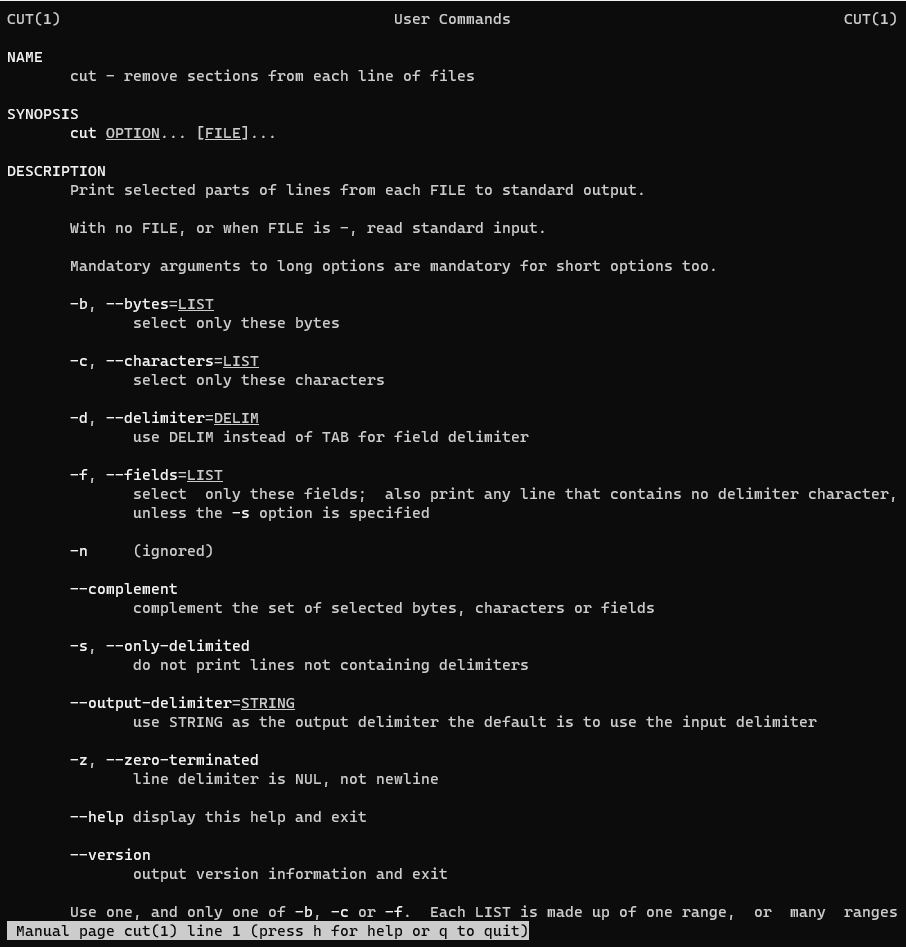
cut – remove sections from each line of files
Syntax
cut OPTION... [FILE]...
On the man page, the description it
cut – remove sections from each line of files.
man cut – More details information about the cut command.
cut command in Linux with an example
I have created a file cut_command.txt as below
[vagrant@DevopsRoles ~]$ cat cut_command.txt
 HuuPV, My website DevopsRoles.com and HuuPhan.com.SN:199x.
 Devops Roles.
 Hello world. xxx.
For delimiter-separated fields. The default delimiter is the tab character.
cut command in Linux is a simple command in Linux. It is used to remove sections from each line of files.
These are just a few examples of how you can use the cut command. It offers various options and functionalities for extracting specific sections from text or files. You can refer to the cut man page (man cut) for more details and additional options.
In this tutorial, we’ll explore how to use the fmt command in Linux to neatly format text in files, set optimal column widths, and standardize spacing. This guide aims to enhance your text processing skills on Linux using practical examples of the fmt command. Let’s dive into the capabilities of the fmt command in Linux.
What does the fmt command mean?
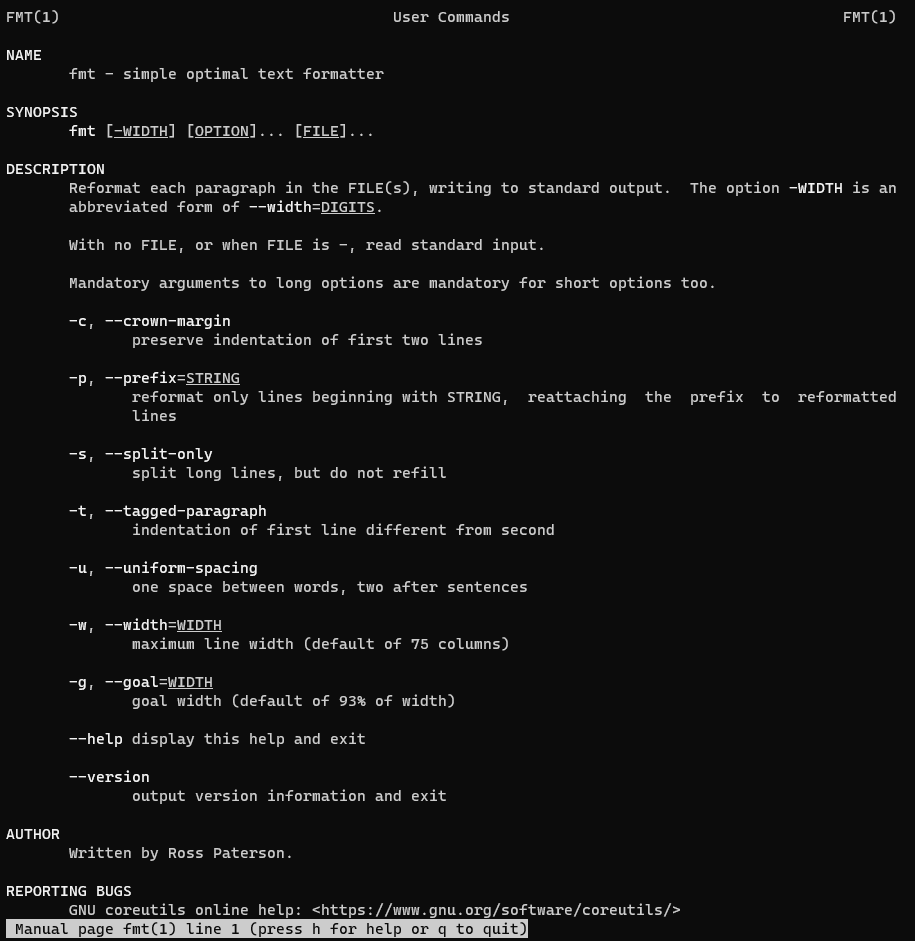
fmt – a straightforward command used as an optimal text formatter.
Syntax
fmt [-WIDTH] [OPTION]... [FILE]...
In the manual page, the fmt command is described as a simple and optimal text formatting Linux. For more detailed information about the fmt command, you can refer to the man fmt section in the manual.
fmt command in Linux with an example
By default, fmt sets the column width at 75.
I have created a file fmt_command.txt
[vagrant@DevopsRoles ~]$ cat fmt_command.txt
 HuuPV, My website DevopsRoles.com and HuuPhan.com.SN:199x.
 Devops Roles.
 Hello world. xxx.
fmt with no options
[vagrant@DevopsRoles ~]$ fmt fmt_command.txt
HuuPV, My website DevopsRoles.com and HuuPhan.com.SN:199x.  Devops Roles.

Hello world. xxx.
How to change the width of formatting.
[vagrant@DevopsRoles ~]$ fmt --width 20 fmt_command.txt
 HuuPV, My website
 DevopsRoles.com and
 HuuPhan.com.SN:199x.
 Devops Roles.
 Hello world. xxx.
with -u option uses one space between words and two spaces after sentences for formatting.
[vagrant@DevopsRoles ~]$ fmt -u fmt_command.txt
 HuuPV, My website DevopsRoles.com and HuuPhan.com.SN:199x.  Devops Roles.
 Hello world. xxx.
Formatting Multiple Files
You can also format multiple files simultaneously. Simply list the files as arguments:
fmt file1.txt file2.txt file3.txt
fmt will process each file and output the formatted text for all of them.
Splitting Long Lines
If you need to split long lines without breaking words, use the -s or --split-only option:
fmt -s myfile.txt
This option splits lines at spaces, ensuring words are not cut off.
Advanced Formatting Options
The fmt command offers several advanced options for more precise text formatting:
-c or --crown-margin: Preserve the indentation of the first two lines.
-t or --tagged-paragraph: Format the text as tagged paragraphs, maintaining a hanging indentation.
-g or --goal: Set the goal width for formatting. This is the preferred width, while the -w option sets the maximum width.
Frequently Asked Questions
What is the default width for the fmt command?
The default width is 75 characters. You can change it using the -w or --width option.
Can fmt handle multiple files at once?
Yes, you can list multiple files as arguments and fmt will format each of them.
How can I preserve indentation with fmt?
Use the -u or --uniform-spacing option to keep the original indentation intact.
What is the difference between the -w and -g options?
The -w option sets the maximum line width, while the -g option sets the goal width, which is the preferred width for formatting.
Can fmt split long lines without breaking words?
Yes, use the -s or --split-only option to split lines at spaces without cutting off words.
Conclusion
The fmt command is a straightforward Linux utility that helps format text files, set column width commands, and ensure uniform spacing. It simplifies text editing tasks, making it a valuable tool for developers and system administrators alike. Thank you for reading this guide on the DevopsRoles page!
By understanding and utilizing the various options and features of fmt, you can efficiently format text files to meet your specific requirements. Experiment with the examples provided in this guide and explore the full potential of the fmt command in your Linux environment.
In this tutorial, I used the Default Service for connecting to the PDB. Made in the tnsnames.ora file that defines database addresses that allow us to establish a connection with the database. The status of the PDB needs to be changed from mounted to read-write mode.
The concept Databases in Oracle 19
The Container Database (CDB).
Pluggable Database (PDB).
Connect to Pluggable Databases in Oracle 19
Where cpdb is the global database.
pdb1 and pdb2 are the two pluggable databases created.
When the pdbs are created, by default, the open_mode is ‘Mounted’ only. Query status opens mode pdbsas command below:
$ sudo su - oracle
$ export ORACLE_SID=CPDB01
$ sqlplus "/as sysdba"
SQL> select name, open_mode from v$pdbs;
If pdbsopen mode is “Mounted” only. You run the command that opens all the pluggable databases in a read-write mode.
SQL> Alter pluggable database all open;
After this connection can be established with the database using sqlplus command as below:
$ sqlplus "sys/oracle@PDB01"
Conclusion
Thought the article, “How to connect to Pluggable Databases in Oracle 19″ as above. Connecting to pluggable databases in Oracle 19c is a fundamental skill for anyone working with Oracle’s advanced database management system. By following the steps outlined in this guide, you can easily manage and connect to your PDBs, taking full advantage of Oracle’s multi-tenant architecture.
This capability not only simplifies database administration but also enhances scalability and resource management. Stay proactive in exploring and mastering Oracle’s features to keep your database environment efficient and cutting-edge. I hope will this your helpful. Thank you for reading the DevopsRoles page!