Introduction
In recent times, Docker Engine has become a cornerstone for containerization in DevOps and development environments. However, like any powerful tool, it can also be a target for security vulnerabilities. One such critical issue is the Docker Engine authentication bypass vulnerability. This article will explore the details of this vulnerability, how it’s exploited, and what steps you can take to secure your Docker environments. We’ll start with basic concepts and move to more advanced topics, ensuring a comprehensive understanding of the issue.
Understanding Docker Engine Authentication Bypass Vulnerability
What is Docker Engine?
Docker Engine is a containerization platform that enables developers to package applications and their dependencies into containers. This allows for consistent environments across different stages of development and production.
What is an Authentication Bypass?
Authentication bypass is a security flaw that allows attackers to gain unauthorized access to a system without the correct credentials. In the context of Docker, this could mean gaining control over Docker containers and the host system.
How Does the Vulnerability Work?
The Docker Engine authentication bypass vulnerability typically arises due to improper validation of user credentials or session management issues. Attackers exploit these weaknesses to bypass authentication mechanisms and gain access to sensitive areas of the Docker environment.
Basic Examples of Exploitation
Example 1: Default Configuration
One common scenario is exploiting Docker installations with default configurations. Many users deploy Docker with default settings, which might not enforce strict authentication controls.
- Deploying Docker with Default Settings:
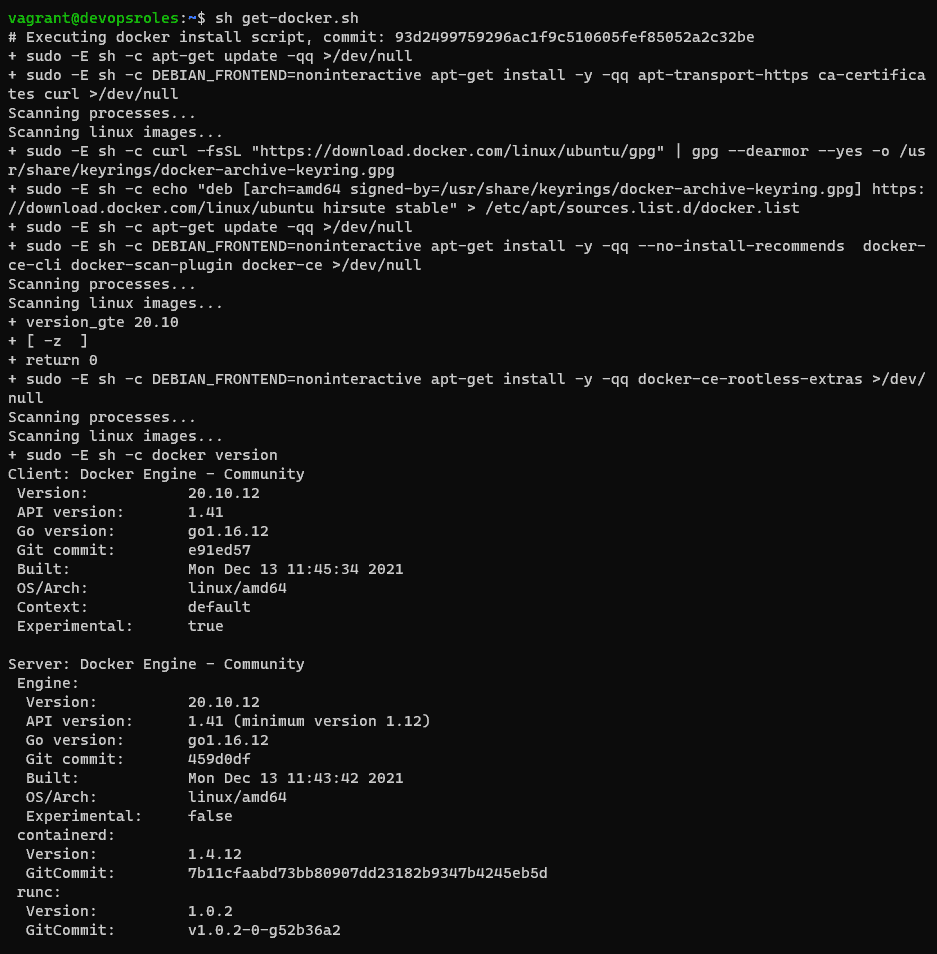
sudo apt-get updatesudo apt-get install docker-ce docker-ce-cli containerd.io
- Accessing Docker Daemon without Authentication:
docker -H tcp://<docker-host>:2375 ps
In this example, if the Docker daemon is exposed on a network without proper authentication, anyone can list the running containers and execute commands.
Example 2: Misconfigured Access Control
Another basic example involves misconfigured access control policies that allow unauthorized users to perform administrative actions.
Configuring Docker with Insecure Access:
{
  "hosts": ["tcp://0.0.0.0:2375"]
}
Exploiting the Misconfiguration:
docker -H tcp://<docker-host>:2375 exec -it <container-id> /bin/bashAdvanced Examples of Exploitation
Example 3: Session Hijacking
Advanced attackers might use session hijacking techniques to exploit authentication bypass vulnerabilities. This involves stealing session tokens and using them to gain access.
- Capturing Session Tokens: Attackers use network sniffing tools like Wireshark to capture authentication tokens.
- Replaying Captured Tokens:
curl -H "Authorization: Bearer <captured-token>" http://<docker-host>:2375/containers/json
Example 4: Exploiting API Vulnerabilities
Docker provides an API for managing containers, which can be exploited if not properly secured.
- Discovering API Endpoints:
curl http://<docker-host>:2375/v1.24/containers/json
- Executing Commands via API:
curl -X POST -H "Content-Type: application/json" -d '{"Cmd": ["echo", "Hello World"], "Image": "busybox"}' http://<docker-host>:2375/containers/create
Protecting Your Docker Environment
Implementing Secure Configuration
Enable TLS for Docker Daemon:
{
  "tls": true,
  "tlscert": "/path/to/cert.pem",
  "tlskey": "/path/to/key.pem",
  "hosts": ["tcp://0.0.0.0:2376"]
}
Use Docker Bench for Security: Docker provides a security benchmark tool to check for best practices.
docker run -it --net host --pid host --userns host --cap-add audit_control \
  -e DOCKER_CONTENT_TRUST=$DOCKER_CONTENT_TRUST \
  -v /var/lib:/var/lib \
  -v /var/run/docker.sock:/var/run/docker.sock \
  -v /usr/lib/systemd:/usr/lib/systemd \
  -v /etc:/etc \
  --label docker_bench_security \
  docker/docker-bench-security
Access Control Best Practices
- Implement Role-Based Access Control (RBAC): Use Docker’s built-in RBAC to limit access to authorized users only.
docker swarm initdocker network create --driver overlay my-overlay
- Use External Authentication Providers: Integrate Docker with external authentication systems like LDAP or OAuth for better control.
Regular Audits and Monitoring
Enable Docker Logging:
{
  "log-driver": "json-file",
  "log-opts": {
    "max-size": "10m",
    "max-file": "3"
  }
}
Monitor Docker Activity: Use tools like Prometheus and Grafana to monitor Docker metrics and alerts.
Security Updates and Patching
- Keep Docker Updated: Regularly update Docker to the latest version to mitigate known vulnerabilities.
sudo apt-get updatesudo apt-get upgrade docker-ce
- Patch Vulnerabilities Promptly: Subscribe to Docker security announcements to stay informed about patches and updates.
Frequently Asked Questions
What is Docker Engine Authentication Bypass Vulnerability?
The Docker Engine authentication bypass vulnerability allows attackers to gain unauthorized access to Docker environments by exploiting weaknesses in the authentication mechanisms.
How Can I Protect My Docker Environment from This Vulnerability?
Implement secure configurations, use TLS, enable RBAC, integrate with external authentication providers, perform regular audits, monitor Docker activity, and keep Docker updated.
Why is Authentication Bypass a Critical Issue for Docker?
Authentication bypass can lead to unauthorized access, allowing attackers to control Docker containers, steal data, and execute malicious code, compromising the security of the entire system.
Conclusion
Docker Engine authentication bypass vulnerability poses a significant threat to containerized environments. By understanding how this vulnerability is exploited and implementing robust security measures, you can protect your Docker environments from unauthorized access and potential attacks. Regular audits, secure configurations, and keeping your Docker installation up-to-date are essential steps in maintaining a secure containerized infrastructure. Thank you for reading the DevopsRoles page!
Stay secure, and keep your Docker environments safe from vulnerabilities.