Introduction
In today’s fast-paced development environment, Docker has become an essential tool for DevOps, developers, and IT professionals. Docker streamlines application development and deployment by enabling containerization, which allows for greater consistency, portability, and scalability. This Docker Installation Guide will walk you through the process of installing Docker on various operating systems, ensuring you’re set up to start building and deploying applications efficiently. Whether you’re working on Windows, macOS, or Linux, this guide has got you covered.
Why Use Docker?
Docker is a powerful tool that allows developers to package applications and their dependencies into containers. Containers are lightweight, efficient, and can run consistently on different systems, eliminating the classic “it works on my machine” issue. With Docker, you can:
- Create reproducible environments: Docker containers ensure consistent setups, reducing discrepancies across development, testing, and production.
- Scale applications easily: Docker’s portability makes it simple to scale and manage complex, distributed applications.
- Improve resource efficiency: Containers are more lightweight than virtual machines, which reduces overhead and improves system performance.
Let’s dive into the Docker installation process and get your environment ready for containerization!
System Requirements
Before installing Docker, ensure your system meets the minimum requirements:
- Windows: Windows 10 64-bit: Pro, Enterprise, or Education (Build 15063 or later)
- macOS: macOS Mojave 10.14 or newer
- Linux: Most modern Linux distributions (e.g., Ubuntu, Debian, CentOS)
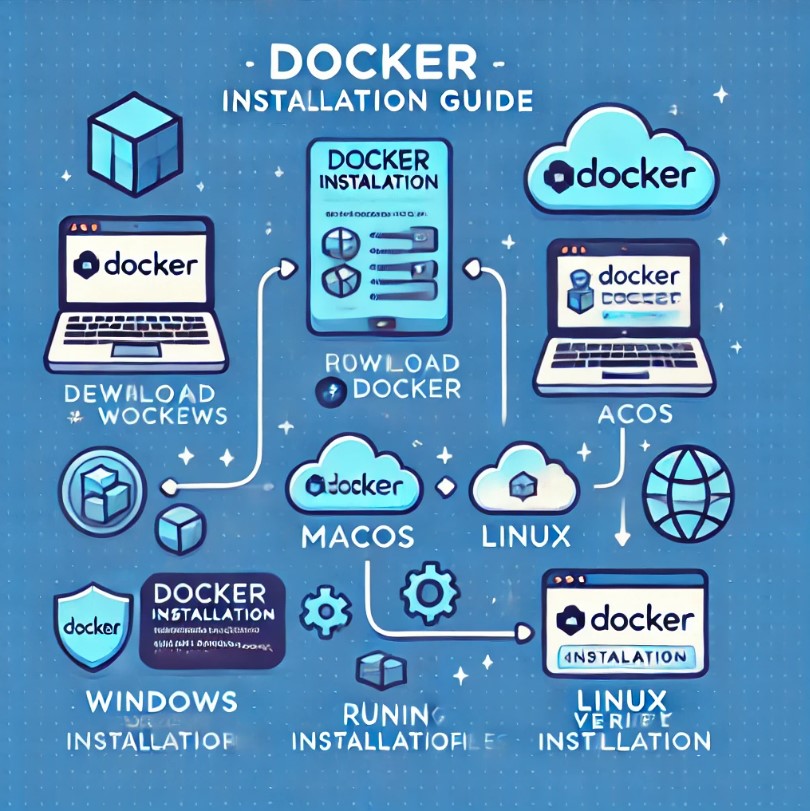
Installing Docker
Docker installation varies slightly across different operating systems. Below are step-by-step instructions for installing Docker on Windows, macOS, and Linux.
Installing Docker on Windows
Docker Desktop is the primary method for installing Docker on Windows. Follow these steps:
- Download Docker Desktop: Visit the official Docker Desktop download page and download the Docker Desktop for Windows installer.
- Run the Installer: Double-click the downloaded
.exefile and follow the on-screen instructions. - Configuration: During installation, you may be prompted to enable WSL 2 (Windows Subsystem for Linux) if it isn’t already enabled. WSL 2 is recommended for Docker on Windows as it provides a more efficient and consistent environment.
- Start Docker Desktop: Once installed, start Docker Desktop by searching for it in the Start menu.
- Verify Installation: Open a command prompt and run the following command to verify your Docker installation:
- docker –version
Note for Windows Users
- Docker Desktop requires Hyper-V and WSL 2. Make sure these features are enabled in your system.
- Docker Desktop supports only 64-bit versions of Windows 10 and higher.
Installing Docker on macOS
Docker Desktop is also the preferred installation method for macOS users:
- Download Docker Desktop for Mac: Head over to the Docker Desktop download page and choose the macOS version.
- Install Docker Desktop: Open the downloaded
.dmgfile and drag Docker into your Applications folder. - Launch Docker Desktop: Open Docker from your Applications folder and follow the prompts to complete the setup.
- Verify Installation: Open Terminal and run:
docker --version
Note for macOS Users
- Docker Desktop is available for macOS Mojave 10.14 and newer.
- Ensure virtualization is enabled on your macOS system.
Installing Docker on Linux
Linux distributions offer various ways to install Docker. Here, we’ll cover the installation process for Ubuntu, one of the most popular Linux distributions.
Step-by-Step Installation for Ubuntu
- Update the Package Repository: Open a terminal and update your package database.
sudo apt update
- Install Prerequisites: Docker requires some additional packages. Install them with:
sudo apt install apt-transport-https ca-certificates curl software-properties-common
- Add Docker’s Official GPG Key:
curl -fsSL https://download.docker.com/linux/ubuntu/gpg | sudo gpg --dearmor -o /usr/share/keyrings/docker-archive-keyring.gpg
- Set Up the Docker Repository:
echo "deb [arch=$(dpkg --print-architecture) signed-by=/usr/share/keyrings/docker-archive-keyring.gpg] https://download.docker.com/linux/ubuntu $(lsb_release -cs) stable" | sudo tee /etc/apt/sources.list.d/docker.list > /dev/null
- Install Docker:
sudo apt update sudo apt install docker-ce
- Verify the Installation:
docker --version
Note for Linux Users
For users on distributions other than Ubuntu, Docker’s official documentation provides specific instructions.
Starting and Verifying Docker Installation
After installing Docker, you’ll want to verify it’s working correctly by running a simple container.
- Run the Hello World Container: This is a quick and easy way to check that Docker is set up correctly.
docker run hello-world- If Docker is working, you should see a message that says, “Hello from Docker!”
- Check Docker Services: Use the following command to check the status of Docker services:
systemctl status docker
- Basic Docker Commands:
- List Running Containers:
docker ps - List All Containers:
docker ps -a - Stop a Container:
docker stop <container-id> - Remove a Container:
docker rm <container-id>
- List Running Containers:
These commands will help you get started with Docker’s core functionalities and ensure your installation is running as expected.
Docker Installation FAQs
Q1: What is Docker Desktop?
Docker Desktop is an application for Windows and macOS that enables you to build and share containerized applications and microservices. It’s the easiest way to start using Docker on your local environment.
Q2: Can Docker run on Windows Home Edition?
Yes, as of Docker Desktop 2.2, WSL 2 support enables Docker to run on Windows 10 Home.
Q3: Do I need administrative privileges to install Docker?
Yes, administrative rights are required to install Docker on your machine.
Q4: How can I update Docker?
Docker Desktop automatically checks for updates. On Linux, use the following command to update:
sudo apt update && sudo apt upgrade docker-ce
Q5: Where can I find Docker’s documentation?
Docker provides extensive documentation on their official website.

Conclusion
Installing Docker is the first step to unlocking the full potential of containerized applications. By following this Docker installation guide, you’ve set up a robust environment on your system, ready for building, testing, and deploying applications. Docker’s cross-platform compatibility and easy setup make it an indispensable tool for modern software development.
With Docker installed, you can explore the vast ecosystem of containers available on Docker Hub, create custom containers, or even set up complex applications using Docker Compose. Take some time to experiment with Docker, and you’ll quickly realize its advantages in streamlining workflows and fostering a more efficient development environment.
For more detailed resources, check out Docker’s official documentation or join the Docker Community Forums. Thank you for reading the DevopsRoles page!