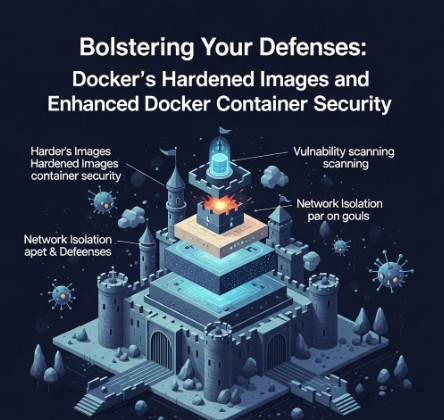
The containerization revolution, spearheaded by Docker, has transformed software development and deployment. However, this rapid adoption has also introduced new security challenges. As we look towards 2025 and beyond, ensuring robust Docker security is paramount. This article delves into the multifaceted landscape of container security, examining emerging threats and providing practical strategies to safeguard your Dockerized applications. We’ll explore best practices for securing images, networks, and the Docker environment itself, helping you build a resilient and secure container ecosystem.
Understanding the Docker Security Landscape
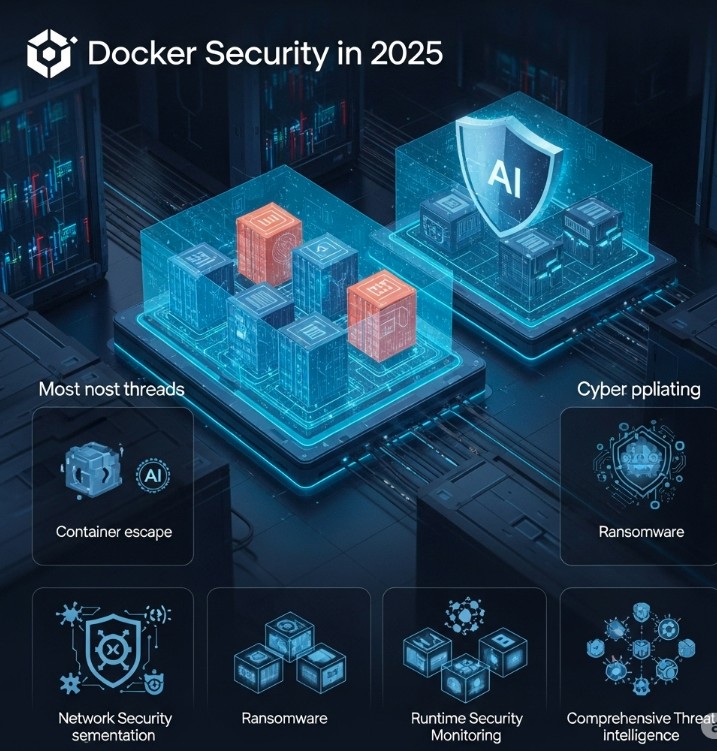
The inherent benefits of Docker – portability, consistency, and efficient resource utilization – also create potential vulnerabilities if not properly addressed. Attack surfaces exist at various levels, from the base image to the running container and the host system. Threats range from compromised images containing malware to misconfigurations exposing sensitive data. A comprehensive Docker security strategy needs to consider all these facets.
Common Docker Security Vulnerabilities
- Vulnerable Base Images: Using outdated or insecure base images introduces numerous vulnerabilities.
- Image Tampering: Malicious actors can compromise images in registries, injecting malware.
- Network Security Issues: Unsecured networks allow unauthorized access to containers.
- Misconfigurations: Incorrectly configured Docker settings can create significant security holes.
- Runtime Attacks: Exploiting vulnerabilities in the container runtime environment itself.
Implementing Robust Docker Security Practices
A multi-layered approach is essential for effective Docker security. This includes securing the image creation process, managing network traffic, and enforcing runtime controls.
Securing Docker Images
- Use Minimal Base Images: Start with the smallest, most secure base image possible. Avoid bloated images with unnecessary packages.
- Regularly Update Images: Stay up-to-date with security patches and updates for your base images and application dependencies.
- Employ Static and Dynamic Analysis: Conduct thorough security scanning of images using tools like Clair, Anchore, and Trivy to identify vulnerabilities before deployment.
- Use Multi-Stage Builds: Separate the build process from the runtime environment to reduce the attack surface.
- Sign Images: Digitally sign images to verify their authenticity and integrity, preventing tampering.
Securing the Docker Network
- Use Docker Networks: Isolate containers using dedicated Docker networks to limit communication between them and the host.
- Restrict Network Access: Configure firewalls and network policies to restrict access to only necessary ports and services.
- Employ Container Network Interfaces (CNIs): Leverage CNIs like Calico or Weave for enhanced network security features, including segmentation and policy enforcement.
- Secure Communication: Use HTTPS and TLS for all communication between containers and external services.
Enhancing Docker Runtime Security
- Resource Limits: Set resource limits (CPU, memory) for containers to prevent resource exhaustion attacks (DoS).
- User Namespaces: Run containers with non-root users to minimize the impact of potential breaches.
- Security Context: Utilize Docker’s security context options to define capabilities and permissions for containers.
- Regular Security Audits: Conduct periodic security audits and penetration testing to identify and address vulnerabilities.
- Security Monitoring: Implement security monitoring tools to detect suspicious activity within your Docker environment.
Docker Security: Advanced Techniques
Beyond the fundamental practices, advanced techniques further strengthen your Docker security posture.
Secrets Management
Avoid hardcoding sensitive information within Docker images. Use dedicated secrets management tools like HashiCorp Vault or AWS Secrets Manager to store and securely access credentials and other sensitive data.
Kubernetes Integration
For production deployments, integrating Docker with Kubernetes provides powerful security benefits. Kubernetes offers features like network policies, role-based access control (RBAC), and pod security policies for enhanced container security. This is crucial for advanced Docker security within a large-scale system.
Image Immutability
Enforce image immutability to prevent runtime modifications and maintain the integrity of your containers. This principle is central to maintaining a secure Docker security strategy. Once an image is built, it should not be changed.
Runtime Security Scanning
Implement continuous runtime security scanning using tools that monitor containers for malicious behavior and vulnerabilities. Tools like Sysdig and Falco provide real-time monitoring and alerting capabilities.
Frequently Asked Questions
Q1: What are the key differences between Docker security and general container security?
A1: While Docker security is a subset of container security, it focuses specifically on the security aspects of using the Docker platform and its associated tools, images, and processes. General container security encompasses best practices for all container technologies, including other container runtimes like containerd and CRI-O.
Q2: How can I effectively scan for vulnerabilities in my Docker images?
A2: Use static and dynamic analysis tools. Static analysis tools like Trivy and Anchore scan the image’s contents for known vulnerabilities without actually running the image. Dynamic analysis involves running the container in a controlled environment to observe its behavior and detect malicious activity.
Q3: Is it necessary to use rootless containers for production environments?
A3: While not strictly mandatory, running containers with non-root users is a highly recommended security practice to minimize the impact of potential exploits. It significantly reduces the attack surface and limits the privileges a compromised container can access. Consider it a best practice for robust Docker security.
Q4: How can I monitor Docker containers for malicious activity?
A4: Employ runtime security monitoring tools like Sysdig, Falco, or similar solutions. These tools can monitor container processes, network activity, and file system changes for suspicious behavior and alert you to potential threats.

Conclusion
In the evolving landscape of 2025 and beyond, implementing robust Docker security measures is not optional; it’s critical. By combining best practices for image security, network management, runtime controls, and advanced techniques, you can significantly reduce the risk of vulnerabilities and protect your applications. Remember that Docker security is a continuous process, demanding regular updates, security audits, and a proactive approach to threat detection and response. Neglecting this crucial aspect can have severe consequences. Prioritize a comprehensive Docker security strategy today to safeguard your applications tomorrow.
For more information on container security best practices, refer to the following resources: Docker Security Documentation and OWASP Top Ten. Thank you for reading the DevopsRoles page!