Introduction
In today’s fast-paced software development world, efficient workflows are key to maintaining quality and competitiveness. CI/CD (Continuous Integration and Continuous Deployment) pipelines are foundational in this regard. They enable teams to automate testing, building, and deployment, reducing errors and delivering reliable software to users more quickly. This article will provide a comprehensive guide on CI/CD pipelines, covering fundamental concepts, best practices, and practical examples to help streamline your development process.
What is a CI/CD Pipeline?
A CI/CD pipeline is a series of automated steps that streamline code integration, testing, and deployment. This approach helps teams collaborate more effectively, reduce human errors, and accelerate the release cycle. CI/CD pipelines are commonly associated with Agile and DevOps practices, where speed and accuracy are crucial.
Key Benefits of CI/CD Pipelines
- Faster Deployment Cycles: Automation reduces time between code commits and deployment.
- Improved Code Quality: Continuous testing identifies and resolves errors early.
- Greater Collaboration: Automating mundane tasks frees developers to focus on high-impact work.
- Reduced Human Errors: Automation decreases the risk of missed steps or overlooked errors.
- Enhanced User Satisfaction: Faster updates and bug fixes improve user experience.
Key Components of CI/CD Pipelines
CI/CD pipelines involve several stages and components, each responsible for a specific task in the process of building, testing, and deploying code. Here’s a look at the main components:
1. Continuous Integration (CI)
Continuous Integration is the practice of frequently merging all code changes into a shared repository. The CI process often includes automated testing to ensure code quality before it reaches production. Benefits of CI include:
- Detecting Bugs Early: Frequent integration reveals bugs as soon as they’re introduced.
- Consistent Builds: Automated builds create a predictable and stable development environment.
2. Continuous Delivery (CD)
In Continuous Delivery, code changes are automatically deployed to a staging or testing environment. This step ensures that the code is deployable at any given time. Benefits of CD include:
- Reliable Releases: Code can be deployed to production with confidence.
- Reduced Manual Effort: Deployment is automated, reducing the risk of human error.
3. Continuous Deployment (CD)
Continuous Deployment takes Continuous Delivery a step further by automatically deploying code to the production environment after passing testing. This setup allows for:
- Frequent Releases: Small, incremental updates reduce the impact of changes.
- Higher Responsiveness: Bug fixes and new features reach users quickly.
Setting Up a CI/CD Pipeline
Creating a CI/CD pipeline involves several key stages. Below is an example of how a basic CI/CD pipeline might be structured:
Step 1: Source Control Management
The first step is setting up a version control system, such as Git, where all code changes are stored. A typical workflow includes:
- Developers commit code changes to the repository.
- A trigger is activated to initiate the pipeline upon each commit.
Step 2: Build Automation
After committing code, the next stage involves automatically building the application to identify integration issues early. Here’s what happens:
- Compilation: The code is compiled into an executable.
- Dependency Management: Required libraries are included.
Step 3: Automated Testing
This stage is critical to ensure that changes don’t introduce bugs. There are several types of tests commonly used in CI/CD pipelines:
- Unit Testing: Tests individual components or functions.
- Integration Testing: Ensures different parts of the application work together.
- End-to-End Testing: Simulates real-world scenarios to test application behavior.
Step 4: Deployment to Staging
After testing, the code is automatically deployed to a staging environment, simulating a production-like environment to catch potential issues.
Step 5: Production Deployment
In Continuous Deployment, if all previous stages succeed, the code is automatically deployed to production, making it available to users.
Examples of CI/CD Pipelines
Example 1: Basic CI Pipeline with GitHub Actions
Let’s walk through a simple CI pipeline using GitHub Actions to automate testing and code quality checks:
name: CI Pipeline
on:
push:
branches:
- main
jobs:
build:
runs-on: ubuntu-latest
steps:
- name: Checkout code
uses: actions/checkout@v2
- name: Set up Node.js
uses: actions/setup-node@v2
with:
node-version: '14'
- name: Install dependencies
run: npm install
- name: Run tests
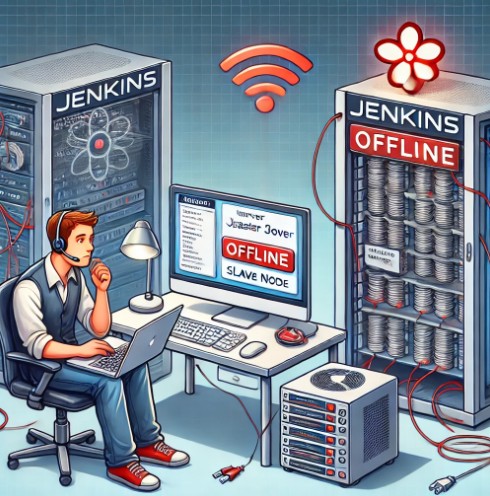
run: npm testExample 2: CI/CD Pipeline with Jenkins
For more advanced automation, Jenkins is a popular open-source tool that integrates seamlessly with CI/CD workflows. Here’s an overview of a basic Jenkins pipeline:
- Jenkins watches the repository for new commits.
- On detecting a new commit, Jenkins pulls the latest code and builds the application.
- Jenkins runs the test suite and, if all tests pass, deploys the code to a staging environment.
Best Practices for CI/CD Pipelines
Implementing CI/CD effectively requires some best practices to ensure scalability and maintainability. Here are key recommendations:
- Automate Everything: From testing to deployment, automation reduces human error and increases efficiency.
- Build in Small Batches: Small, frequent changes are easier to manage and less risky.
- Monitor Performance: Use monitoring tools to track pipeline performance.
- Version Control Pipeline Scripts: Storing pipeline configurations in version control helps track changes and revert if necessary.
- Use Environment-Specific Configurations: Separate configurations for development, staging, and production.
Frequently Asked Questions
What is the difference between CI and CD?
CI (Continuous Integration) involves regularly integrating code changes into a shared repository, while CD (Continuous Delivery or Deployment) ensures that code is always ready for deployment, and in Continuous Deployment, it is deployed to production automatically.
How can CI/CD improve software development?
CI/CD automates testing, building, and deployment processes, which reduces errors, accelerates release cycles, and enables development teams to focus on delivering high-quality features.
Which tools are commonly used for CI/CD?
Popular tools include Jenkins, GitLab CI/CD, GitHub Actions, Travis CI, and CircleCI.
Is CI/CD only for large teams?
No, CI/CD can benefit teams of all sizes. For smaller teams, CI/CD pipelines simplify processes, while larger teams gain efficiency and scalability.
External Resources
For more on CI/CD, check out these authoritative sources:
- Jenkins Documentation
- GitHub Actions Documentation
- Continuous Integration (CI) – Atlassian


Conclusion
CI/CD pipelines are essential for any development team aiming to accelerate software delivery without compromising quality. By automating testing, building, and deployment processes, CI/CD not only improves collaboration but also reduces human error, enabling teams to release updates faster. Whether you’re a small startup or a large enterprise, understanding and implementing a CI/CD pipeline can transform your development workflow. Use this guide as a foundation, and start implementing CI/CD best practices to see the benefits in action. Thank you for reading the DevopsRoles page!