For over a decade, Docker has been synonymous with containerization. It revolutionized how we build, ship, and run applications. However, the container landscape has matured significantly. Between the changes to Docker Desktop’s licensing model, the deprecation of Dockershim in Kubernetes, and the inherent security risks of a root-privileged daemon, many organizations are actively evaluating Docker alternatives.
As experienced practitioners, we know that “replacing Docker” isn’t just about swapping a CLI; it’s about understanding the OCI (Open Container Initiative) standards, optimizing the CI/CD supply chain, and reducing the attack surface. This guide navigates the best production-ready tools for runtimes, building, and orchestration.
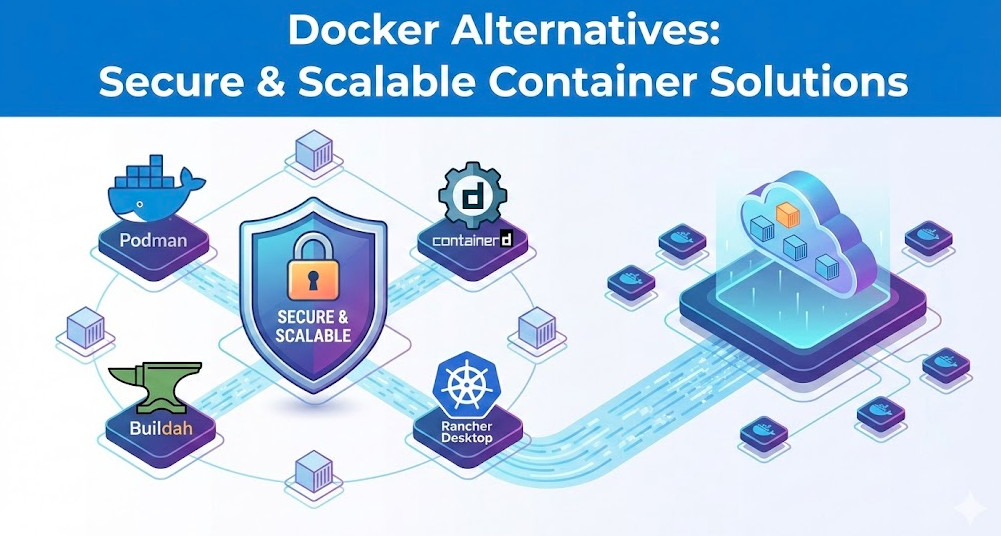
Why Look Beyond Docker?
Before diving into the tools, let’s articulate the architectural drivers for migration. The Docker daemon (dockerd) is a monolithic complexity that runs as root. This architecture presents three primary challenges:
- Security (Root Daemon): By default, the Docker daemon runs with root privileges. If the daemon is compromised, the attacker gains root access to the host.
- Kubernetes Compatibility: Kubernetes deprecated the Dockershim in v1.24. While Docker images are OCI-compliant, the Docker runtime itself is no longer the native interface for K8s, usually replaced by
containerdorCRI-Ovia the CRI (Container Runtime Interface). - Licensing: The updated subscription terms for Docker Desktop have forced many large enterprises to seek open-source equivalents for local development.
Pro-Tip: The term “Docker” is often conflated to mean the image format, the runtime, and the orchestration. Most modern tools comply with the OCI Image Specification and OCI Runtime Specification. This means an image built with Buildah can be run by Podman or Kubernetes without issue.
1. Podman: The Direct CLI Replacement
Podman (Pod Manager) is arguably the most robust of the Docker alternatives for Linux users. Developed by Red Hat, it is a daemonless container engine for developing, managing, and running OCI containers on your Linux system.
Architecture: Daemonless & Rootless
Unlike Docker, Podman interacts directly with the image registry, container, and image storage implementation within the Linux kernel. It uses a fork-exec model for running containers.
- Rootless by Default: Containers run under the user’s UID/GID namespace, drastically reducing the security blast radius.
- Daemonless: No background process means less overhead and no single point of failure managing all containers.
- Systemd Integration: Podman allows you to generate systemd unit files for your containers, treating them as first-class citizens of the OS.
Migration Strategy
Podman’s CLI is designed to be identical to Docker’s. In many cases, migration is as simple as aliasing the command.
# Add this to your .bashrc or .zshrc
alias docker=podman

# Verify installation
podman version
Podman also introduces the concept of “Pods” (groups of containers sharing namespaces) to the CLI, bridging the gap between local dev and K8s.
# Run a pod with a shared network namespace
podman pod create --name web-pod -p 8080:80

# Run a container inside that pod
podman run -d --pod web-pod nginx:alpine
2. containerd & nerdctl: The Kubernetes Native
containerd is the industry-standard container runtime. It was actually spun out of Docker originally and donated to the CNCF. It focuses on being simple, robust, and portable.
While containerd is primarily a daemon used by Kubernetes, it can be used directly for debugging or local execution. However, the raw ctr CLI is not user-friendly. Enter nerdctl.
nerdctl (contaiNERD ctl)
nerdctl is a Docker-compatible CLI for containerd. It supports modern features that Docker is sometimes slow to adopt, such as:
- Lazy-pulling (stargz)
- Encrypted images (OCICrypt)
- IPFS-based image distribution
# Installing nerdctl (example)
brew install nerdctl

# Run a container (identical syntax to Docker)
nerdctl run -d -p 80:80 nginx
3. Advanced Build Tools: Buildah & Kaniko
In a CI/CD pipeline, running a Docker daemon inside a Jenkins or GitLab runner (Docker-in-Docker) is a known security anti-pattern. We need tools that build OCI images without a daemon.
Buildah
Buildah specializes in building OCI images. It allows you to build images from scratch (an empty directory) or using a Dockerfile. It excels in scripting builds via Bash rather than relying solely on Dockerfile instruction sets.
# Example: Building an image without a Dockerfile using Buildah
container=$(buildah from scratch)
mnt=$(buildah mount $container)

# Install packages into the mounted directory
dnf install --installroot $mnt --releasever 8 --setopt=install_weak_deps=false --nodocs -y httpd

# Config
buildah config --cmd "/usr/sbin/httpd -D FOREGROUND" $container
buildah commit $container my-httpd-image
Kaniko
Kaniko is Google’s solution for building container images inside a container or Kubernetes cluster. It does not depend on a Docker daemon and executes each command within a Dockerfile completely in userspace. This makes it ideal for securing Kubernetes-based CI pipelines like Tekton or Jenkins X.
4. Desktop Replacements (GUI)
For developers on macOS and Windows who rely on the Docker Desktop GUI and ease of use, straight Linux CLI tools aren’t enough.
Rancher Desktop
Rancher Desktop is an open-source app for Mac, Windows, and Linux. It provides Kubernetes and container management. Under the hood, it uses a Lima VM on macOS and WSL2 on Windows. It allows you to switch the runtime engine between dockerd (Moby) and containerd.
OrbStack (macOS)
For macOS power users, OrbStack has gained massive traction. It is a drop-in replacement for Docker Desktop that is significantly faster, lighter on RAM, and offers seamless bi-directional networking and file sharing. It is highly recommended for performance-critical local development.
Frequently Asked Questions (FAQ)
Can I use Docker Compose with Podman?
Yes. You can use the podman-compose tool, which is a community-driven implementation. Alternatively, modern versions of Podman run a unix socket that mimics the Docker socket, allowing the standard docker-compose binary to communicate directly with the Podman backend.
Is Podman truly safer than Docker?
Architecturally, yes. Because Podman uses a fork/exec model and supports rootless containers by default, the attack surface is significantly smaller. There is no central daemon running as root waiting to receive commands.
What is the difference between CRI-O and containerd?
Both are CRI (Container Runtime Interface) implementations for Kubernetes. containerd is a general-purpose runtime (used by Docker and K8s). CRI-O is purpose-built strictly for Kubernetes; it aims to be lightweight and defaults to OCI standards, but it is rarely used as a standalone CLI tool for developers.

Conclusion
The ecosystem of Docker alternatives has evolved from experimental projects to robust, enterprise-grade standards. For local development on Linux, Podman offers a superior security model with a familiar UX. For Kubernetes-native workflows, containerd with nerdctl prepares you for the production environment.
Switching tools requires effort, but aligning your local development environment closer to your production Kubernetes clusters using OCI-compliant tools pays dividends in security, stability, and understanding of the cloud-native stack.
Ready to make the switch? Start by auditing your current CI pipelines for “Docker-in-Docker” usage and test a migration to Buildah or Kaniko today. Thank you for reading the DevopsRoles page!