In this article, I will Write about understanding the mechanism of Docker. The whole picture of various concepts around Docker. Now, let’s go Docker tutorial series part 1.
docker-compose
docker-machine
docker swarm, etc. from the basics of images and containers.
Table of Contents
- 1 In the Docker tutorial series part 1
- 1.1 What is Docker
- 1.2 What is Virtualization?
- 1.3 Container type virtualization?
- 1.4 Docker Engine
- 1.5 Tag
- 1.6 image structure
- 1.7 How to prepare image
- 1.8 Docker Container
- 1.9 Docker container commands
- 1.10 Connect to the shell of the active container
- 1.11 Create an image from a container
- 1.12 3. Docker Hub (Docker Registry)
- 2 Docker tutorial series – part 2
In the Docker tutorial series part 1
I will write about “the container, image, image sharing with DockerHub“.
What is Docker
It is “container type virtualization technology” provided by Docker.
What is Virtualization?
- “Virtual computer in PC or Server” is virtualization.
- Host operating system installed on a machine such as PC or server.
- Hosted virtualization uses a virtualization software/hypervisor on a Host OS to launch a Virual Machine call is Guest OS
Container type virtualization?
- Docker provides container type virtualization.
- Containers are build from Docker Engine running on Host OS without booting guest OS.
Docker Engine
Docker Engine will operate as a resident program and you can use Docker.
Tag
The Docker image has the concept of tag. Tag is the “version of image”. If no tag name is specified, the “latest” tag is automatically used.
For example, the image name and tag name as below
nginx: latest
nginx: 1.14-wordpress
image structure
- it has a layer structure
- Once created image is not editable (read only)
The layer of the image is Read-only, it can not be edited, only the container layer created when the container is activated from an image can be edited.
List image on the local machine as command below
$ docker images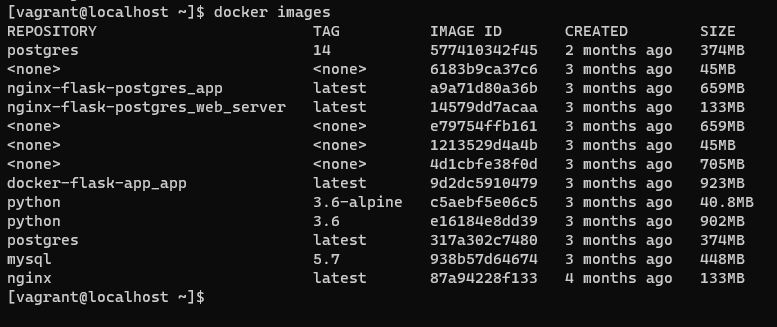
How to prepare image
- Obtain an image made by others (mainly from Docker Hub)
- Make it yourself
I will go through step by step
1. Image from Docker Hub
Retrieve image from #dockerhub (server hosted by docker)
$ docker pull <image name>2. Image creation from Dockerfile
Create a text file named Dockerfile, describe the settings related to image build (image creation) in it.
Dockerfile example
# CentOS 7 Dockerfile
 # Docker build:
 # sudo docker build -t devopsroles/centos:latest .
 # Docker create:
 # sudo docker create -it --name centos -h centos devopsroles/centos
 # Docker start:
 # sudo docker start centos
 # Connect with bash
 # sudo docker exec -it centos bash
 FROM centos:latest
 MAINTAINER PHAN VAN HUU <pvhuu90@gmail.com> My blogs: devopsroles.com
 #Update centos
 RUN yum update -y && yum upgrade -y
 RUN yum -y install git curl net-tools wget vim
 # Install EPEL Repository
 RUN yum install -y epel-release
 # Clean CentOS 7
 RUN yum clean all
 # Set the environment variables
 ENV HOME /root
 # Working directory
 WORKDIR /root
 # Default command
 CMD ["bash"]
Docker build the image from our Dockerfile
$ sudo docker create -it --name centos -h centos devopsroles/centosDocker Container
After preparing the image, the container can be started from the image.
Launch container from image
Create containers from images as command below
$ docker create --name centosAs a command to acquire and start a container by acquiring the specified image that we have seen from DockerHub. Launch Container as command below
$ docker start <Container name>The docker run command is the command to execute at the same time.
$ docker run <image name>- Retrieve images from DockerHub : docker pull
- Create container from acquired image: docker create
- Start up the created container: docker start
Docker container commands
Show currently running Container
$ docker psDisplay container list currently existing
$ docker ps -aDisplay detailed information of the container
$ docker inspect <container name>Create Container
$ docker create --name <arbitrary name of container> -it <image name> /bin/bashLaunch Container with the command below
$ docker start <container name>You can pause containers
$ docker pause <container name>you can cancel the pause of the container with the command below
$ docker unpause <container name>Restarting the container. If you do not use containers you do not use, your hard disk will be pressured.
$ docker stop <container name>Delete Container
$ docker rm <container name>Forced removal container
$ docker rm -f <container name>Connect to the shell of the active container
There are two connection methods, using docker attach and docker exec
$ docker attach <Starting Container Name>
$ docker exec -it <Starting Container Name> /bin/bash
Create an image from a container
A command to save the state of the container as an image with the specified “<image name>: <tag name>“
$ docker commit <container name> <image name>:<tag name>You can check the change history of the image
$ docker history <image name>3. Docker Hub (Docker Registry)
Sharing images with Docker Hub
It is almost the same as Github. You need to have a Dockerhub account.
As a procedure
- Create repository on Docker hub
- Create image locally
- Log in to the docker hub with the following command on the local command line
$ docker login4. Tag the image you want to push with the following command
$ docker tag <image name you want to push> <docker hub ID>/<image name>:<tag name>5. Push the local image to the remote repository with the following command
$ docker push <docker hub ID>/<image name>:<tag name>
1 thought on “Docker tutorial series part 1”