Table of Contents
Introduction
In this tutorial, How to install OpenStack all in one Centos 7. OpenStack is open-source for setting up Infrastructure as a service. It provides a solution for both the public and private cloud.
For production a minimal OpenStack setup requires one controller and one compute node. To get started OpenStack is a practice to set up all-in-one deployment.
To install OpenStack “all-in-one” on CentOS 7, you can follow these steps:
Install OpenStack All in One Centos 7
My environment
- My Laptop use OS Linux Mint
- Installed Vagrant + VirtualBox
For example, I create a new Vagrantfile file Vagrant for OpenStack.
huupv@huupv-VivoBook-S15-X530UA:~/VMs_vagrant/Dev_Openstack$ cat Vagrantfile

# The content as below
Vagrant.configure("2") do |config|
config.ssh.insert_key = false
config.vm.provider :virtualbox do |vb|
  vb.memory = 4500
  vb.cpus = 2
end
# Application server 1.
config.vm.define "app3" do |app3|
  app3.vm.hostname = "OpenstackDev"
  app3.vm.box = "centos/7"
  # app3.vm.network "private_network", ip: "172.20.19.31"
  app3.vbguest.installer_options = { allow_kernel_upgrade: true }
  app3.vm.network :forwarded_port, guest: 80, host: 8080
  app3.vm.network :forwarded_port, guest: 5000, host: 5000
  app3.vm.network :forwarded_port, guest: 9696, host: 9696
  app3.vm.network :forwarded_port, guest: 8774, host: 8774
  app3.vm.network :forwarded_port, guest: 35357, host: 35357
end
end
How to do it set up OpenStack for deployment
1. Prerequisites
To recommend/best practice for OpenStack disable Firewalld, NetworkManager, and SELinux.
Stop and disable NetworkManager
sudo systemctl stop NetworkManager
sudo systemctl disable NetworkManager
Stop and disable firewalld
sudo systemctl stop firewalld
sudo systemctl disable firewalld
Restart network service
sudo systemctl restart networkDisable SELinux
Can do it permanently in file /etc/selinux/config change SELINUX=enforcing to SELINUX=disabled.

Update your system.
sudo yum -y updateConfigure a static IP address and set your hostname in /etc/hosts
Restart the machine.
2. Install OpenStack RPM
On CentOS, the Extras repository provides the RPM that enables the OpenStack repository.
sudo yum install -y centos-release-openstack-stein3. Install Packstack
sudo yum install -y openstack-packstack4. Deploy and run OpenStack using Packstack
sudo packstack --allinoneThe output is below
[vagrant@OpenstackDev ~]$ sudo packstack --allinone
Welcome to the Packstack setup utility

The installation log file is available at: /var/tmp/packstack/20190716-150951-Z_3kTo/openstack-setup.log

Installing:
Clean Up                                             [ DONE ]
Discovering ip protocol version                      [ DONE ]
Setting up ssh keys                                  [ DONE ]
Preparing servers                                    [ DONE ]
Pre installing Puppet and discovering hosts' details [ DONE ]
Preparing pre-install entries                        [ DONE ]
Setting up CACERT                                    [ DONE ]
Preparing AMQP entries                               [ DONE ]
Preparing MariaDB entries                            [ DONE ]
Fixing Keystone LDAP config parameters to be undef if empty[ DONE ]
Preparing Keystone entries                           [ DONE ]
Preparing Glance entries                             [ DONE ]
Checking if the Cinder server has a cinder-volumes vg[ DONE ]
Preparing Cinder entries                             [ DONE ]
Preparing Nova API entries                           [ DONE ]
Creating ssh keys for Nova migration                 [ DONE ]
Gathering ssh host keys for Nova migration           [ DONE ]
Preparing Nova Compute entries                       [ DONE ]
Preparing Nova Scheduler entries                     [ DONE ]
Preparing Nova VNC Proxy entries                     [ DONE ]
Preparing OpenStack Network-related Nova entries     [ DONE ]
Preparing Nova Common entries                        [ DONE ]
Preparing Neutron LBaaS Agent entries                [ DONE ]
Preparing Neutron API entries                        [ DONE ]
Preparing Neutron L3 entries                         [ DONE ]
Preparing Neutron L2 Agent entries                   [ DONE ]
Preparing Neutron DHCP Agent entries                 [ DONE ]
Preparing Neutron Metering Agent entries             [ DONE ]
Checking if NetworkManager is enabled and running    [ DONE ]
Preparing OpenStack Client entries                   [ DONE ]
Preparing Horizon entries                            [ DONE ]
Preparing Swift builder entries                      [ DONE ]
Preparing Swift proxy entries                        [ DONE ]
Preparing Swift storage entries                      [ DONE ]
Preparing Gnocchi entries                            [ DONE ]
Preparing Redis entries                              [ DONE ]
Preparing Ceilometer entries                         [ DONE ]
Preparing Aodh entries                               [ DONE ]
Preparing Puppet manifests                           [ DONE ]
Copying Puppet modules and manifests                 [ DONE ]
Applying 10.0.2.15_controller.pp
10.0.2.15_controller.pp:                             [ DONE ]
Applying 10.0.2.15_network.pp
10.0.2.15_network.pp:                                [ DONE ]
Applying 10.0.2.15_compute.pp
10.0.2.15_compute.pp:                                [ DONE ]
Applying Puppet manifests                            [ DONE ]
Finalizing                                           [ DONE ]

 **** Installation completed successfully ******

 * A new answerfile was created in: /root/packstack-answers-20190716-150952.txt
 * Time synchronization installation was skipped. Please note that unsynchronized time on server instances might be problem for some OpenStack components.
 * File /root/keystonerc_admin has been created on OpenStack client host 10.0.2.15. To use the command line tools you need to source the file.
 * To access the OpenStack Dashboard browse to http://10.0.2.15/dashboard .
Please, find your login credentials stored in the keystonerc_admin in your home directory.
 * The installation log file is available at: /var/tmp/packstack/20190716-150951-Z_3kTo/openstack-setup.log
 * The generated manifests are available at: /var/tmp/packstack/20190716-150951-Z_3kTo/manifests
5. Verify
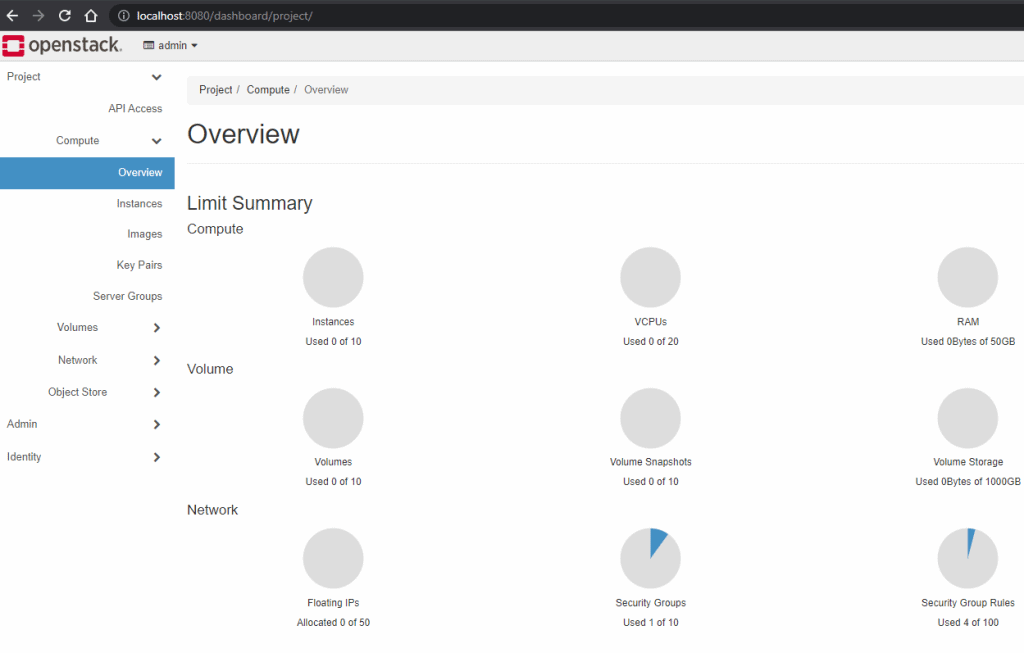
Logging into the dashboard (called Horizon). Link access http://localhost:8080/dashboard
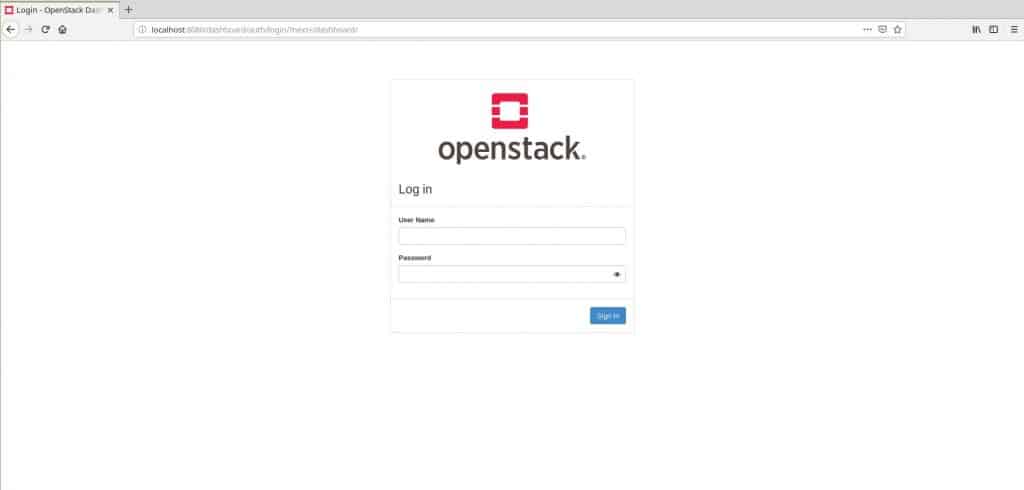
Password user admin for OpenStack “A new answerfile file was created in/root/packstack-answers-20190716-150952.txt” during install OpenStack.
$ sudo cat /root/packstack-answers-20190716-150952.txt | grep ADMINFor example, The password for admin as the picture below:

Conclusion
This tutorial provides a comprehensive guide on installing OpenStack all-in-one on CentOS 7. It is designed to help users set up their own private cloud infrastructure using OpenStack, offering step-by-step instructions on the deployment process.
This approach is especially beneficial for those looking to learn about cloud infrastructure or needing a development environment for testing. By following this guide, users can leverage OpenStack’s capabilities to create a versatile and scalable cloud platform using CentOS 7. Thank you for reading the DevopsRoles page!
Salut HuuPV, j’ai besoin d’aide au niveau de cette commande sudo packstack –allinone. quand je la lance, elle m’affiche une erreur. Merci de m’aider.
Hi Mohamed,
Please send for me error command sudo packstack –allinone?
Thank,
i am getting an error while running the install command of openstack regarding a selinux policy , so that the openstack is not installing
Hi ninja,
you can disable selinux policy for test?
Hi, I have installed the Openstack but now i wants learn how to configure and use the openstack properly. Kindly, help me in this regards! I shall be very thankful to you.
Hi Mehmoon,
you can learn from https://docs.openstack.org/victoria/
Thanks
Hi…thanks for the tutorial…instead of using for example single port eth0 for external network… can i also include other spare port for example eth1, eth2, etc…onto openstack? what parameter in answer file should i updated/changed? thank you
good job