Table of Contents
Introduction
I will explain the ansible roles directory structure. The confusing using roles are understanding the file hierarch. Ansible provides a feature called Ansible galaxy that helps you play roles.
For example, Ansible roles directory will look like as below:
[vagrant@ansible_controller demo]$ tree nodejs
nodejs
├── defaults
│   └── main.yml
├── files
├── handlers
│   └── main.yml
├── meta
│   └── main.yml
├── README.md
├── tasks
│   └── main.yml
├── templates
├── tests
│   ├── inventory
│   └── test.yml
└── vars
    └── main.yml

8 directories, 8 files
You can be using ansible galaxy it creates a role.
$ sudo ansible-galaxy init <role-name>
# Example init nodejs role
$ sudo ansible-galaxy init nodejs
Explain Ansible directories
- Tasks: The main list of tasks to be exectued by role. it contains the main.yml file.
- Files: Contains files that can be deployed by this role
- Handlers: Contains handlers which may be used by this role or even anywhere outside this role.
- Defaults: Contains the default variables used by this role.
- Vars: This directory consists of other variables that used by the roles. These variables can be defined in ansible playbook.
- Meta: Defines metadata for this role. it contains file role dependencies.
Demo Using Ansible install nodejs
I use ansible-galaxy to download template nodejs role as command below:
[vagrant@ansible_controller demo]$ ansible-galaxy init nodejsMy Ansible structure folder and file as below:
[vagrant@ansible_controller ~]$ tree demo
demo
├── ansible.cfg
├── install-nodejs.yml
├── inventory
│   └── hosts
└── roles
    └── nodejs
        ├── defaults
        │   └── main.yml
        ├── files
        ├── handlers
        │   └── main.yml
        ├── meta
        │   └── main.yml
        ├── README.md
        ├── tasks
        │   └── main.yml
        ├── templates
        └── vars
            └── main.yml

10 directories, 9 files
Write roles/nodejs/tasks/main.yml for nodejs role as below:
---
# Example, tasks file for nodejs
- name: Node.js - Get script
get_url:
url: "https://rpm.nodesource.com/setup_10.x"
dest: "{{ var_node }}/nodejs.sh"
- name: Node.js - Set execution permission to script
file:
path: "{{ var_node }}/nodejs.sh"
mode: "u+x"
- name: Node.js - Execute installation script
shell: "{{ var_node }}/nodejs.sh"
- name: Node.js - Remove installation script
file:
path: "{{ var_node}}/nodejs.sh"
state: absent
- name: Node.js - Install Node.js
yum: name={{ item }} state=present update_cache=yes
with_items:
- epel-release
- nodejs
- name: Node.js - Install bower and gulp globally
npm: name={{ item }} state=present global=yes
with_items:
- bower
- gulp
# check version
- name: "Check if nodejs is installed"
package_facts:
manager: "auto"
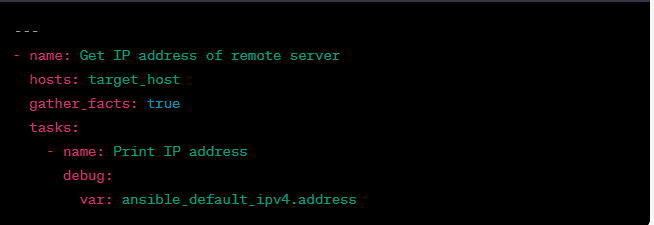
- name: "nodejs result"
debug:
msg: "nodejs found"
when: "'nodejs' in ansible_facts.packages"
- name: "nodejs result"
debug:
msg: "nodejs NOT found"
when: "'nodejs' not in ansible_facts.packages"Write your main playbook. Example, install-nodejs.yml file.
---
- hosts: web-server
  become: yes
  vars:
    # variable needed during node installation
    var_node: /tmp
  roles:
       - nodejs
Ansible run command
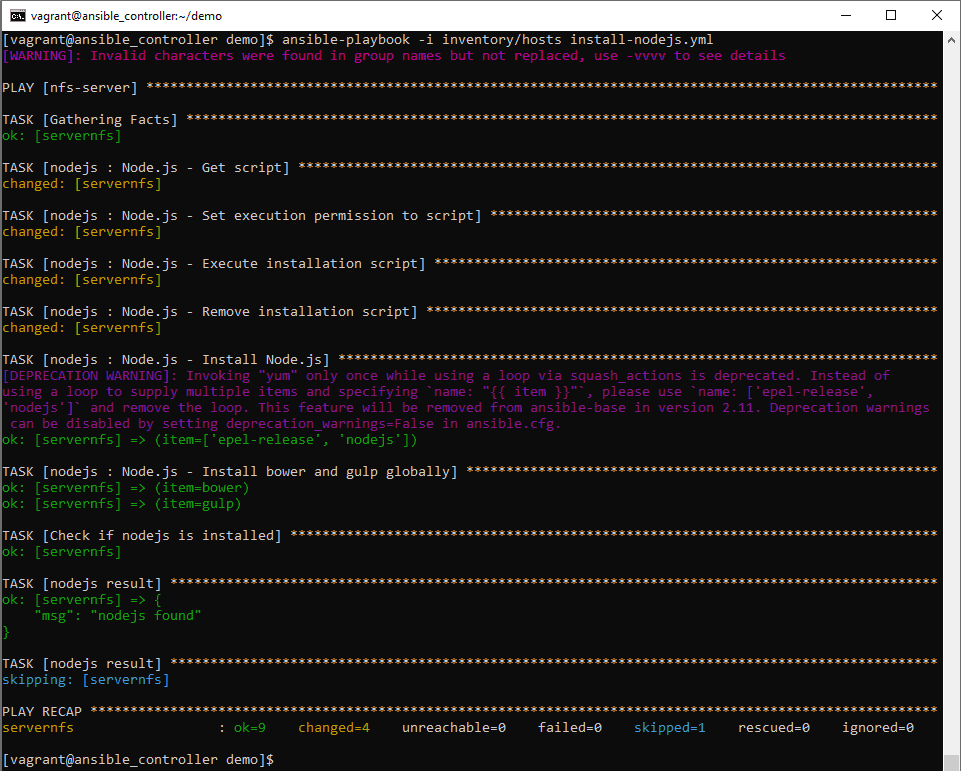
[vagrant@ansible_controller demo]$ ansible-playbook -i inventory/hosts install-nodejs.ymlThe result, install nodejs on the target server as below:

Conclusion
I hope will this your helpful. Thank you for reading the DevopsRoles page!