In this tutorial. You can Build infrastructure with Vagrant Ansible for testing. How to set up a local server using Vagrant Ansible.
Ansible the essential for DevOps Roles. Now, let’s go to Vagrant Ansible example 01.
Table of Contents
My local server
[huupv@huupv my_ansible]$ cat /etc/redhat-release
Fedora release 28 (Twenty Eight)
[huupv@huupv my_ansible]$ vagrant --version
Vagrant 2.0.2
[huupv@huupv my_ansible]$ ansible --version
ansible 2.6.4
config file = /etc/ansible/ansible.cfg
configured module search path = [u'/home/huupv/.ansible/plugins/modules', u'/usr/share/ansible/plugins/modules']
ansible python module location = /usr/lib/python2.7/site-packages/ansible
executable location = /usr/bin/ansible
python version = 2.7.15 (default, May 16 2018, 17:50:09) [GCC 8.1.1 20180502 (Red Hat 8.1.1-1)]
Vagrant Ansible example
Step 1: You have to install Vagrant for your OS. If you have not to install Vagrant then ref to install Vagrant on Centos and install Vagrant on Ubuntu.
Step 2: Creating a folder and file your project.
example01/
├── ansible.cfg
├── playbooks
│   ├── inventory
│   │   └── hosts
│   ├── ntp.yml
│   └── templates
│   └── ntp.conf.j2
└── Vagrantfile

3 directories, 5 files
Step 3: Build infrastructure with Vagrant for testing. Define two servers: an app server and a database server in the Vagrantfiles file.
Vagrant init creates Vagrantfiles minimal file
[huupv@huupv example01]$ vagrant init --minimal
The terminal output as below
==> vagrant: A new version of Vagrant is available: 2.1.5!
==> vagrant: To upgrade visit: https://www.vagrantup.com/downloads.html

A `Vagrantfile` has been placed in this directory. You are now
ready to `vagrant up` your first virtual environment! Please read
the comments in the Vagrantfile as well as documentation on
`vagrantup.com` for more information on using Vagrant.
The content in Vagrantfile for the app server and DB server as below
[huupv@huupv example01]$ cat Vagrantfile
The terminal output as below
Vagrant.configure("2") do |config|
config.ssh.insert_key = false
config.vm.provider :virtualbox do |vb|
   vb.customize ["modifyvm", :id, "--memory", "256"]
end
# Application server 1.
config.vm.define "app1" do |app1|
  app1.vm.hostname = "app1.dev"
  app1.vm.box = "centos/7"
  app1.vm.network :private_network, ip: "192.168.3.4"
end
# Database server.
config.vm.define "db" do |db|
  db.vm.hostname = "db.dev"
  db.vm.box = "centos/7"
  db.vm.network :private_network, ip: "192.168.3.5"
end

config.vm.provision "ansible" do |ansible|
  ansible.playbook = "playbooks/ntp.yml"
  ansible.verbose  = true
  ansible.limit = "all" # or only "nodes" group, etc.
  # Run commands as root.
  ansible.sudo = true
end
end
Ansible playbook for NTP server
Creating an inventory file for multiple servers
# Application servers
[app]
192.168.3.4 # Database server
[db]
192.168.3.5 # Group ‘multi’ with all servers
[multi:children]
app db # Variables that will be applied to all servers
[multi:vars]
ansible_ssh_user=vagrant ansible_ssh_private_key_file=~/.vagrant.d/insecure_private_key
Create a ntp.yml file in the folder Playbooks
- hosts: all
  tasks:
  - name: Ensure NTP (for time synchronization) is installed.
    yum: name=ntp state=installed
  - name: Configure NTP
    template: src=ntp.conf.j2 dest=/etc/ntp.conf
    notify:
           - restart ntpd
  - name: Ensure NTP is running.
    service: name=ntpd state=started enabled=yes
Create ntp.conf.j2 file template
statistics loopstats peerstats clockstats
filegen loopstats file loopsstats type day enable
filegen peerstats file peerstats type day enable
filegen clockstats file clockstats type day enable

#server your_NTP_server_IP
server 0.rhel.pool.ntp.org iburst
server 1.rhel.pool.ntp.org iburst
server 2.rhel.pool.ntp.org iburst
server 3.rhel.pool.ntp.org iburst

restrict -4 default kod notrap nomodify nopeer noquery
restrict -6 default kod notrap nomodify nopeer noquery
restrict 127.0.0.1
restrict ::1
Vagrant run ansible local
Running vagrant up the first time. Vagrant automatically provisions the newly-minted VM. Run “vagrant provision” again after the VM has been created.
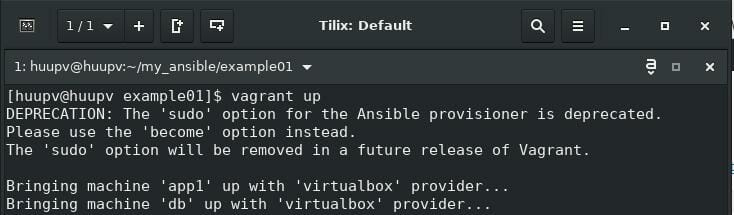
The first run vagrant up
[huupv@huupv example01]$ vagrant up
The terminal output as below
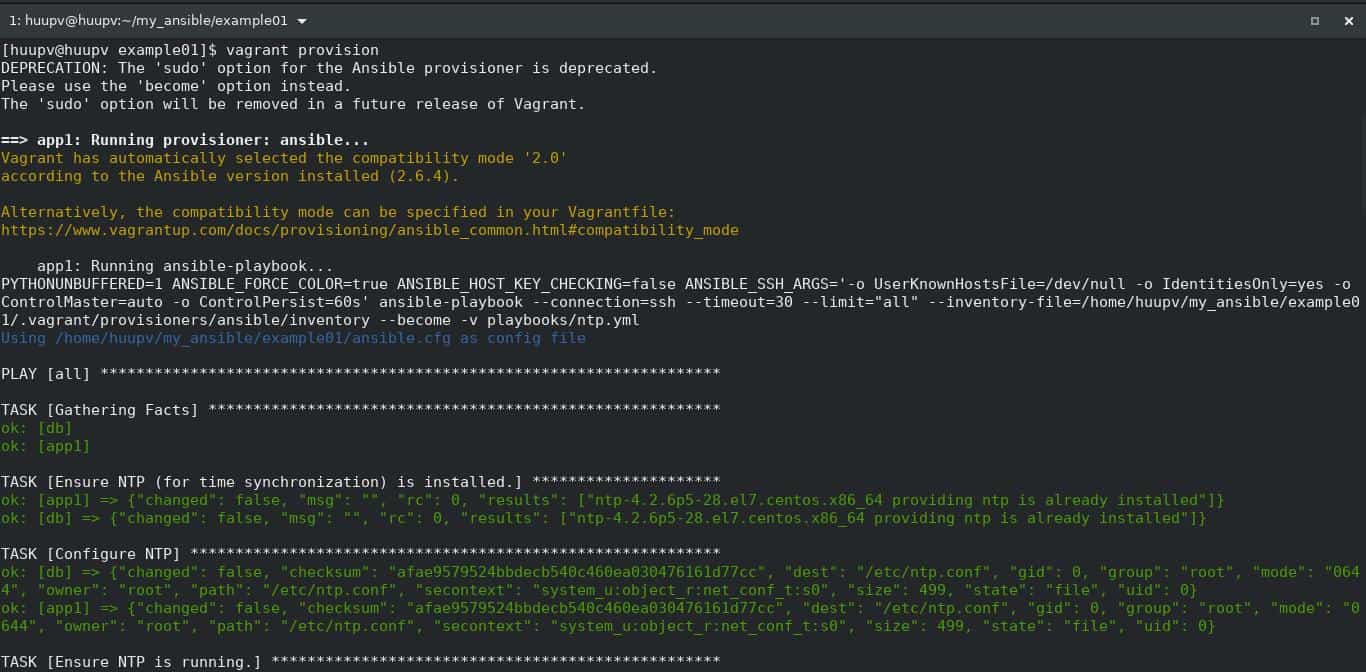
Run vagrant provision again.
[huupv@huupv example01]$ vagrant provision
The terminal output as below

The result Vagrant Ansible example, The terminal output as below
[huupv@huupv example01]$ vagrant ssh app1
Last login: Sat Sep 15 06:26:42 2018 from 10.0.2.2
[vagrant@app1 ~]$ cat /etc/ntp.conf
statistics loopstats peerstats clockstats
filegen loopstats file loopsstats type day enable
filegen peerstats file peerstats type day enable
filegen clockstats file clockstats type day enable

#server your_NTP_server_IP
server 0.rhel.pool.ntp.org iburst
server 1.rhel.pool.ntp.org iburst
server 2.rhel.pool.ntp.org iburst
server 3.rhel.pool.ntp.org iburst

restrict -4 default kod notrap nomodify nopeer noquery
restrict -6 default kod notrap nomodify nopeer noquery
restrict 127.0.0.1
restrict ::1
[vagrant@app1 ~]$ exit
logout
Connection to 127.0.0.1 closed.
[huupv@huupv example01]$ vagrant ssh db
Last login: Sat Sep 15 06:26:42 2018 from 10.0.2.2
[vagrant@db ~]$ cat /etc/ntp.conf
statistics loopstats peerstats clockstats
filegen loopstats file loopsstats type day enable
filegen peerstats file peerstats type day enable
filegen clockstats file clockstats type day enable

#server your_NTP_server_IP
server 0.rhel.pool.ntp.org iburst
server 1.rhel.pool.ntp.org iburst
server 2.rhel.pool.ntp.org iburst
server 3.rhel.pool.ntp.org iburst

restrict -4 default kod notrap nomodify nopeer noquery
restrict -6 default kod notrap nomodify nopeer noquery
restrict 127.0.0.1
restrict ::1
[vagrant@db ~]$ exit
logout
Connection to 127.0.0.1 closed.
[huupv@huupv example01]$
Conclusion
Through the article, you can use Vagrant Ansible example of best practice. I hope will this your helpful. For more details refer to Ansible tutorial.