Table of Contents
Introduction
In this tutorial, I will witten about RabbitMQ: Install, configuration, and example. RabbitMQ is a message broker, written in Erlang. Now, let’s go to the RabbitMQ tutorial for beginners.
It is transferring data ( messages) between several services: one service adds a message to the queue, the other receives these messages.
How to install and Run use RabbitMQ
Debian/Ubuntu
# apt install rabbitmq-serverCentos
# yum -y install epel-release
# yum -y install erlang socat
# wget https://www.rabbitmq.com/releases/rabbitmq-server/v3.6.10/rabbitmq-server-3.6.10-1.el7.noarch.rpm
# rpm --import https://www.rabbitmq.com/rabbitmq-release-signing-key.asc
# rpm -Uvh rabbitmq-server-3.6.10-1.el7.noarch.rpm
Docker
# docker run docker pull rabbitmqRabbitMQ tutorial for beginners
Rabbitmq-plugins
The Documentation here
To view active plugin use list
$ sudo rabbitmq-plugins listShow activate the plugin RabbitMQ Management
$ sudo rabbitmq-plugins enable rabbitmq_managementActive plugins are stored in a file /etc/rabbitmq/enabled_plugins
$ cat /etc/rabbitmq/enabled_pluginsHTTP API
The documention here
rabbitmq_management active API support on port 15672
# netstat -nplt | grep 15672Example check it
# curl -i -u guest:guest localhost:15672/api/overviewrabbitmqadmin
Document here
rabbitmqctl
The Documentation here. It is mainly for managing nodes in a cluster – adding, deleting, rebooting, managing logs.
# rabbitmqctl statusView users
# rabbitmqctl list_usersWEB UI
After activating the plugin, the web interface for managing the server on port 15672.
Add a new user And the rights to everything. User access is guest denied by default.
# rabbitmqctl add_user test test
# rabbitmqctl set_user_tags test administrator
# rabbitmqctl set_permissions -p / test ".*" ".*" ".*"
There are three basic concepts for RabbitMQ
- producer: the client doing the sending of the message
- queue: the actual message queue
- consumer: the client receiving messages from the queue
- exchange: receives messages from the producer, and sends them to queues according to its type
Example
To work with RabbitMQ, AMQP (Advanced Message Queuing Protocol) support is required. we will install for python pika
$ sudo yum install python-pikaSending a message
To create a script for the producer.
#!/usr/bin/env python
import pika

connection = pika.BlockingConnection(pika.ConnectionParameters('localhost'))
channel = connection.channel()

channel.queue_declare(queue='hello')

channel.basic_publish(exchange='',
                     routing_key='hello',
                     body='Hello World!')

print(" [x] Sent 'Hello World!'")

connection.close()
Run the script
$ ./producerScript.py
check with rabbitmqadmin
# rabbitmqadmin get queue='hello'List of queues with rabbitmqctl
# rabbitmqctl list_queues
Receiving a message
The second script – consumertest.py- will receive a message from the queue
#!/usr/bin/env python
import pika

connection = pika.BlockingConnection(pika.ConnectionParameters('localhost'))
channel = connection.channel()

channel.queue_declare(queue='hello')

def callback(ch, method, properties, body):
    print(" [x] Received %r" % body)

channel.basic_consume(callback,
                      queue='hello',
                      no_ack=True)

print(' [*] Waiting for messages. To exit press CTRL+C')
channel.start_consuming()
Run it
# ./consumer.pyWe check the queue – now it’s empty here
# rabbitmqctl list_queues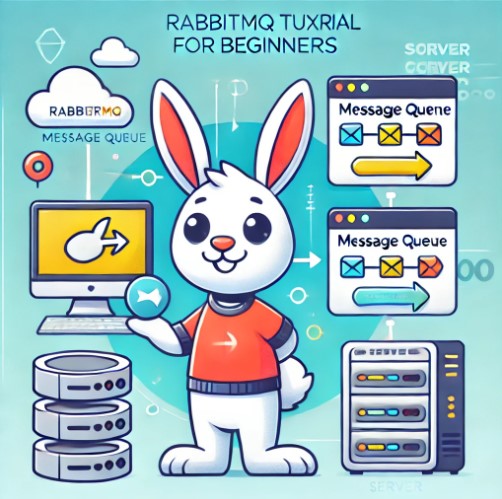
Conclusion
Through the article, RabbitMQ tutorial for beginners. I hope will this your helpful. Thank you for reading the DevopsRoles page!