Table of Contents
Introduction
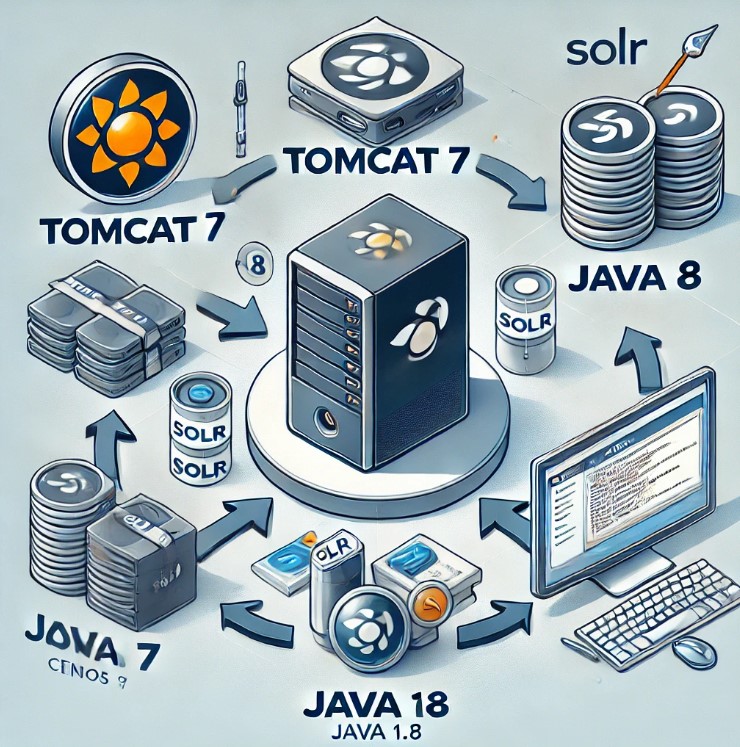
In this tutorial, we’ll walk through the process of Install Tomcat7 , Java 1.8, and Solr on CentOS 7. First, ensure your system is up to date by running the necessary updates. Then, proceed to download and install Java 1.8, configuring the environment variables accordingly. Next, set up Tomcat 7, adjusting the necessary configurations for optimal performance.
Finally, integrate Solr into Tomcat to leverage its powerful search capabilities. Throughout the tutorial, I’ll provide step-by-step instructions to guide you seamlessly through each installation process. By the end, you’ll have a fully functional and efficient setup of Tomcat 7, Java 1.8, and Solr on your CentOS 7 system.
Install Tomcat7 java 1.8 and Sorl
Install Java 1.8 and Tomcat 7
sudo yum install java-1.8.0-openjdk*
sudo yum install tomcat
sudo firewall-cmd --zone=public --add-port=8080/tcp --permanent
sudo systemctl restart firewalld.service
sudo systemctl enable tomcat.service
sudo systemctl start tomcat
Download Ant and ivy used to compile Solr as well.
yum install wget
wget -P /home/vagrant/ http://archive.apache.org/dist/lucene/solr/4.10.2/solr-4.10.2-src.tgz
wget -P /home/vagrant/ https://downloads.apache.org//ant/binaries/apache-ant-1.10.8-bin.tar.gz
wget -P /home/vagrant/ https://downloads.apache.org/ant/ivy/2.4.0/apache-ivy-2.4.0-bin.tar.gz
cd /home/vagrant/
tar zxvf solr-4.10.2-src.tgz
tar zxvf apache-ant-1.10.8-bin.tar.gz
tar zxvf apache-ivy-2.4.0-bin.tar.gz

[vagrant@Server01 ~]$ cp apache-ivy-2.4.0/ivy-2.4.0.jar apache-ant-1.10.8/lib/
Setting environment variables
export ANT_HOME=/home/vagrant/apache-ant-1.10.8
export JAVA_HOME=/usr/lib/jvm/java-1.8.0-openjdk-1.8.0.252.b09-2.el7_8.x86_64/
export PATH=${PATH}:/${ANT_HOME}/bin/
Edit /etc/tomcat/server.xml file
<Connector port="8080" protocol="HTTP/1.1"
 connectionTimeout="20000"
 redirectPort="8443" URIEncoding="UTF-8" useBodyEncodingForURI="true" />
Compiling Solr
cd /home/vagrant/solr-4.10.2
ant clean
ant compile
cd solr
ant dist
logging settings
cp solr-4.10.2/solr/example/lib/ext/* /usr/share/tomcat/lib
cp solr-4.10.2/solr/example/resources/log4j.properties /usr/share/tomcat7/lib
Arrangement of War files and various
cp solr-4.10.2/solr/dist/solr-4.10.2-SNAPSHOT.war to /var/lib/tomcat/webapps/solr.warCreate a directory for solr.home
mkdir /var/lib/solr/home
chmod -R a+w /var/lib/solr/home
vi /var/lib/solr/home/solr.xml
<?xml version="1.0" encoding="UTF-8" ?>
<solr persistent="false">
  <cores adminPath="/admin/cores">
  <core name="test" instanceDir="test" config="solrconfig.xml" schema="schema.xml"/>
  </cores>
</solr>
Modify /etc/tomcat/tomcat.conf
JAVA_OPTS="${JAVA_OPTS} -Djavax.sql.DataSource.Factory=org.apache.commons.dbcp.BasicDataSourceFactory -Dsolr.solr.home=/var/lib/solr/home"Create a directory for the core
mkdir /var/lib/solr/home/test
mkdir /var/lib/solr/home/test/conf
mkdir /var/lib/solr/home/test/data
chmod -R a+x /var/lib/solr/home/test/data
cp solr-4.10.2/solr/example/solr/collection1/conf/* /var/lib/solr/home/test/conf/
please edit as you like it.
vi /var/lib/solr/home/test/conf/solrconfig.xml
vi /var/lib/solr/home/test/conf/schema.xml
Conclusion
In this guide, we have successfully installed and configured Tomcat7, Java 1.8, and Solr on CentOS 7. By following the detailed steps outlined above, you should now have a fully functional setup that is ready for web application deployment and advanced search capabilities.
This combination of technologies provides a robust foundation for developing and managing enterprise-level applications. Remember to regularly update your software to ensure security and performance enhancements. If you encounter any issues or have further questions, don’t hesitate to consult the official documentation or seek help from the community. I hope will this your helpful. Thank you for reading the DevopsRoles page!