In this tutorial, How to Install JDK on CentOS step by step. How to switch between JDK 7 and JDK 8?
Table of Contents
Precondition
- Open the terminal and log in as root or you use sudo before each command with another user.
- Working on a Linux system operating: Centos/REHL
Search for JDK on CentOS
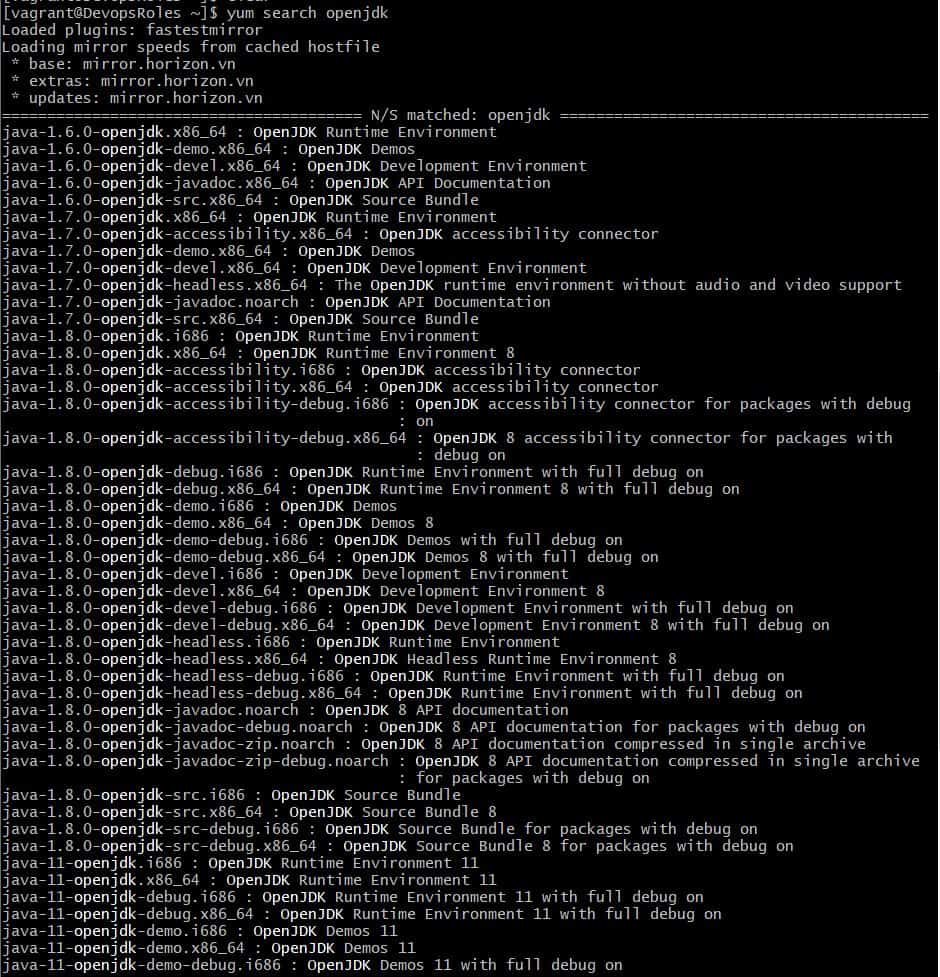
You use the command below to search the packages
$ yum search openjdkThe output terminal console as below
Install JDK 1.8
$ sudo yum install java-1.8.0-openjdkConfirmation is complete when the installed Java version is displayed.
$ java --version
# Output
# openjdk version "1.8.0_212"
# OpenJDK Runtime Environment (build 1.8.0_212-b04)
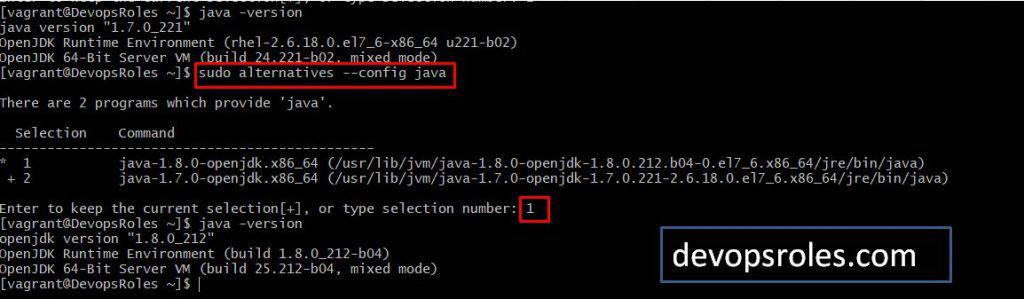
# OpenJDK 64-Bit Server VM (build 25.212-b04, mixed mode)How to switch JDK 7 to JDK 8
Use the command “sudo alternatives –config java” to switch to JDK.
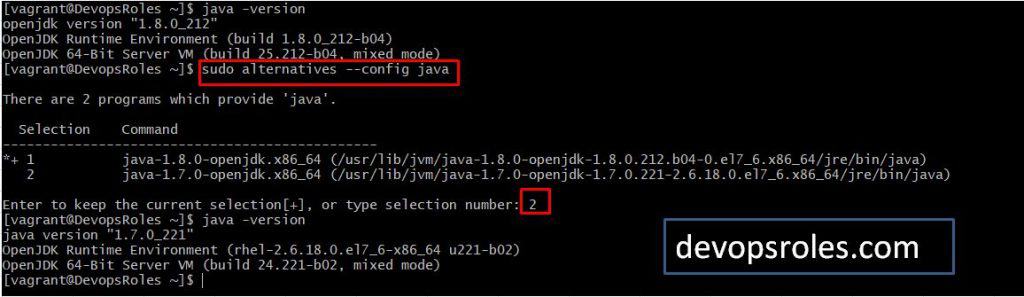
How to switch JDK 8 to JDK 7
Conclusion
Through the article, How to Install JDK on CentOS step by step. How to switch between JDK 7 and JDK 8? as above. I hope will this your helpful. Thank you for reading the DevopsRoles page!

Support and support for my account and device.