Table of Contents
Introduction
In this tutorial, How to install Ansible by using virtualenv. You can test and deploy multiple Ansible versions with virtualenv.
Remember that you’ll need to activate the virtual environment every time you want to use Ansible within it.
Why Use Virtualenv with Ansible?
Using Virtualenv to install Ansible offers several benefits:
- Isolation: Virtualenv creates an isolated environment for Ansible, preventing conflicts with system-wide Python packages.
- Version Control: You can easily manage Ansible versions and dependencies for different projects by creating separate Virtualenv environments.
- Cleaner Development: Virtualenv helps keep your system Python environment clean by separating Ansible and its dependencies.
Now, let’s dive into the installation process.
My lab
- Host OS: Windows 10
- Vagrant Box: ubuntu
- Install Ansible on Ubuntu
Setting up Vagrant on Ubuntu Linux
Vagrant.configure("2") do |config|
config.ssh.insert_key = false
config.vm.provider :virtualbox do |vb|
  vb.memory = 1500
  vb.cpus = 2
end
# Application server 1.
config.vm.define "ubuntu" do |ubuntu|
  ubuntu.vm.hostname = "devopsroles.com"
  ubuntu.vm.box = "bento/ubuntu-21.04"
  ubuntu.vm.network :private_network, ip: "192.168.3.7"
  ubuntu.vm.network :forwarded_port, host: 4566, guest: 4566
  ubuntu.vm.network :forwarded_port, host: 8055, guest: 8080
end
end
Start and log into the Virtual Machine
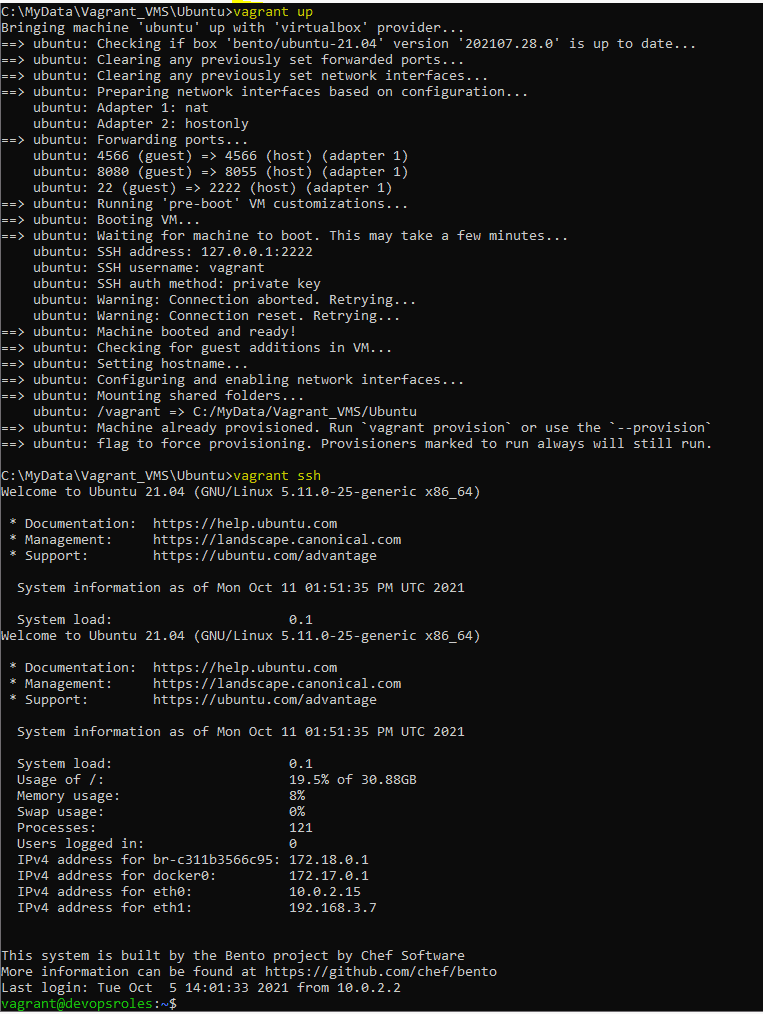
vagrant up
vagrant ssh
The output terminal is as below
How to Install Ansible by using virtualenv
To install Ansible using a virtual environment (virtualenv), you can follow these steps:
RHEL/CentOS 7
sudo yum install python3-virtualenvUbuntu/Debian
sudo apt-get update
sudo apt-get install python3-virtualenv
Set up virtualenv and Install Ansible
You need to create a “virtual environment” to host your local copy of Ansible.
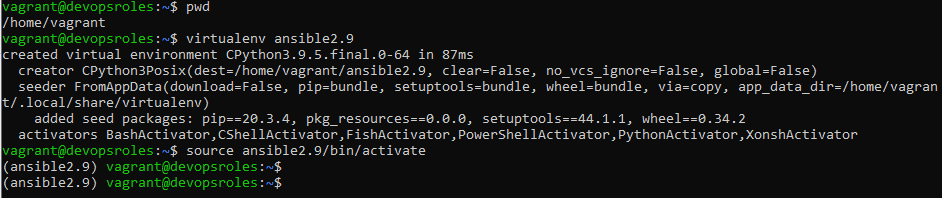
virtualenv ansible2.9This command creates a directory called ansible2.9 in your current working directory.
You must activate it
source ansible2.9/bin/activateYou should see the prompt change to include the virtualenv name.
(ansible2.9) $The output terminal is as below
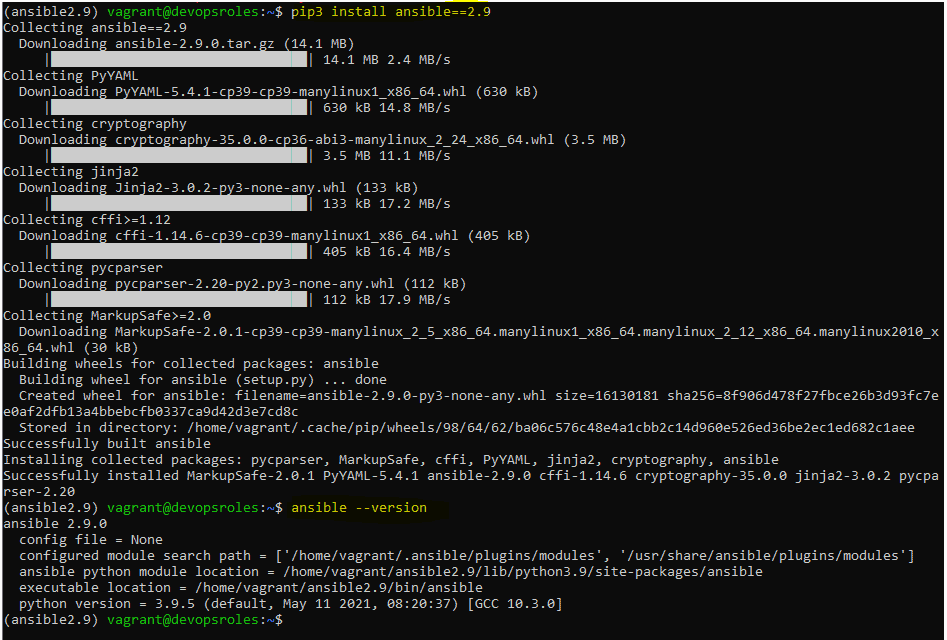
Let’s install Ansible
pip3 install ansible==2.9The output terminal is as below
Conclusion
Congratulations! You’ve successfully installed Ansible using Virtualenv. This setup allows you to manage Ansible and its dependencies separately, ensuring a clean and controlled environment for your automation tasks. Activate the virtual environment whenever you need to work with Ansible and deactivate it when you’re done to keep your system Python environment tidy. I hope will this your helpful. Thank you for reading the DevopsRoles page!