In today’s fast-evolving cloud computing environment, achieving secure, reliable Kubernetes deployments is more critical than ever. Amazon Elastic Kubernetes Service (EKS) streamlines the management of Kubernetes clusters, but ensuring robust node security and operational simplicity remains a key concern.
By leveraging Bottlerocket EKS Terraform integration, you combine the security-focused, container-optimized Bottlerocket OS with Terraform’s powerful Infrastructure-as-Code capabilities. This guide provides a step-by-step approach to deploying a Bottlerocket-managed node group on Amazon EKS using Terraform, helping you enhance both the security and maintainability of your Kubernetes infrastructure.
Table of Contents
Why Bottlerocket and Terraform for EKS?
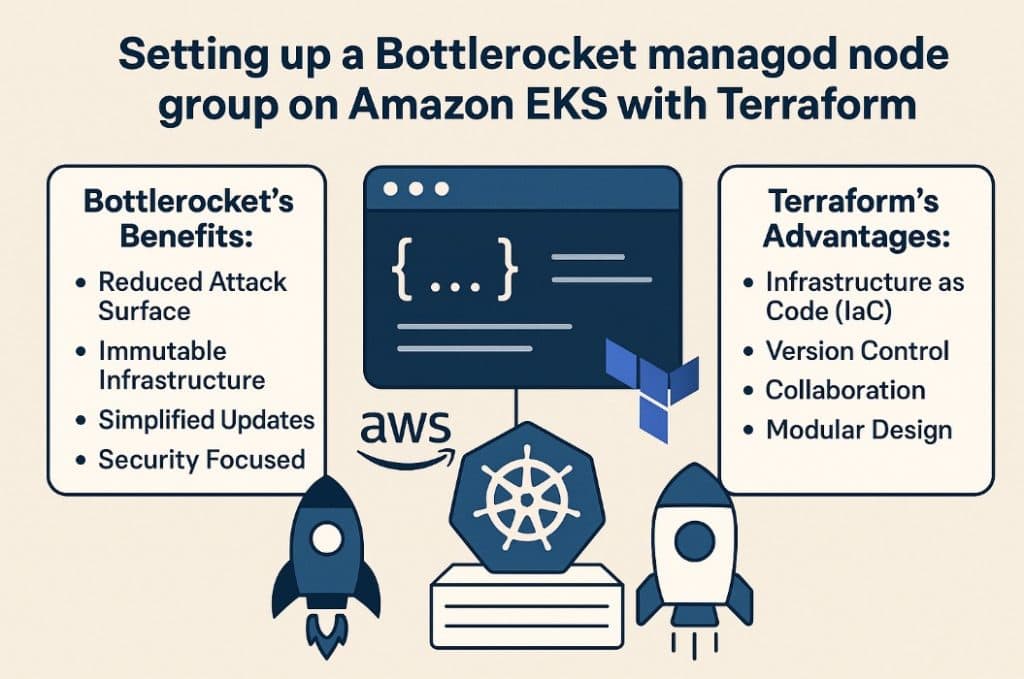
Choosing Bottlerocket for your EKS nodes offers significant advantages. Its minimal attack surface, immutable infrastructure approach, and streamlined update process greatly reduce operational overhead and security vulnerabilities compared to traditional Linux distributions. Pairing Bottlerocket with Terraform, a popular Infrastructure-as-Code (IaC) tool, allows for automated and reproducible deployments, ensuring consistency and ease of management across multiple environments.
Bottlerocket’s Benefits:
- Reduced Attack Surface: Bottlerocket’s minimal footprint significantly reduces potential attack vectors.
- Immutable Infrastructure: Updates are handled by replacing entire nodes, eliminating configuration drift and simplifying rollback.
- Simplified Updates: Updates are streamlined and reliable, reducing downtime and simplifying maintenance.
- Security Focused: Designed with security as a primary concern, incorporating features like Secure Boot and runtime security measures.
Terraform’s Advantages:
- Infrastructure as Code (IaC): Enables automated and repeatable deployments, simplifying management and reducing errors.
- Version Control: Allows for tracking changes and rolling back to previous versions if needed.
- Collaboration: Facilitates collaboration among team members through version control systems like Git.
- Modular Design: Promotes reusability and maintainability of infrastructure configurations.
Setting up the Environment for bottlerocket eks terraform
Before we begin, ensure you have the following prerequisites:
- An AWS account with appropriate permissions.
- Terraform installed and configured with AWS credentials (Terraform AWS Provider documentation).
- An existing EKS cluster (you can create one using the AWS console or Terraform).
- Basic familiarity with AWS IAM roles and policies.
- The AWS CLI installed and configured.
Terraform Configuration
The core of our deployment will be a Terraform configuration file (main.tf). This file defines the resources needed to create the Bottlerocket managed node group:
terraform {
  required_providers {
    aws = {
      source  = "hashicorp/aws"
      version = "~> 4.0"
    }
  }
}

provider "aws" {
  region = "us-west-2" // Replace with your region
}

resource "aws_eks_node_group" "bottlerocket" {
  cluster_name     = "my-eks-cluster" // Replace with your cluster name
  node_group_name  = "bottlerocket-ng"
  node_role_arn    = aws_iam_role.eks_node_role.arn
  subnet_ids       = [aws_subnet.private_subnet.*.id]
  scaling_config {
    desired_size = 1
    min_size     = 1
    max_size     = 3
  }
  ami_type        = "AL2_x86_64" # or appropriate AMI type for Bottlerocket
  instance_types  = ["t3.medium"]
  disk_size       = 20
  labels = {
    "kubernetes.io/os" = "bottlerocket"
  }
  tags = {
    Name = "bottlerocket-node-group"
  }
}


resource "aws_iam_role" "eks_node_role" {
  name = "eks-bottlerocket-node-role"
  assume_role_policy = jsonencode({
    Version = "2012-10-17",
    Statement = [
      {
        Action = "sts:AssumeRole",
        Effect = "Allow",
        Principal = {
          Service = "ec2.amazonaws.com"
        }
      }
    ]
  })
}

resource "aws_iam_role_policy_attachment" "eks_node_group_policy" {
  role       = aws_iam_role.eks_node_role.name
  policy_arn = "arn:aws:iam::aws:policy/AmazonEKSWorkerNodePolicy"
}

resource "aws_iam_role_policy_attachment" "amazon_ec2_container_registry_read_only_access" {
  role       = aws_iam_role.eks_node_role.name
  policy_arn = "arn:aws:iam::aws:policy/AmazonEC2ContainerRegistryReadOnly"
}


resource "aws_subnet" "private_subnet" {
  count = 2 # adjust count based on your VPC configuration
  vpc_id            = "vpc-xxxxxxxxxxxxxxxxx" # replace with your VPC ID
  cidr_block        = "10.0.1.0/24" # replace with your subnet CIDR block
  availability_zone = "us-west-2a" # replace with correct AZ.  Modify count accordingly.
  map_public_ip_on_launch = false
  tags = {
    Name = "private-subnet"
  }
}
Remember to replace placeholders like `”my-eks-cluster”`, `”vpc-xxxxxxxxxxxxxxxxx”`, `”10.0.1.0/24″`, and `”us-west-2″` with your actual values. You’ll also need to adjust the subnet configuration to match your VPC setup.
Deploying with Terraform
Once the main.tf file is ready, navigate to the directory containing it in your terminal and execute the following commands:
terraform init
terraform plan
terraform apply
terraform init downloads the necessary providers. terraform plan shows a preview of the changes that will be made. Finally, terraform apply executes the deployment. Review the plan carefully before applying it.
Verifying the Deployment
After successful deployment, use the AWS console or the AWS CLI to verify that the Bottlerocket node group is running and joined to your EKS cluster. Check the node status using the kubectl get nodes command. You should see nodes with the OS reported as Bottlerocket.
Advanced Configuration and Use Cases
This basic configuration provides a foundation for setting up Bottlerocket managed node groups. Let’s explore some advanced use cases:
Auto-scaling:
Fine-tune the scaling_config block in the Terraform configuration to adjust the desired, minimum, and maximum number of nodes based on your workload requirements. Auto-scaling ensures optimal resource utilization and responsiveness.
IAM Roles and Policies:
Customize the IAM roles and policies attached to the node group to grant only necessary permissions, adhering to the principle of least privilege. This enhances security by limiting potential impact of compromise.
Spot Instances:
Leverage AWS Spot Instances to reduce costs by using spare compute capacity. Configure your node group to utilize Spot Instances, ensuring your applications can tolerate potential interruptions.
Custom AMIs:
For highly specialized needs, you may create custom Bottlerocket AMIs that include pre-installed tools or configurations. This allows tailoring the node group to your application’s specific demands.
Frequently Asked Questions (FAQ)
Q1: What are the limitations of using Bottlerocket?
Bottlerocket is still a relatively new technology, so its community support and third-party tool compatibility might not be as extensive as that of established Linux distributions. While improving rapidly, some tools and configurations may require adaptation or workarounds.
Q2: How do I troubleshoot node issues in a Bottlerocket node group?
Troubleshooting Bottlerocket nodes often requires careful examination of cloudwatch logs and potentially using tools like kubectl describe node to identify specific problems. The immutable nature of Bottlerocket simplifies debugging, since issues are often resolved by replacing the affected node.
Conclusion
Setting up a Bottlerocket managed node group on Amazon EKS using Terraform provides a highly secure, automated, and efficient infrastructure foundation. By leveraging Bottlerocket’s minimal, security-focused operating system alongside Terraform’s powerful Infrastructure-as-Code capabilities, you achieve a streamlined, consistent, and scalable Kubernetes environment. This combination reduces operational complexity, enhances security posture, and enables rapid, reliable deployments. While Bottlerocket introduces some limitations due to its specialized nature, its benefits-especially in security and immutability-make it a compelling choice for modern cloud-native applications. As your needs evolve, advanced configurations such as auto-scaling, Spot Instances, and custom AMIs further extend the flexibility and efficiency of your EKS clusters. Thank you for reading the DevopsRoles page!