For Site Reliability Engineers and DevOps practitioners managing large-scale clusters, inspecting the internal state of a running application is a daily ritual. While logs and metrics provide high-level observability, sometimes you simply need to move artifacts in or out of a container for forensic analysis or hot-patching. This is where the kubectl cp Kubernetes command becomes an essential tool in your CLI arsenal.
However, kubectl cp isn’t just a simple copy command like scp. It relies on specific binaries existing within your container images and behaves differently depending on your shell and pathing. In this guide, we bypass the basics and dive straight into the internal mechanics, advanced syntax, and common pitfalls of copying files in Kubernetes environments.
Table of Contents
The Syntax Anatomy
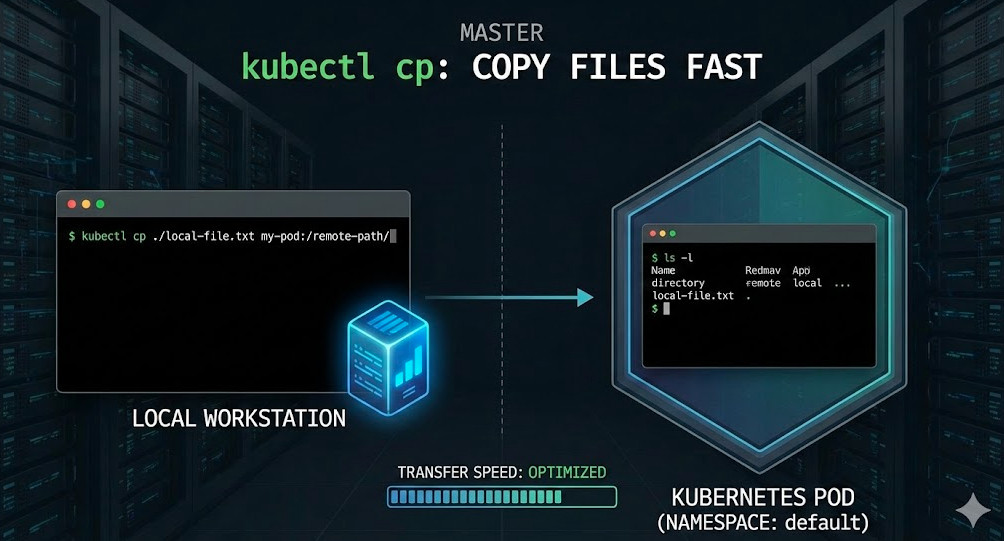
The syntax for kubectl cp mimics the standard Unix cp command, but with namespaced addressing. The fundamental structure requires defining the source and the destination.
# Generic Syntax
kubectl cp <source> <destination> [options]

# Copy Local -> Pod
kubectl cp /local/path/file.txt <namespace>/<pod_name>:/container/path/file.txt

# Copy Pod -> Local
kubectl cp <namespace>/<pod_name>:/container/path/file.txt /local/path/file.txt
Pro-Tip: You can omit the namespace if the pod resides in your current context’s default namespace. However, explicitly defining
-n <namespace>is a best practice for scripts to avoid accidental transfers to the wrong environment.
Deep Dive: How kubectl cp Actually Works
Unlike docker cp, which interacts directly with the Docker daemon’s filesystem API, kubectl cp is a wrapper around kubectl exec.
When you execute a copy command, the Kubernetes API server establishes a stream. Under the hood, the client negotiates a tar archive stream.
- Upload (Local to Remote): The client creates a local tar archive of the source files, pipes it via the API server to the pod, and runs
tar -xf -inside the container. - Download (Remote to Local): The client executes
tar -cf - <path>inside the container, pipes the output back to the client, and extracts it locally.
Critical Requirement: Because of this mechanism, the
tarbinary must exist inside your container image. Minimalist images like Distroless or Scratch will fail with a “binary not found” error.
Production Scenarios
1. Handling Multi-Container Pods
In a sidecar pattern (e.g., Service Mesh proxies like Istio or logging agents), a Pod contains multiple containers. By default, kubectl cp targets the first container defined in the spec. To target a specific container, use the -c or --container flag.
kubectl cp /local/config.json my-pod:/app/config.json -c main-app-container -n production2. Recursive Copying (Directories)
Just like standard Unix cp, copying directories is implicit in kubectl cp logic because it uses tar, but ensuring path correctness is vital.
# Copy an entire local directory to a pod
kubectl cp ./logs/ my-pod:/var/www/html/logs/
3. Copying Between Two Remote Pods
Kubernetes does not support direct Pod-to-Pod copying via the API. You must use your local machine as a “middleman” buffer.
# Step 1: Pod A -> Local
kubectl cp pod-a:/etc/nginx/nginx.conf ./temp-nginx.conf

# Step 2: Local -> Pod B
kubectl cp ./temp-nginx.conf pod-b:/etc/nginx/nginx.conf

# One-liner (using pipes for *nix systems)
kubectl exec pod-a -- tar cf - /path/src | kubectl exec -i pod-b -- tar xf - -C /path/dest
Advanced Considerations & Pitfalls
Permission Denied & UID/GID Mismatch
A common frustration with kubectl cp Kubernetes workflows is the “Permission denied” error.
- The Cause: The
tarcommand inside the container runs with the user context of the container (usually specified by theUSERdirective in the Dockerfile or thesecurityContextin the Pod spec). - The Fix: If your container runs as a non-root user (e.g., UID 1001), you cannot copy files into root-owned directories like
/etcor/bin. You must target directories writable by that user (e.g.,/tmpor the app’s working directory).
The “tar: removing leading ‘/'” Warning
You will often see this output: tar: Removing leading '/' from member names.
This is standard tar security behavior. It prevents absolute paths in the archive from overwriting critical system files upon extraction. It is a warning, not an error, and generally safe to ignore.
Symlink Security (CVE Mitigation)
Older versions of kubectl cp had vulnerabilities where a malicious container could write files outside the destination directory on the client machine via symlinks. Modern versions sanitize paths.
If you need to preserve symlinks during a copy, ensuring your client and server versions are up to date is crucial. For stricter security, standard tar flags are used to prevent symlink traversal.
Performance & Alternatives
kubectl cp is not optimized for large datasets. It lacks resume capability, compression control, and progress bars.
1. Kubectl Krew Plugins
Consider using the Krew plugin manager. The kubectl-copy plugin (sometimes referenced as kcp) can offer better UX.
2. Rsync over Port Forward
For large migrations where you need differential copying (only syncing changed files), rsync is superior.
- Install
rsyncin the container (if not present). - Port forward the pod:
kubectl port-forward pod/my-pod 2222:22. - Run local rsync:
rsync -avz -e "ssh -p 2222" ./local-dir user@localhost:/remote-dir.
Frequently Asked Questions (FAQ)
Why does kubectl cp fail with “exec: \”tar\”: executable file not found”?
This confirms your container image (likely Alpine, Scratch, or Distroless) does not contain the tar binary. You cannot use kubectl cp with these images. Instead, try using kubectl exec to cat the file content and redirect it, though this only works for text files.
Can I use wildcards with kubectl cp?
No, kubectl cp does not natively support wildcards (e.g., *.log). You must copy the specific file or the containing directory. Alternatively, use a shell loop combining kubectl exec and ls to identify files before copying.
Does kubectl cp preserve file permissions?
Generally, yes, because it uses tar. However, the ownership (UID/GID) mapping depends on the container’s /etc/passwd and the local system’s users. If the numeric IDs do not exist on the destination system, you may end up with files owned by raw UIDs.
Conclusion
The kubectl cp Kubernetes command is a powerful utility for debugging and ad-hoc file management. While it simplifies the complex task of bridging local and cluster filesystems, it relies heavily on the presence of tar and correct permission contexts.
For expert SREs, understanding the exec and tar stream wrapping allows for better troubleshooting when transfers fail. Whether you are patching a configuration in a hotfix or extracting heap dumps for analysis, mastering this command is non-negotiable for effective cluster management.Thank you for reading the DevopsRoles page!