Table of Contents
Introduction
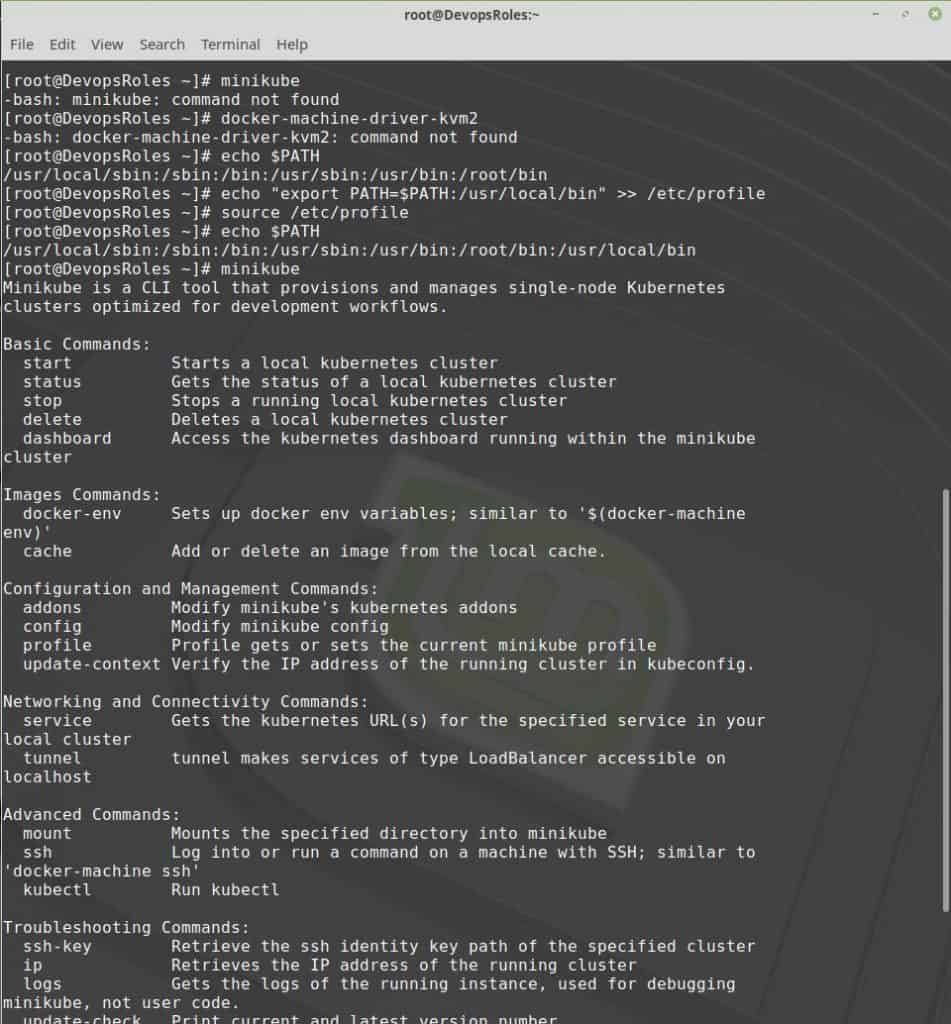
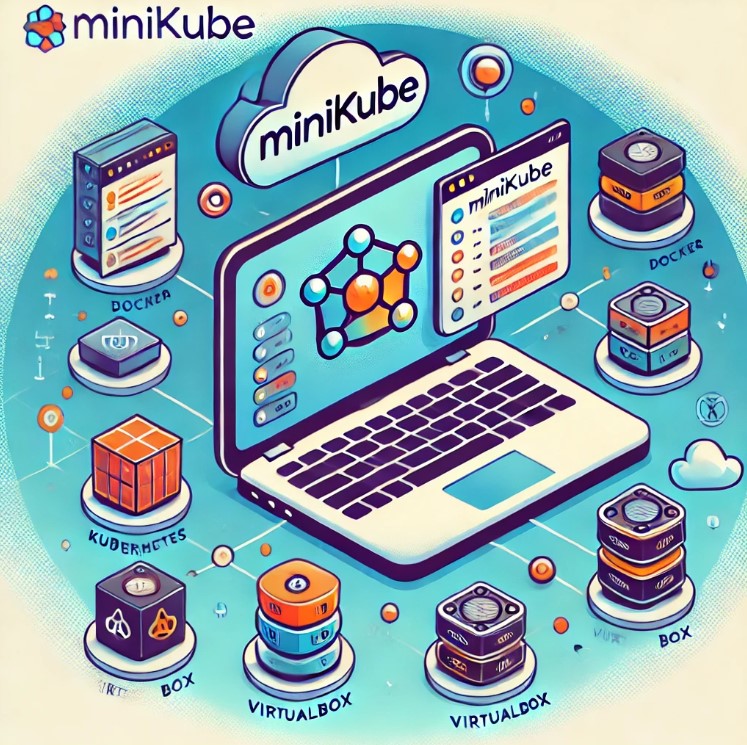
In today’s DevOps-driven world, Kubernetes has become an essential tool for managing containerized applications at scale. However, setting up a full Kubernetes cluster can be complex and resource-intensive. How to Minikube Build local Kubernetes.
Minikube is a lightweight Kubernetes implementation that creates a local, single-node Kubernetes cluster for development and testing. In this guide, we’ll walk you through everything you need to know to build a local Kubernetes environment using Minikube, from basic setup to advanced configurations. In this tutorial, How to use Minikube Build local Kubernetes environment.

Why Use Minikube?
- Ease of Use: Minikube simplifies the process of setting up a Kubernetes cluster.
- Local Development: Ideal for local development and testing.
- Resource Efficient: Requires fewer resources compared to a full-scale Kubernetes cluster.
- Feature-Rich: Supports most Kubernetes features and add-ons.
Prerequisites
Before you start, ensure you have the following:
- A computer with at least 2GB of RAM and 20GB of free disk space.
- A hypervisor like VirtualBox, VMware, Hyper-V, or KVM.
kubectl, the Kubernetes command-line tool, was installed.- Minikube installed.
My Virtual Machine has installed Docker. Reference: Link here
Minikube Build local Kubernetes
Install Minikube and kubectl
Minikube
$ curl -Lo minikube https://storage.googleapis.com/minikube/releases/latest/minikube-linux-amd64 && chmod +x minikube && sudo mv minikube /usr/local/bin/kubectl
$ curl -Lo kubectl https://storage.googleapis.com/kubernetes-release/release/$(curl -s https://storage.googleapis.com/kubernetes-release/release/stable.txt)/bin/linux/amd64/kubectl && chmod +x kubectl && sudo mv kubectl /usr/local/bin/Set of environment variables.
$ sudo vi /etc/profile

#Add end line in file
export MINIKUBE_WANTUPDATENOTIFICATION=false
export MINIKUBE_WANTREPORTERRORPROMPT=false
export MINIKUBE_HOME=/root
export CHANGE_MINIKUBE_NONE_USER=true
export KUBECONFIG=/root/.kube/config

$ sudo mkdir -p /root/.kube || true
$ sudo touch /root/.kube/config
Launch Minikube
You can use used "--vm-driver=none" option to build Kubernetes on the host running Minikube
$ sudo /usr/local/bin/minikube start --vm-driver=noneFile /root/.kube/config have been created. verify the content
$ sudo kubectl config viewCheck service minikube status
$ sudo minikube statusAllow port 8443 on the firewall
$ sudo firewall-cmd --add-port=8443/tcp --zone=public --permanent
$ sudo firewall-cmd --reload
$ sudo firewall-cmd --list-all
Create and start container dashboard
using image “k8s.gcr.io/echoserver:1.4” to create the dashboard
$ sudo docker images | grep 'k8s.gcr.io/echoserver'Minikube created a pod
$ sudo kubectl run hello-minikube --image=k8s.gcr.io/echoserver:1.4 --port=808To verify node and pod
$ sudo kubectl get nodes
$ sudo kubectl get pods
Instances run on nodes as Docker containers. Displays a list of deployments.
$ sudo kubectl get deploymentsCreating service
You use "--type=NodePort" option. Open the service on the IP of each node to the static port (NordPort). A ClusterIP Service routed by the NodePort Service is automatically created. You can access the NordPort Service from outside the cluster by requesting :
$ sudo kubectl expose deployment hello-minikube --type=NodePort
$ sudo kubectl get services
Access dashboard
Get the dashboard URL. The port automatically changes one time.
$ sudo minikube dashboard --url
$ curl http://127.0.0.1:36439/api/v1/namespaces/kube-system/services/http:kubernetes-dashboard:/proxy/
When accessing via Kubernetes proxy
kubectl acts as a reverse proxy to the API endpoint.
$ sudo minikube dashboard --url
$ sudo kubectl proxy
$ curl http://localhost:8001
Accessible dashboard from outside
Minikube started with the "--vm-driver=none" option, it can only be accessed from the host OS using the proxy. Therefore, change the proxy settings so that they can be accessed from outside the host OS (browser).
$ sudo minikube dashboard --url
$ sudo kubectl proxy --address=0.0.0.0 --accept-hosts='.*'
Link URL: http://{YOUR_HOST_NAME}:8001/api/v1/namespaces/kube-system/services/http:kubernetes-dashboard:/proxy/#!/overview?namespace=default
The verify log
$ sudo kubectl logs hello-minikube-78c9fc5f89-9whkn
$ minikube logs -f
Using kubectl command to delete service, deployment
$ sudo kubectl delete services hello-minikube
$ sudo kubectl delete deployment hello-minikube
Get status to have delete service, deployment
$ sudo kubectl get nodes
$ sudo kubectl get pods
$ sudo kubectl get services
$ sudo kubectl get deployments
Stop minikube and delete the cluster
$ sudo minikube stop
$ minikube delete
Conclusion
Minikube is an excellent tool for developers who want to learn and experiment with Kubernetes without the complexity of setting up a full-scale cluster. By following this guide, you can easily set up a local Kubernetes environment using Minikube, deploy applications, and explore advanced features. Whether you’re a beginner or an experienced developer, Minikube provides a convenient and efficient way to work with Kubernetes on your local machine.